burnt toast

Tag: cheese

Cheese and Kale Pide

IMG_7693

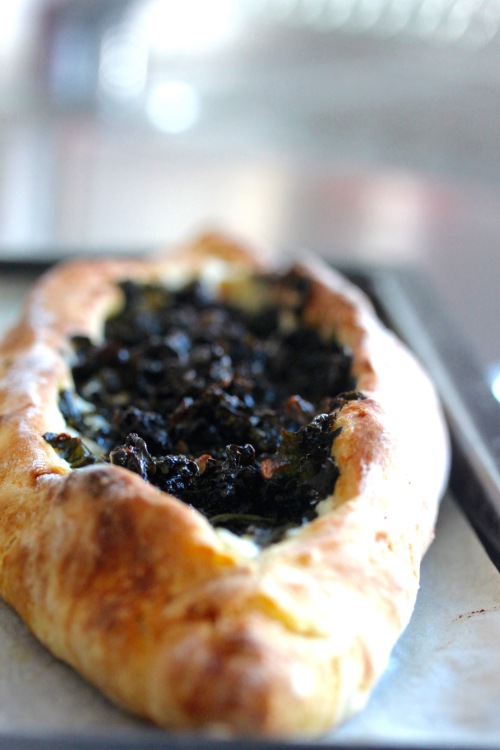
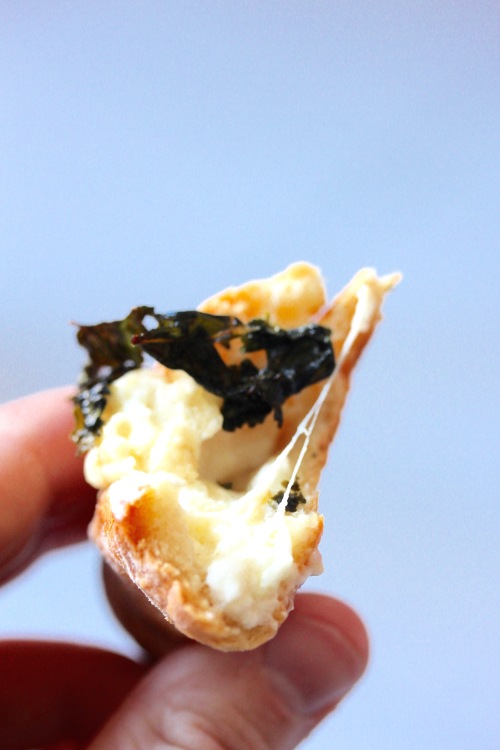
So today I’m going to tell you the tale of this snazzy piece of ultimate comfort. It started off as the famed khachapuri, a wonderful Georgian cheese stuffed bread, ideal for accompanying anything and everything, especially soup. However, on the visual front it isn’t too much of a looker, so that’s where our trusty pide comes in. Between the two of them, pide wins all the beauty pageants because of its “I’m so much more en vogue than pizza” –presentation. The pide needed something else though, it needed something to cut through its wonderful if not sometimes slightly overwhelming cheesiness, something with a bit of bite, some garlicky, vegetably umph. Hold your kittens, make way for the kale! Here it comes, move out of the way, hail oh mighty kale! Of course I was going to put kale on my cheese pide. I haven’t written about kale for months. One crazy deficit over here.

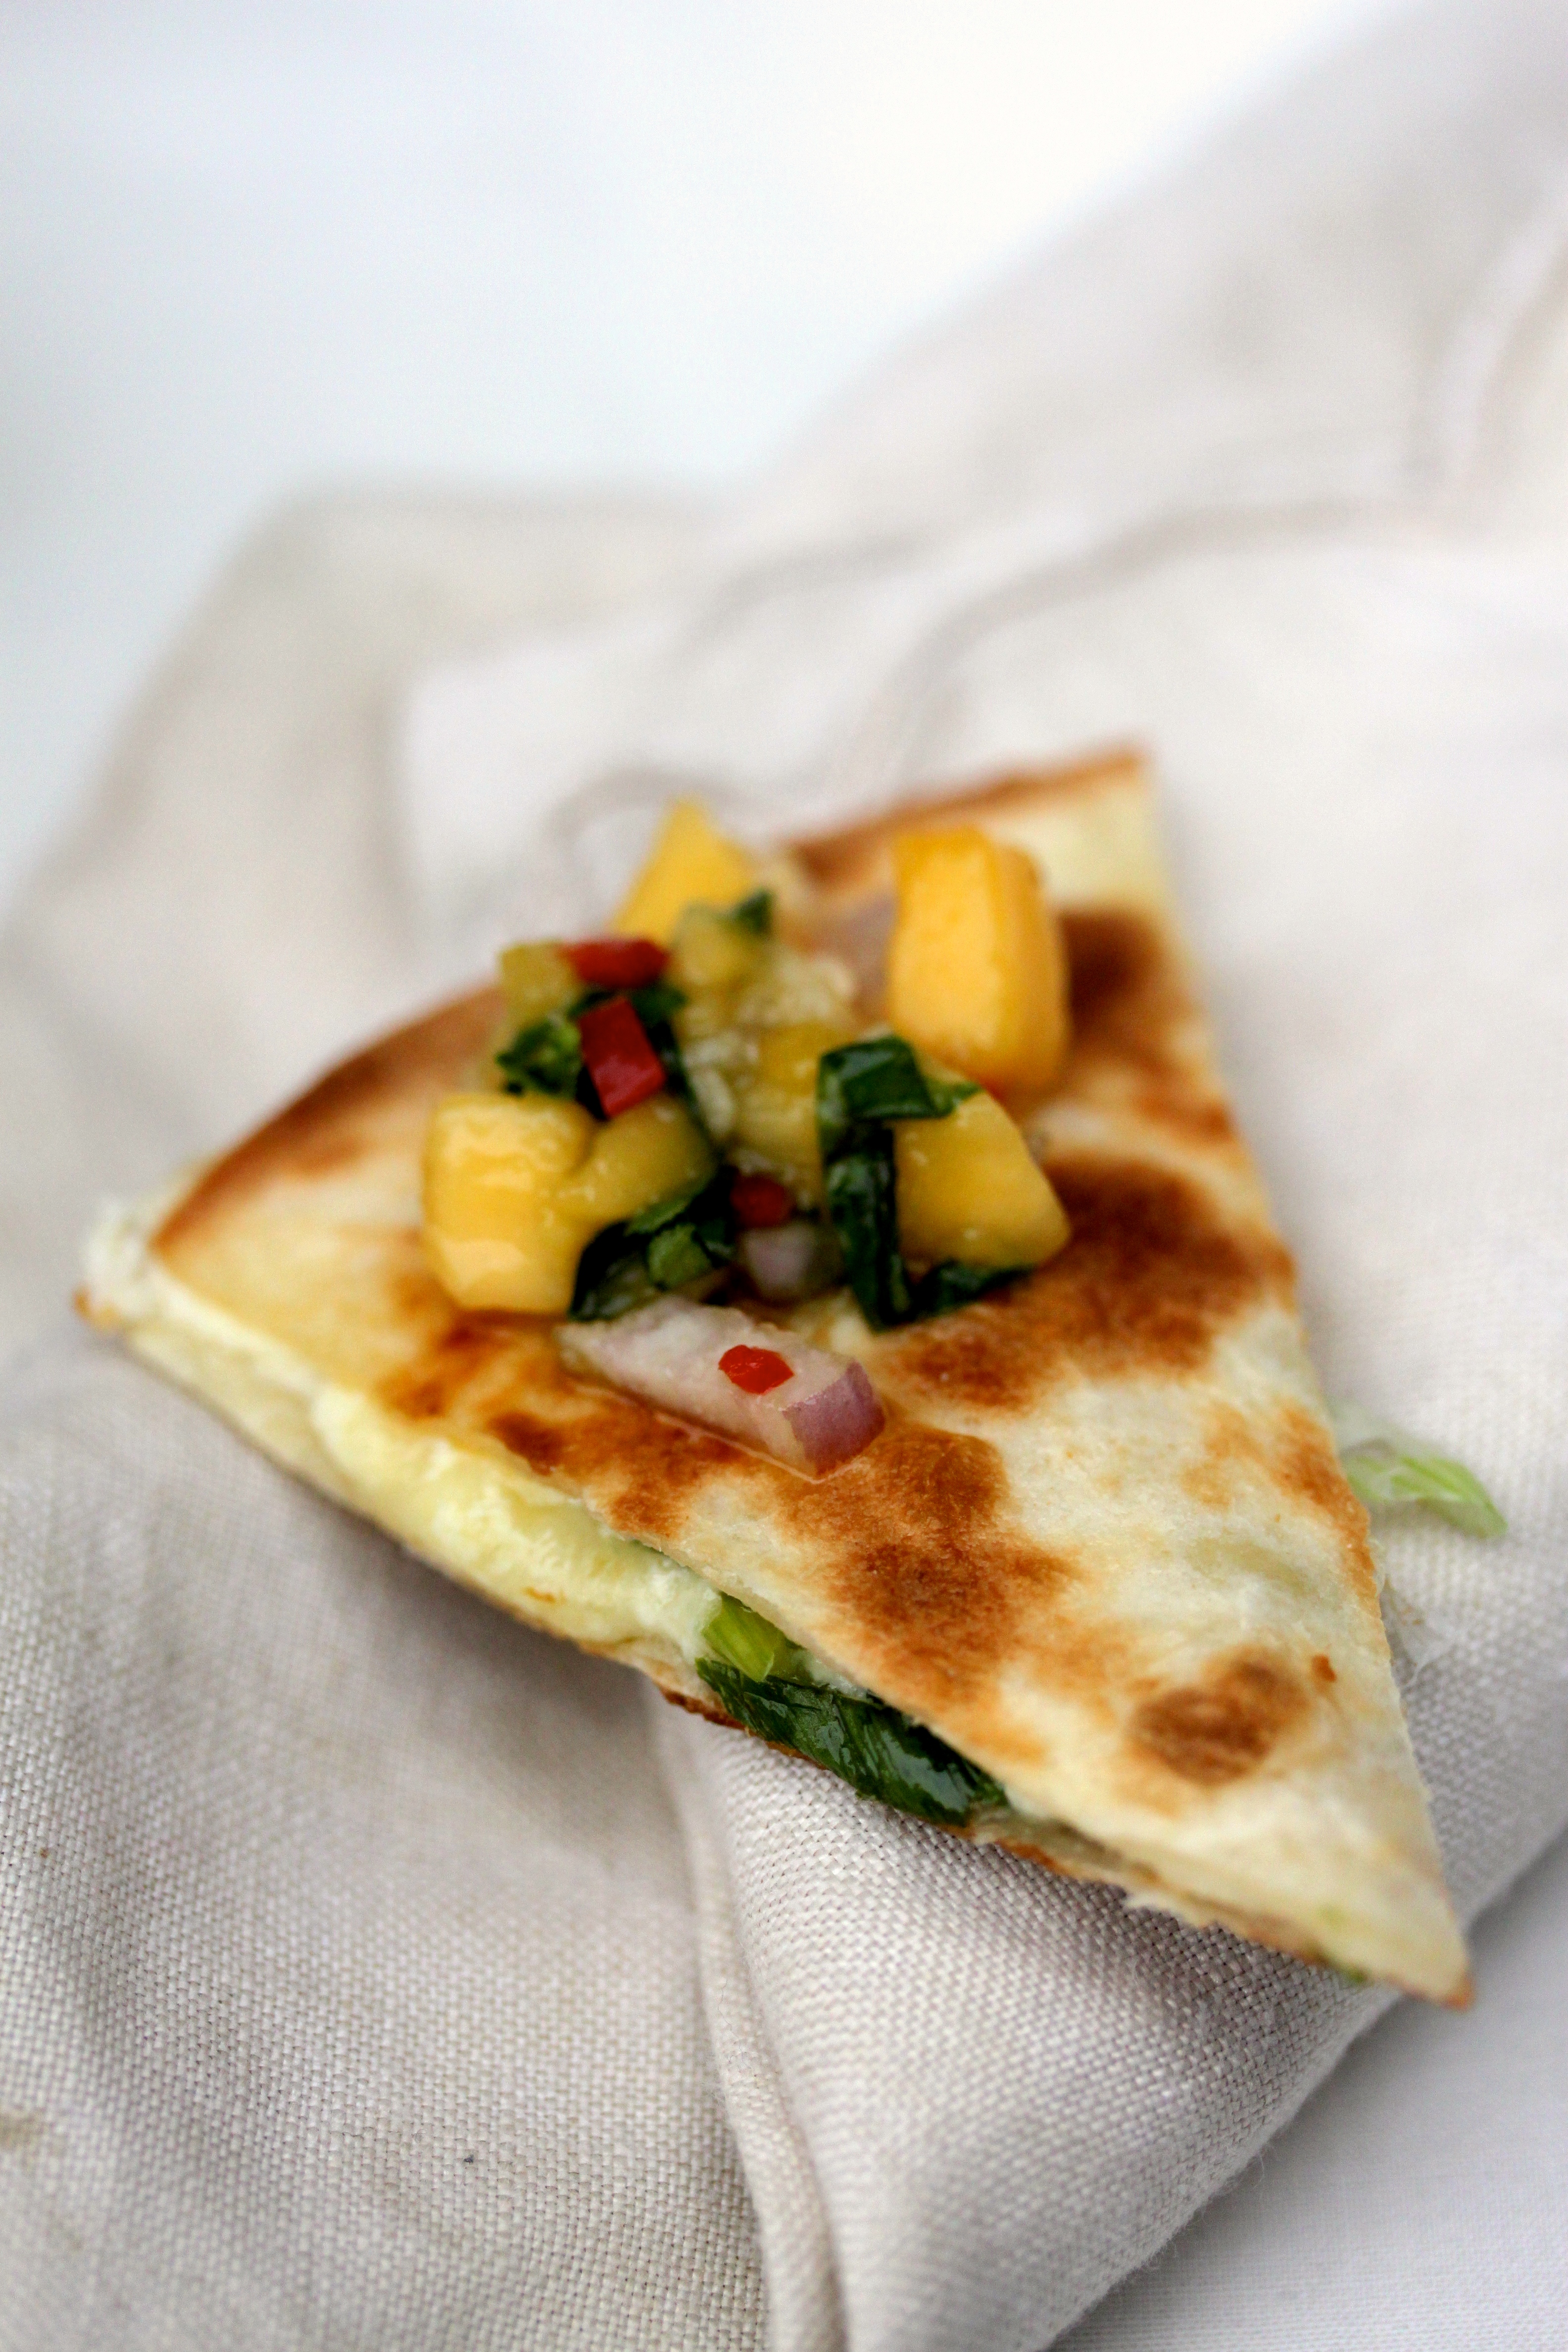
No but for real now, this is wonderful. I absolutely love these as breakfast, but they go well with anything feast- or soup related. I personally go for a drizzle of sweet chilli with mine, but see what flavour combo works best for your tastebuds.

If you’re just after the cheese-less, round, covered version of this, i.e. khachapuri, Follow the recipe below, but instead of shaping boats, roll out two big round disks of dough, covering one with the cheese mixture, then pinch together the edges. The cooking time should be more or less the same, but keep an eye on it. As soon as it’s golden brown on top it’s done.

IMG_7705

Cheese and Kale Pide

Adapted from Nigella Lawson’s Feast

Makes 4 x 30cm / 6  x 20cm pide


Dough:

250g yoghurt

1 egg

25g butter, melted

300g flour

½ tsp salt

1 tsp baking soda


Kale topping:

A big glug of olive oil

1 bunch / packet kale, about 250g, finely sliced

3 fat garlic cloves, chopped

splash of soy sauce


Cheese filling:

150g mozzarella, preferably the more firm sort (because it’s easier to grate)

150g feta, crumbled

150g cream cheese

1 egg


For the dough, whisk together the yoghurt, butter and egg with a fork. In a large bowl, add 250g of your flour – keep the rest close at hand, because you’ll need it as you keep going. Stir in your yoghurt mixture. Stir stir stir, using a knife or spoon first, until it starts to combine and you can use your hands. Add more flour gradually until you have a soft but not sticky dough. Add the salt and the baking soda and knead that into the dough. I’m not quite sure why this happens at the end, but Nigella says to do so and we don’t question her. Next, cover the dough with clingwrap and let it rest for about 20 – 30 minutes.

Next, get a large frying pan and add the olive oil and kale. At this point I like to add a splash of water and cover it with a lid, and let it cook on medium heat until softened. Remove the lid and turn up the heat, adding the garlic. Once the kale’s volume has reduced to about 1/5 of what it was when it was freshly chopped, add the soy sauce and let that bubble away before removing it from the heat.

For the cheese filling, grate the mozzarella and combine it with the feta and the cream cheese. Stir in the egg. It’s not completely necessary to add the egg, however I find it helps keep the filling together.

Preheat the oven to 220°C. Divide the dough into 4 or 6 pieces. Roll one of those pieces into an oval shape of about 5mm thickness. Spread some of the cheese mixture along the centre and add some of the kale. Fold in the edges and pinch together the ends. Repeat with the rest of the ingredients.

Slide the pide onto a baking paper lined baking tray and bake for about 20 minutes, or until the edges are golden and the bottom is cooked when lifted up to test. Serve with sweet chilli sauce, a knife and a napkin.

Advertisement

Cheesy Garlicky Flatbread

cheesy garlicky flatbread

You know what’s better than garlic bread? Nothing obviously, I hear you say. You’re wrong my friend. You know all those times you ordered garlic bread to accompany your sinfully satisfying take-away pizza, and almost without a doubt, the first bite into that scalding puff of steamy bread, your inner garlic demon chucks his garlic trident into a corner and turns his back to you. Because all you really have there is (not enough, never enough) molten margarine that was placed in the vicinity of a picture of garlic. WHERE IS THE GARLIC DUDE. But you eat it anyway, because you’re a respectful human being.

Homemade garlic bread is a whole other thing. But then so is cheesy garlicky flatbread. The topping on this beauty makes up for the (never enough) butter that ceases to exist as soon as your crusty garlic baguette is hot enough to remove from the oven. This garlicky cheesy flatbread has cheese and sour cream to accompany that deliciously enticing bite of (the absolute perfect amount of) garlic. And there’s some spring onion for added prettiness.

This is one of the best most possible things you can serve your friends while you figure out what next to turn into food before you pass out from hunger. Its tasty carby goodness hits that spot with a triple hi-five.

You might as well do it this Friday.


Cheesy Garlicky Flatbread

This is more an instructions list of how to assemble. Feel free to tweak to satisfy your needs.

As many rounds of flatbread (25-30 cm in diameter) as you think will be needed (2 or more for a group of 4 as an entree)

Per flatbread you will need:

3 heaped Tbsp sour cream (full-fat please)

1/2 tsp vegetable stock granules

2 garlic cloves, finely chopped

1/3 cup / 60g grated cheddar cheese, or anything that melts well and isn’t too strong in flavour

1 spring onion, finely sliced


Preheat your oven to 220°C. Spread the sour cream evenly over the flatbread. Be sure to be generous, as some of it will be soaked up by the bread as it bakes, but, not too much, or else it’ll slide right off when you go to pick up a slice. Sprinkle the stock granules evenly over the top. You can use whatever type of salty component you like, just make sure you adjust accordingly. Sprinkle the garlic evenly over that, followed by the cheese, and then the spring onion. Transfer to a baking tray and bake for 0-15 minutes or until the cheese has melted and the edges are taking on colour. Remove from the oven and cut into pieces. Share with friends.

Three-Cheese Quesadillas with Mango and Basil Salsa

three-cheese quesadilla

Quesadilla. The cheat’s pizza, the new toast – basically the most versatile piece of foodage out there. And delicious obviously. Crisped in a pan until golden, the cheese sexily oozing out of the sides as you cut it into triangles, as you try not to look like a glutton and ram a whole piece down your throat while you’re already topping the next with the fruity salsa.

Basically best Friday evening nibble ever. I’ve got a feeling I will be turning the topic of quesadillaing into a bit of a series because really, there are just so many different options to share.

Lets start with the mother of all cheese quesadillas, shall we? A riveting combo of feta, Philadelphia cream cheese and cheddar, satisfying that cheese tooth of yours to the max. Whack on some mango salsa – you’re done. It’s pretty simple and really, I don’t know why I’m still writing. Go make some. Now.

more three-cheese


Three-Cheese Quesadillas with Mango and Basil Salsa


Makes 4-5 quesadillas, depending on size


200g feta

250g Philadelphia cream cheese, softened

4 spring onions, finely sliced

200g or so grated cheddar cheese


2 mangoes, diced into small cubes

1 large shallot, finely chopped

1 large mild chilli, finely chopped

½ bunch basil, finely chopped

1 lime, juice

2 Tbsp olive oil

pinch of salt


8-10 flour tortillas


First of all you want to start making the “whipped feta”, which essentially is combining cream cheese and feta with a hand held blender in a bowl of some sort until smooth. Got it? Great. Now set it aside while you get on with the rest. Just don’t put it in the fridge, because we want it to be nice and spreadable for later.

Now, combine the mango, shallot, chilli, basil, lime juice, olive oil and salt in a bowl.  Easy as eh? Now you’re ready to roll. Place a flour tortilla on a flat surface such as a chopping board and spread over ¼ or a little less of the whipped feta. Sprinkle over some of the sliced spring onions and top off with a bit of cheddar. Place another tortilla on top and transfer to a large fry pan. Gently heat on one side until it goes golden and crispy, then turn and do the same thing there. Remove from the pan and continue with the rest. Slice the quesadillas into triangles and serve with the salsa.


%d bloggers like this: