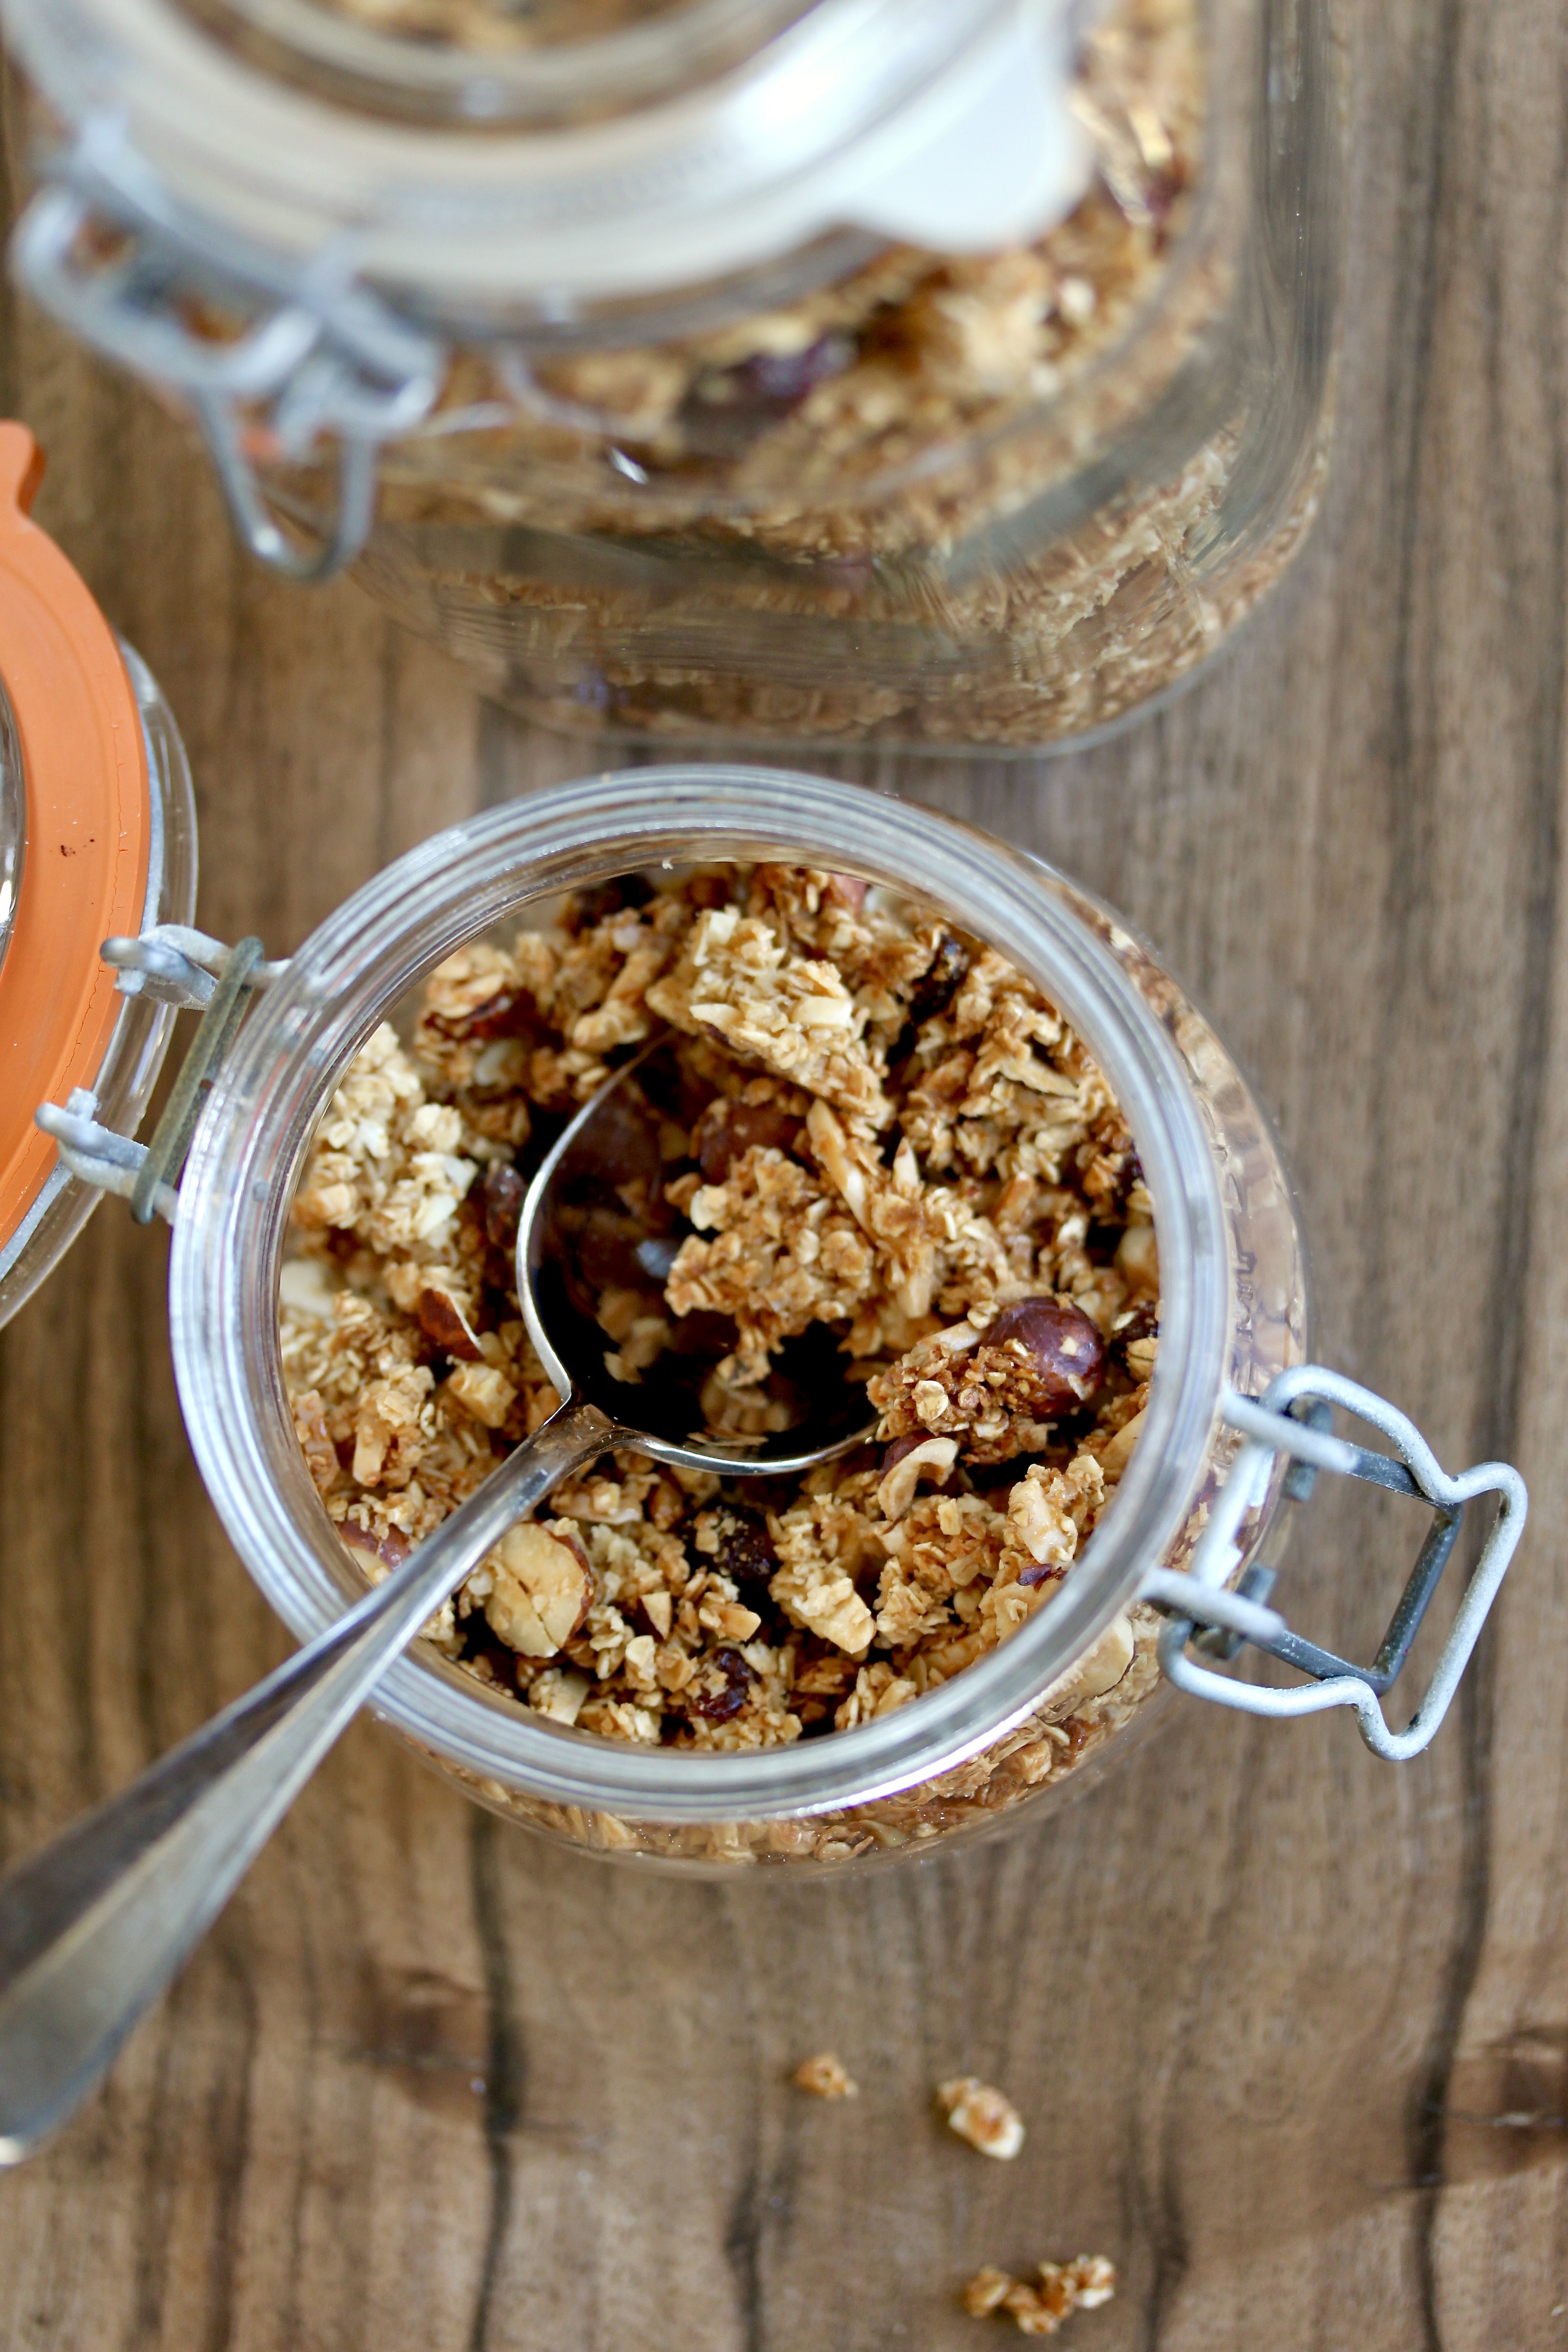
This is the granola recipe of all granola recipes, swearsies realsies. It has beautiful crunchy clusters. It has the perfect selection and ratio of nuts and dried fruit to oats. It has a lovely maple-y depth. And, maybe most importantly, it is also seed-free. Good, satisfying granola should by no means be health food. If you want healthy, go and have some raw oats with fruit. This is not that. However, this granola is immensely satisfying, in a pat-on-the-back, treat-yourself sort of way, which is exactly where I want a granola to be.
This granola clumps beautifully, which is largely due to the addition of honey, which, with its ultra-high concentration of sugars to water, acts as a glue. This cannot be achieved with maple syrup alone (I’ve tried). Not stirring the granola during the baking process helps in the chonky clump-formation, too.
I like to add my cranberries right at the beginning, as opposed to at the end, as I enjoy a cranberry with a nice chew to it. If you are someone who prefers them on the softer side, add them at the 15-minute mark.
1 Tbsp relatively neutral vegetable oil – I have a small bottle of walnut oil kicking around that I like to use for this
125 ml maple syrup
2 Tbsp honey – if not runny, warm in a small pan before adding to mix
1 tsp vanilla essence
300g porridge oats
150g roughly chopped hazelnuts
100g slivered almonds
100g dried cranberries, roughly chopped
50g desiccated coconut
A good pinch of salt
Preheat your oven to 150°C and line two baking trays with baking paper. Mix the oil, maple syrup, honey, and vanilla in a large bowl.
Add all the remaining ingredients and mix well. Scoop onto the two baking sheets and spread out evenly. Bake for 25-30 minutes without stirring, checking at the 15-minute mark to see how things are doing. Once golden brown, remove from the oven and cool.
Now, because you haven’t stirred the mixture, you will be blessed with giant shards of granola. It is now up to you how large or how small you’d like the pieces to be – so transfer or crumble them into one 2L and one 1L glass jar. Enjoy however you like.
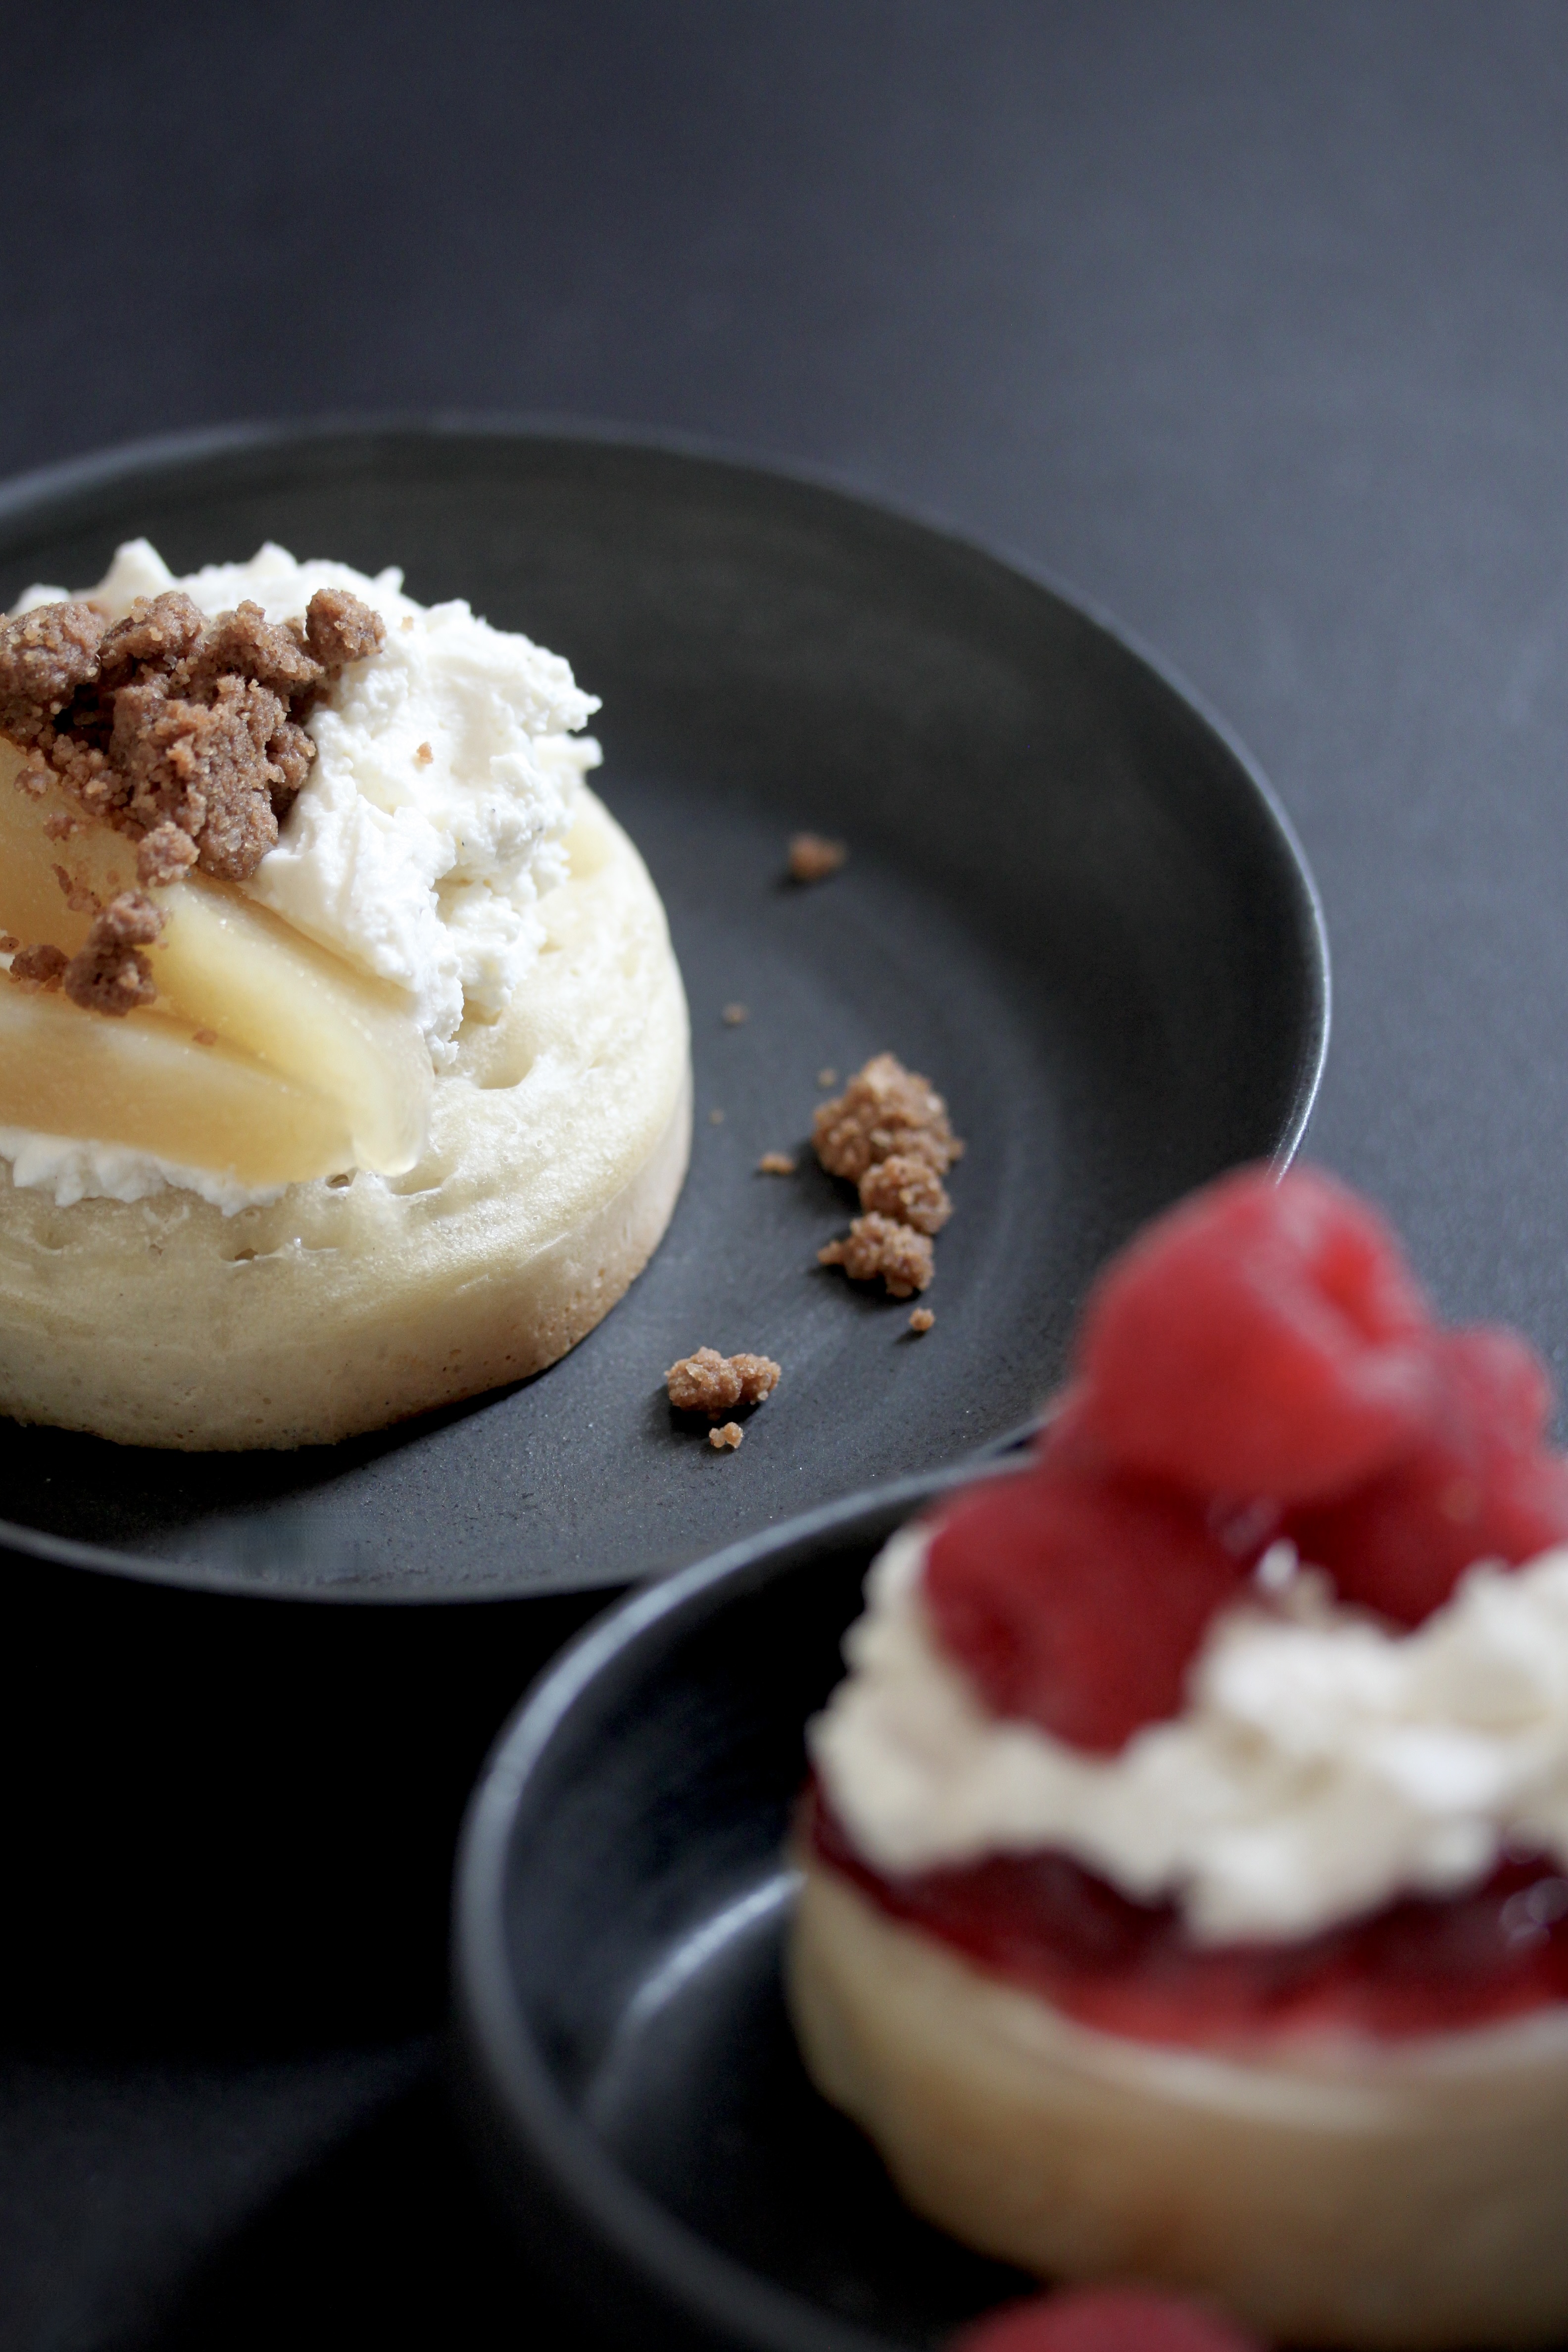
Wherever you may be at this moment in life, if you haven’t had a homemade crumpet yet, then you need to take stock of the flour in your pantry and reassess your weekend breakfast plans now. These are not the same as store-bought crumpets – although they too deserve a special place on the breakfast plate. Homemade crumpets are what I like to call “the better pancake” – they are slightly on the sturdier side, which prevents them from deflating and disintegrating into a mushy heap on your plate. They are fluffy and moist and covered in little holes into which you can pour maple syrup as it combines with the slowly melting pat of butter snuggled on top. They are humanity’s gift to breakfast for when you’re feeling fancy and lazy at the same time.
Crumpets
Makes 15 (7.5cm in diameter) crumpets
This is double the amount listed on the Warburton’s website, but if you’re going all the way to make them, you may as well make enough to last you a few breakfasts. They keep in the fridge up to 3-4 days.
You can easily make these using round cookie cutters (yes, they can all be different in size) or indeed crumpet rings, but if you don’t, but think this is something you you may make on the regular, I suggest you get yourself a four pack of non-stick egg rings with a little handle – it makes handling the crumpet so much easier (and burn-free). Make sure you get ones with an edge about 2cm high – this will determine the height of your crumpet.
300g flour
400ml water, plus two Tbsp extra for the yeast
1 tsp salt
2 tsp dried yeast
2 tsp baking powder
1 tsp sugar
vegetable oil and a pastry brush
Combine flour, water, and salt in a big bowl. Get out your electric whisk and whisk until everything is smooth and completely combined.
In a small bowl, combine the two extra tablespoons and the dried yeast until more or less dissolved. If you’re considering skipping this step and just dump everything into the big bowl, don’t – I have, and the yeast ends up forming little clumps which are a pain in the neck to try and dissolve in the batter. Add to the big bowl, together with the baking powder and sugar and give it a good whisk with your mixer again until everything is completely combined – the consistency should be close to that of a smoothie.
Cover the bowl with a moist tea towel and let it sit in a warm place for 15 minutes. The dough will rise slightly, and the surface will be covered with little bubbles.
Once you’re ready to make the crumpets, heat a frying pan big enough to hold your four cookie/crumpet/egg rings over medium heat until the rings are hot to touch. Dip your brush into the vegetable oil and oil around the inside of the rings. Scoop a ladle of batter into each ring, coming up ¾ of the sides of the rings – any higher and they will overflow. Now, you wait as the bubbly batter starts to cook, forming a fluffy interior and a crisp exterior. This is not a moment to rush things, okay? Once the crumpets have started coming away from the sides of the rings, golden on the bottom and nearly done on top, you can go ahead and flip them. They may need a little extra help with a knife if they’re sticking to the sides. Let them sit for a minute longer, than remove and set onto a plate or wire rack to cool while you repeat the same process with the rest of the batter.
You can either eat them immediately (might want to give them a quick dash in the toaster if they’ve cooled off a little too much) or let them cool down and stash them in the fridge in a zip lock bag. They can easily be reheated in the toaster for two to three minutes.
To eat, top them with whatever you would top toast or pancakes. I love them with a nice glug of maple syrup, some unsalted butter (salted butter is more expensive in Switzerland – I know, the audacity) and a sprinkling of flaky sea salt, but you do you.
If you really feel like doing you, even perhaps hosting a crumpet breakfast party, then please, scroll down – I have many pieces of sage advice to give to you.
How to “Crumpet BrunchSpread“
You can do this as casual or as glam as you want, but I’m only going to give you the glam version because life is too short to not be glam.
You want to have a mixture of sweet and savoury components, so you and / or your lovely guests can come up with their own combinations without having to feel like their sweet tooth / savoury denticle is neglected. I suggest providing a collection of creamy “primers”, which provide a base upon which you can arrange the rest of the toppings:
primers
butter
soft cheeses, e.g.,
whipped mascarpone with a scraping of vanilla seeds (for the sweet toppings)
cream cheese or labneh (excellent for both sweet and savoury toppings)
NOT ricotta. Ricotta is dry and bland, and while this is definitely a good thing in other contexts, it isn’t here. Begone, ricotta.
Then, you want your fruit and vegetable toppings. Consider going for the same or similar level textural softness as the crumpet for these, as they will otherwise tumble off your crumpet into a sad crumpet-less salad on your plate if they aren’t. If they are already naturally soft (e.g., mango slices or avocado), go forth and use them as they are. If they are a little firmer in texture (e.g., cherry tomatoes or pears), I suggest roasting or poaching them.
fruit
poached pears (one pear, cored and cut into slices, poached in 150ml water, 2 Tbsp sugar, 2 Tbsp lemon juice, and two cloves for 10-30 minutes depending on pear until soft and translucent)
mango
fresh berries
veggies
roasted cherry tomatoes (drizzled with olive oil and seasoned with salt and pepper, roasted in a 180°C oven for 20 minutes until blistered and soft)
sliced avocado
caramelised onions
Here, you might want to add a condiment or two to add a little seasoning and flavour to your medley:
sweet condiments
jam
honey
maple syrup
savoury condiments
flaky salt
freshly ground pepper
finely grated parmesan
truffle oil
harissa
Finally, to take this from brunch to fancy brunch, you need to add some crunch (ha!):
sweet crunch
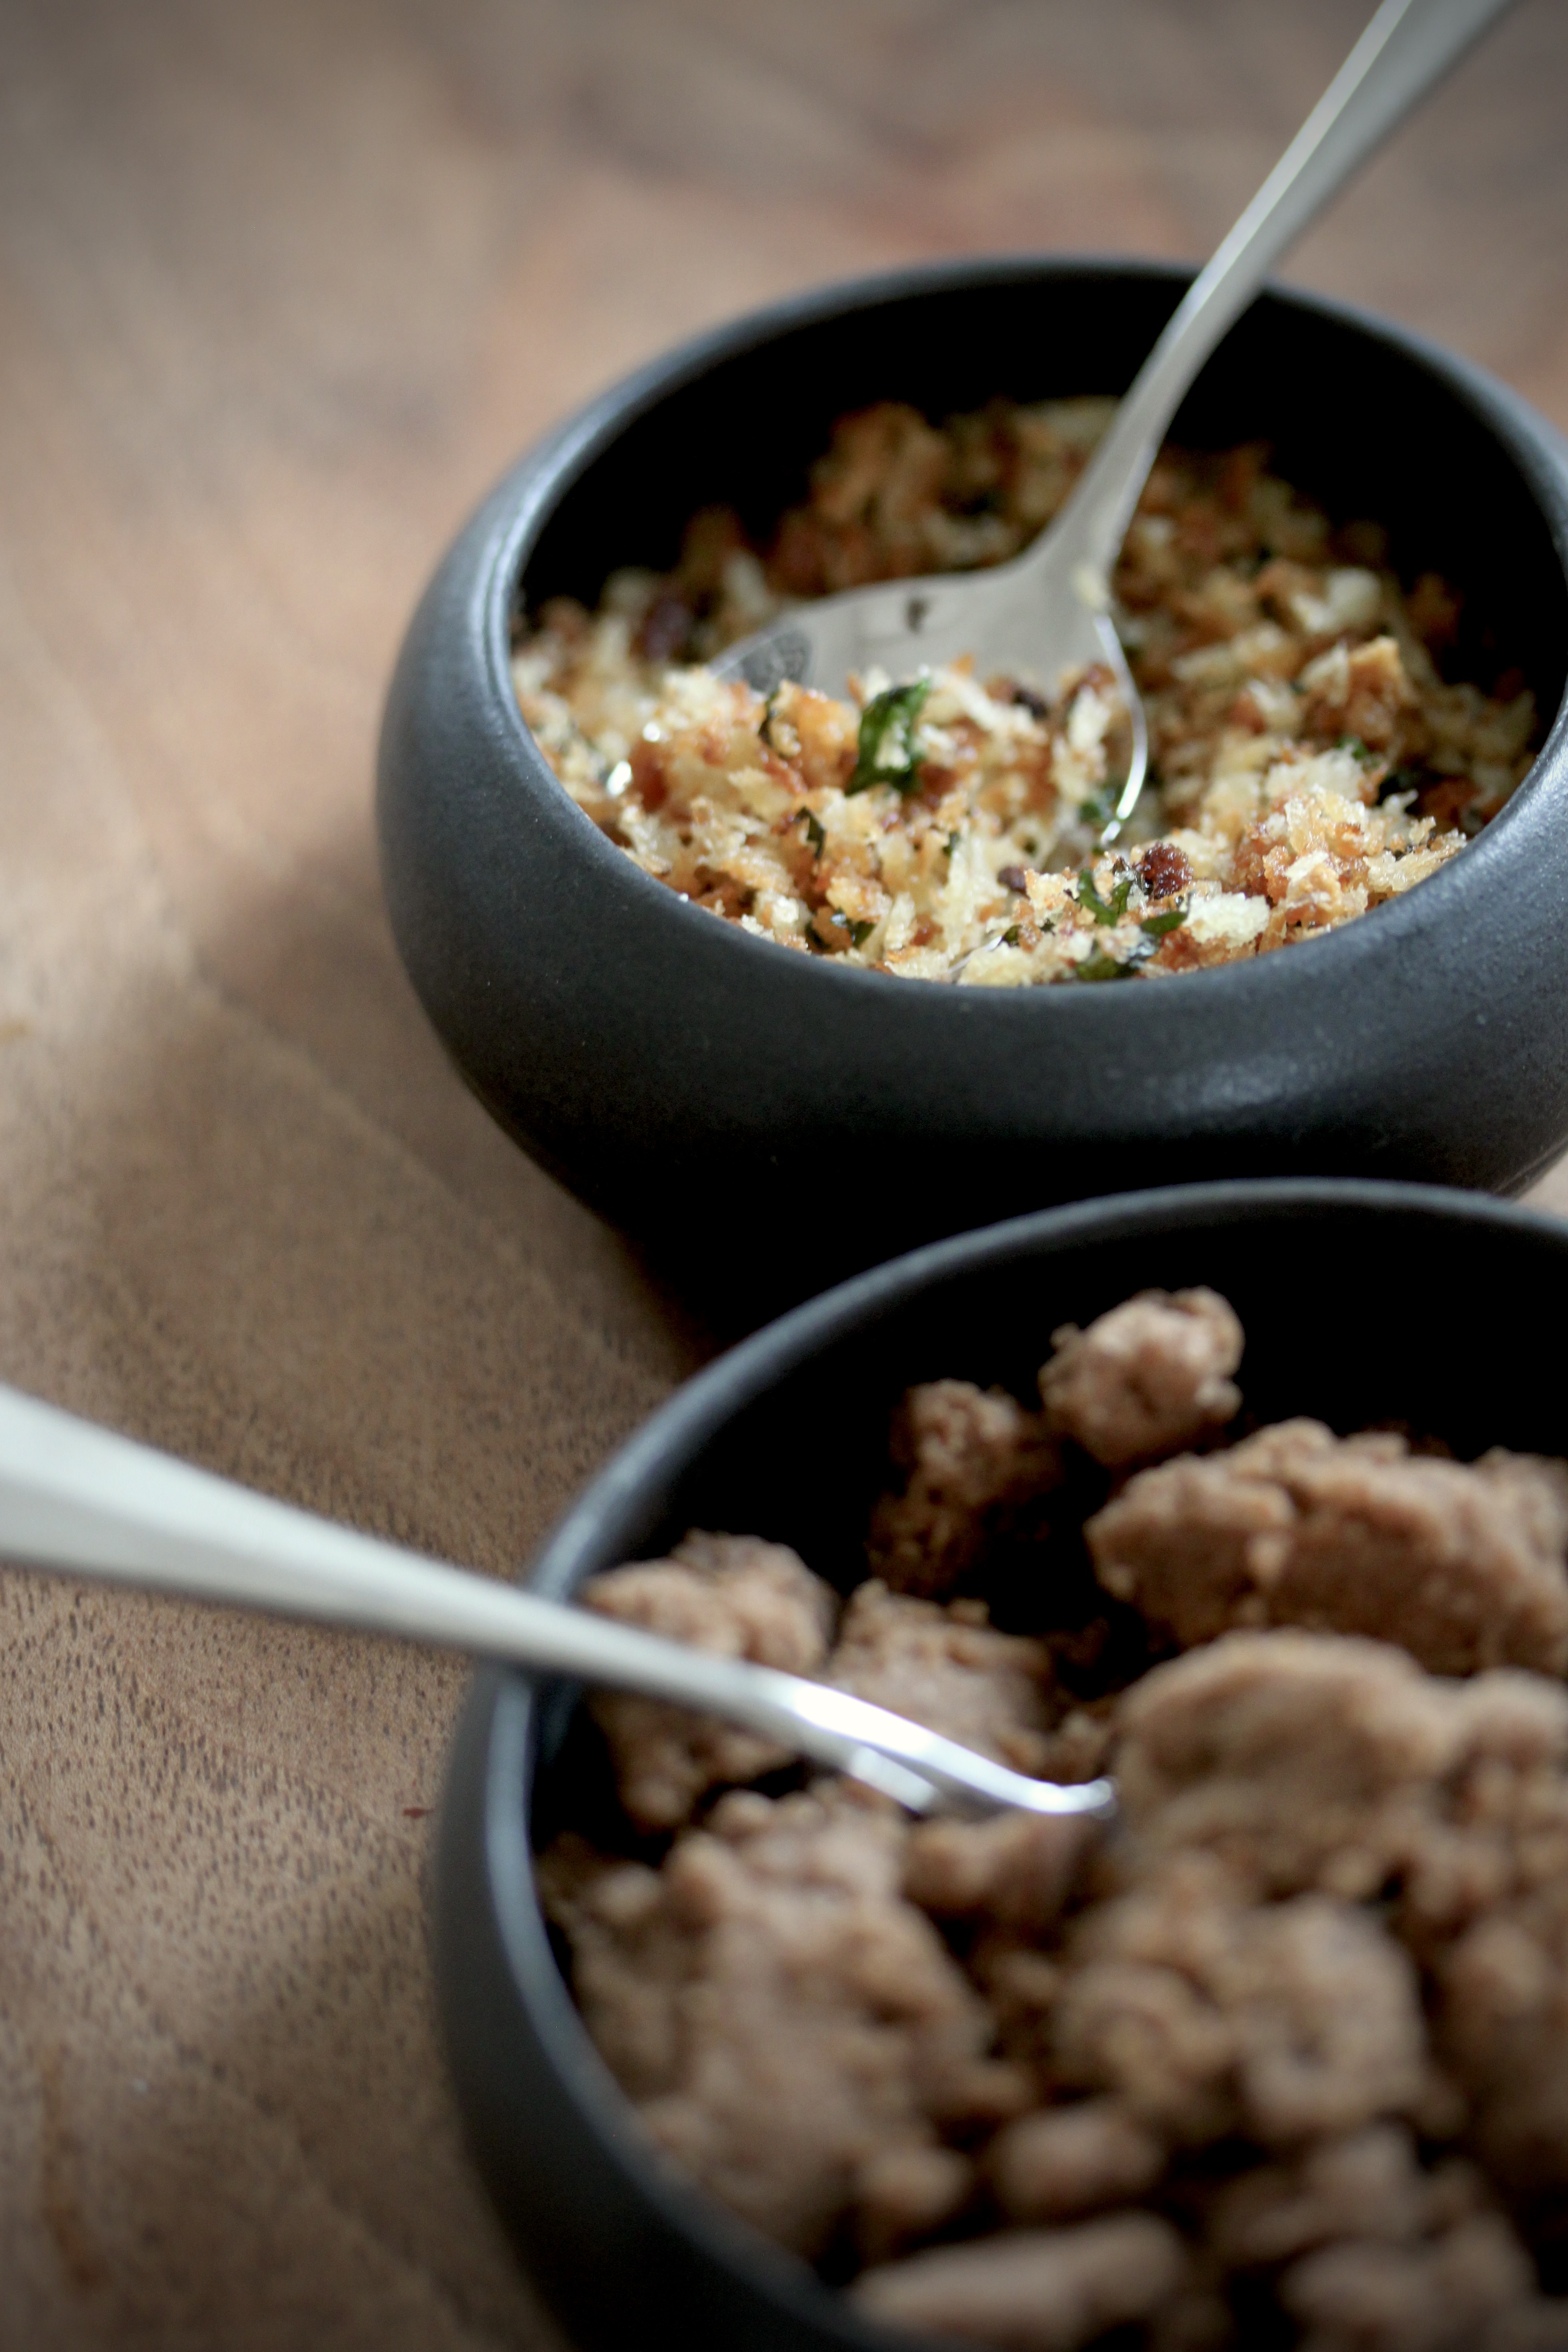
cinnamon streusel (50g flour, 50g sugar, 40g cold butter, 1 tsp cinnamon, and a pinch of salt – mix with your fingers into a crumbly dough, making sure to clump a few bits together. Remember, you are the master of how chunky or sandy your crumble is. Bake for 20 minutes in a 180°C oven – it will have darkened a shade or two. Remove from oven and cool)
savoury crunch
garlic pangrattato (Combine two pressed garlic cloves and one tablespoon finely chopped parsley in a frying pan with two tablespoons of olive oil. Fry until the garlic begins to turn golden, then add 5 tablespoons of panko. Season with salt. Keep stirring until a lovely golden colour. Remove from heat and cool).
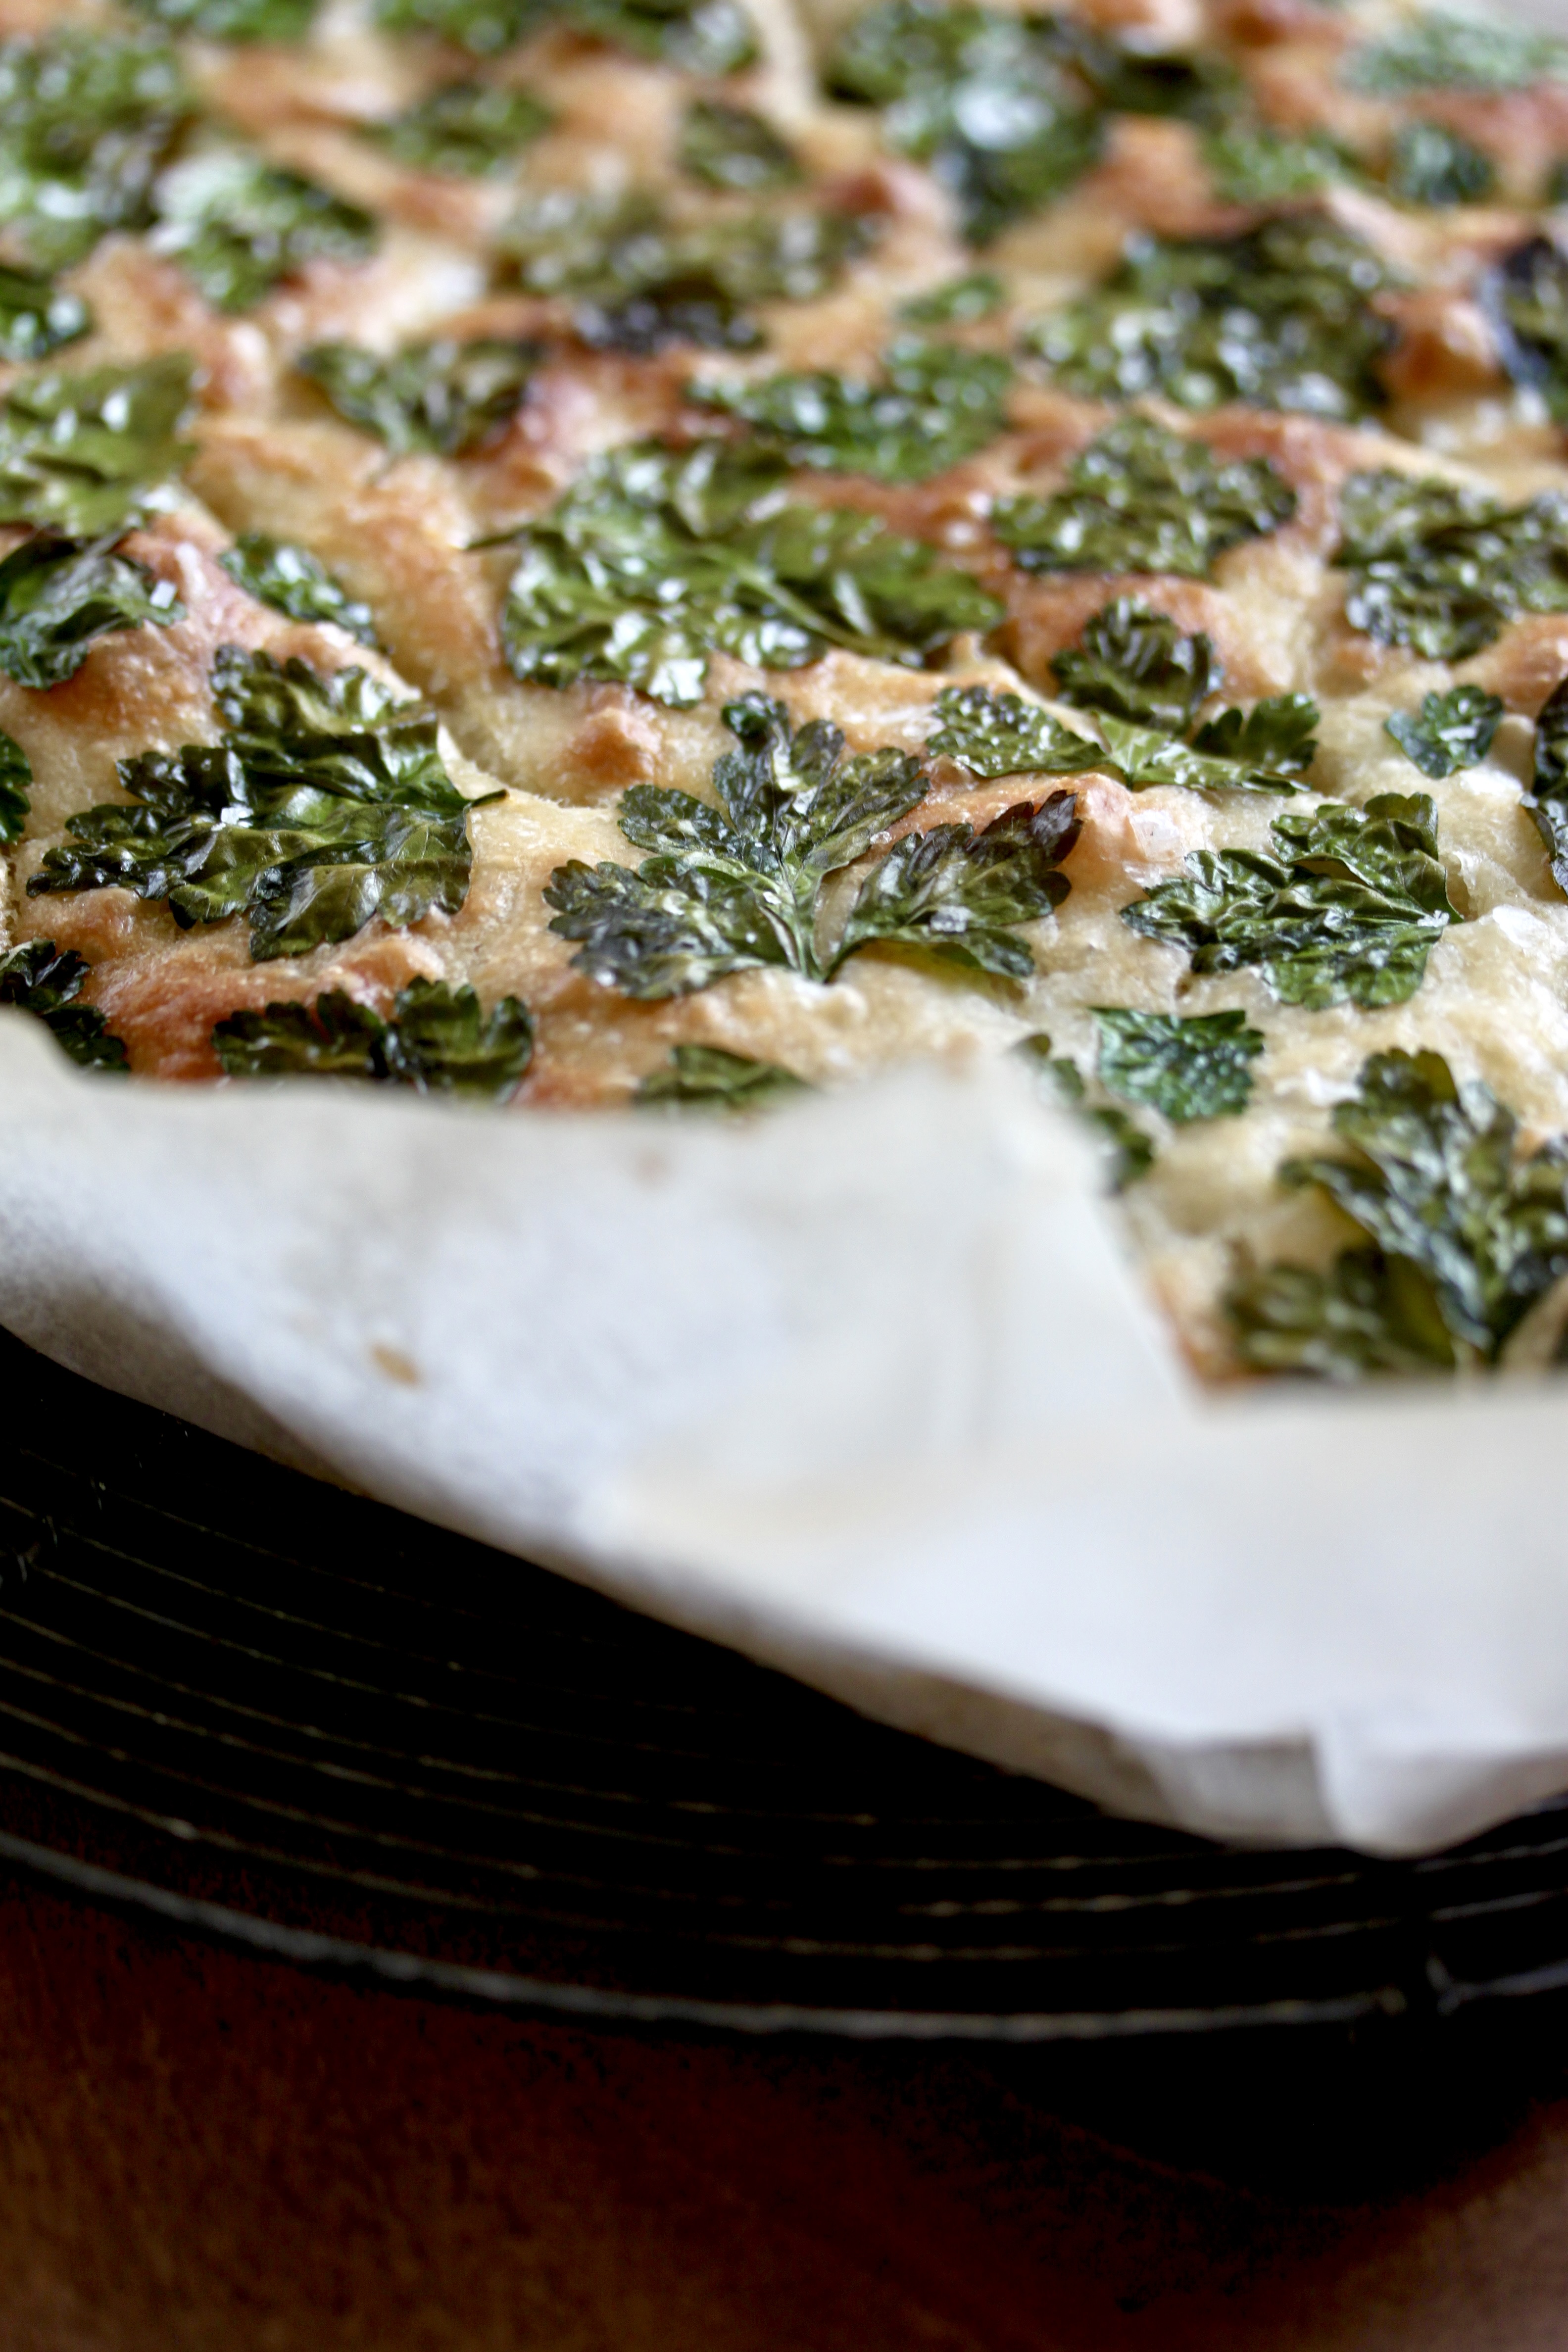
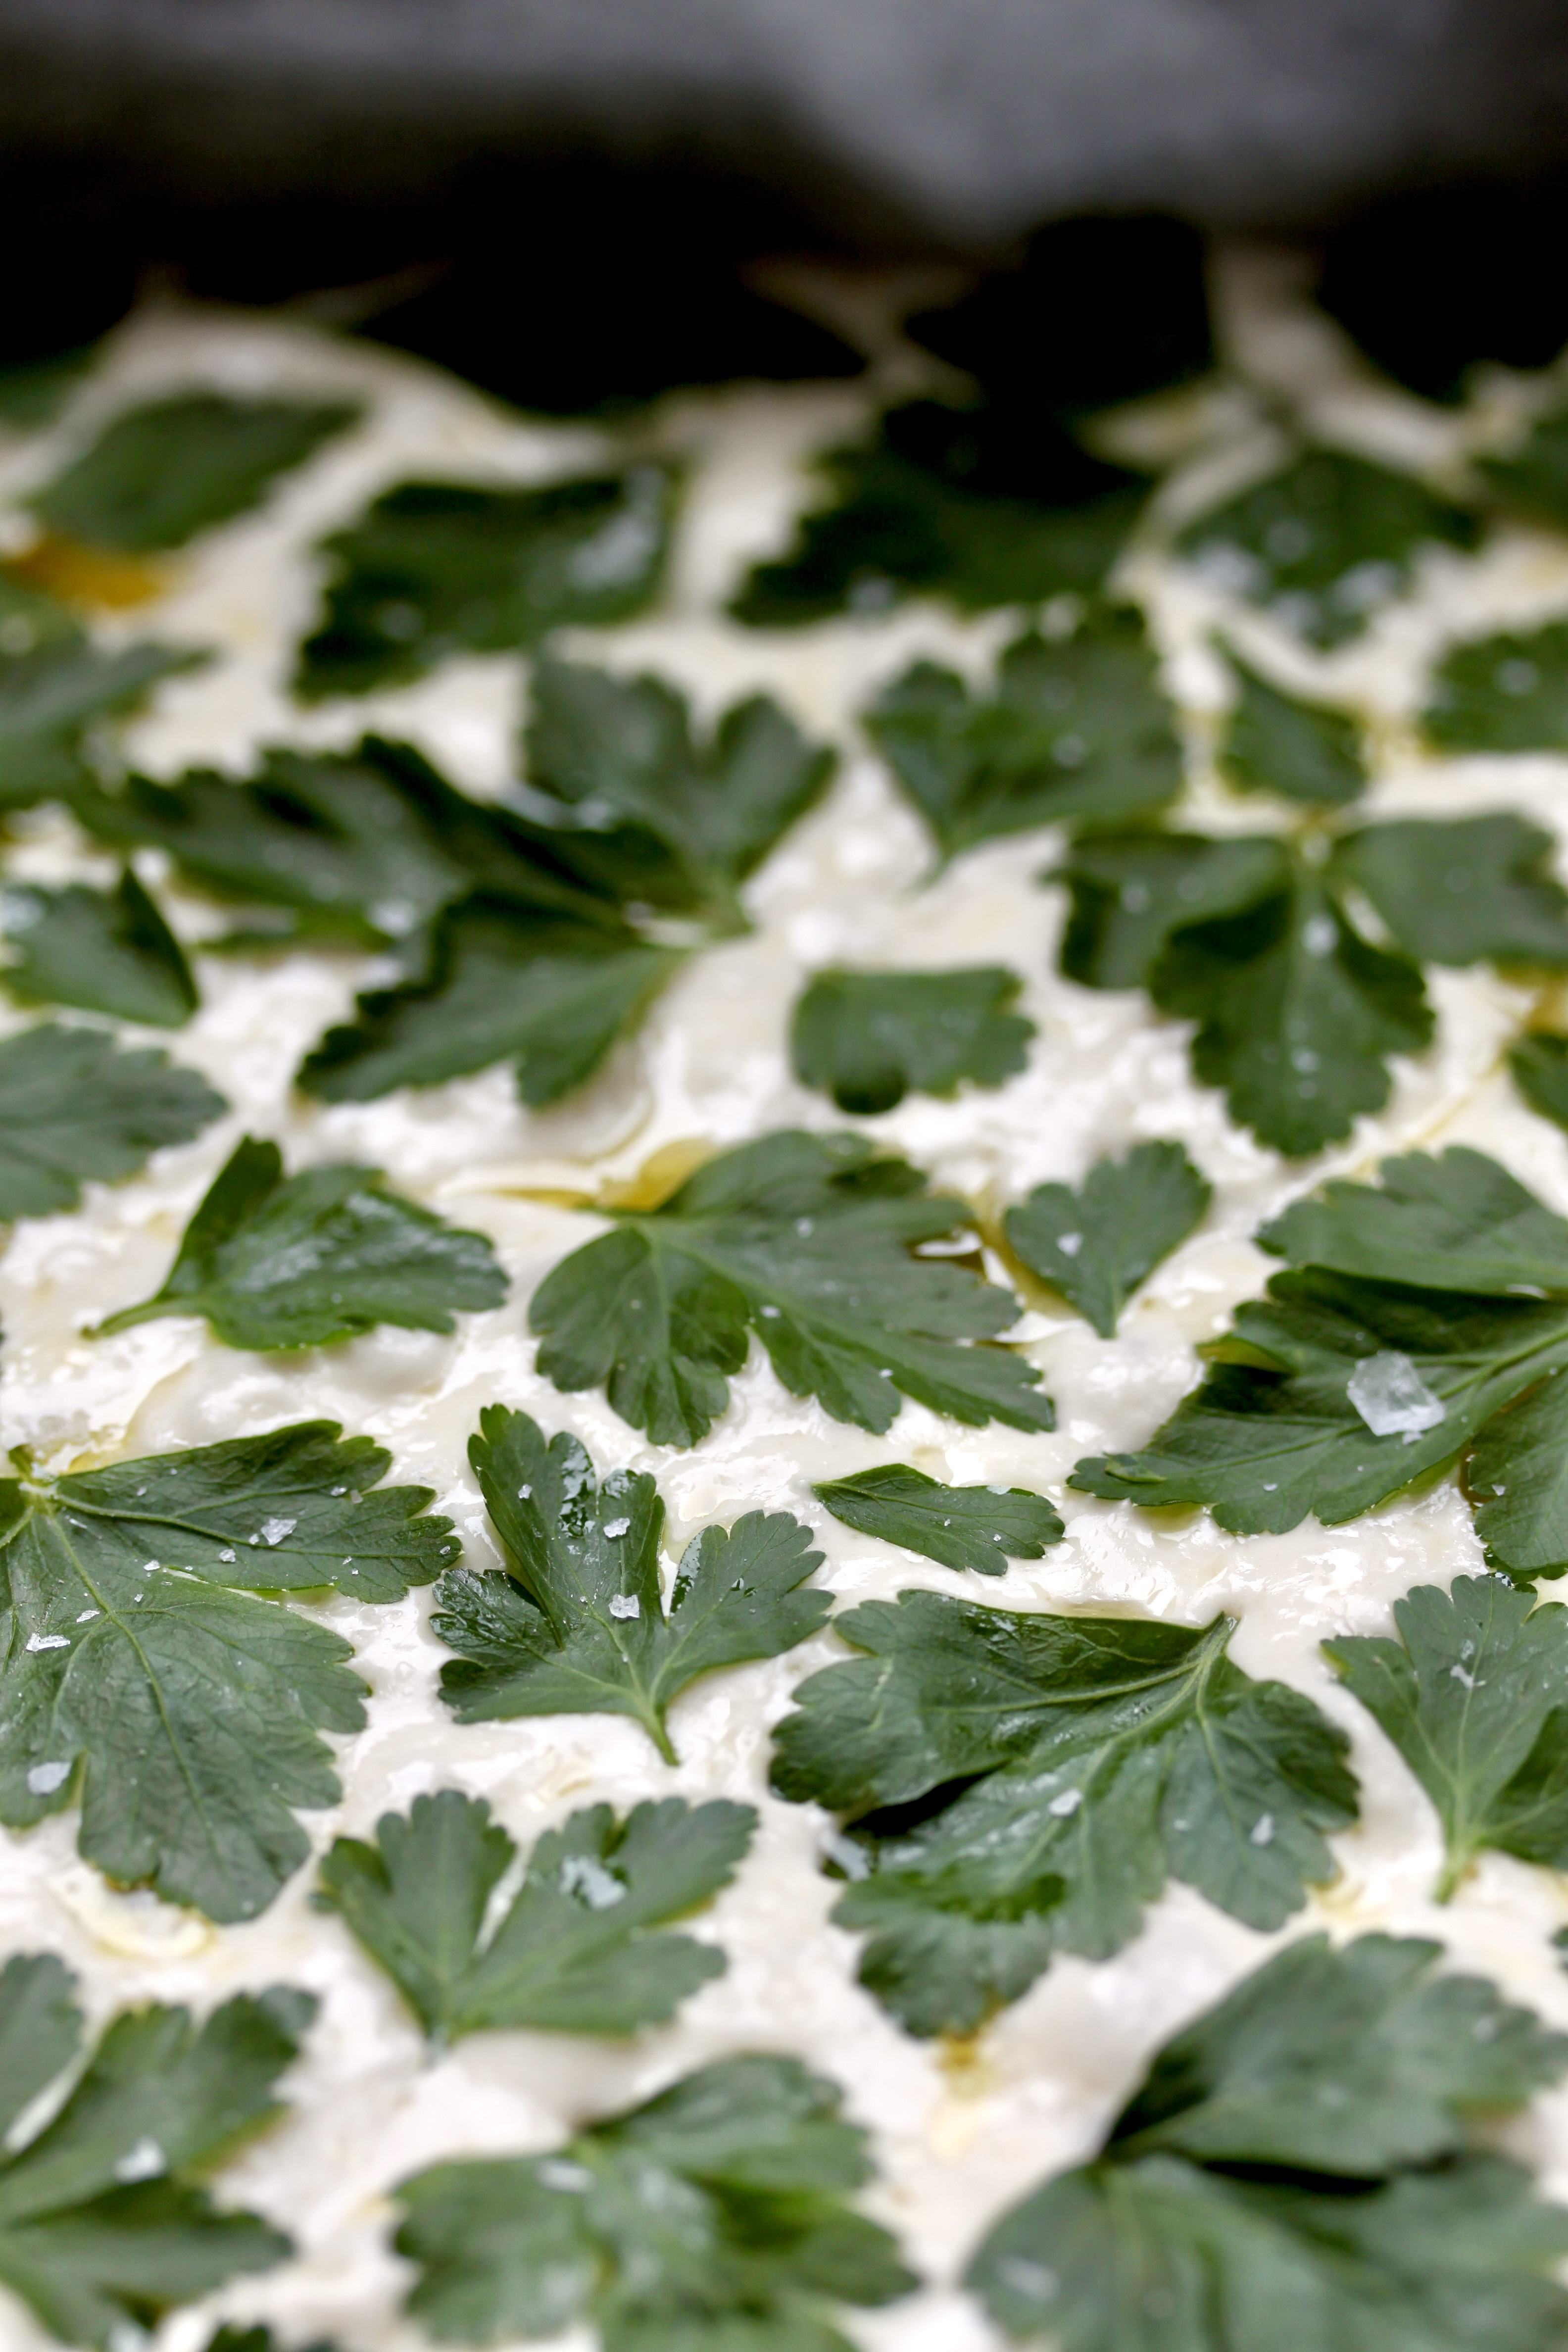
This is the focaccia of all focaccias, people. It’s chewy, fluffy, salty, and crunchy, and a little bit of a showstopper, too. What defines it is not only its high hydration, but also its very leisurely rise in the fridge overnight. However, it’s the deliciously oily crunchy crust it gets as it sits in a cozy puddle of olive oil in a very hot oven that is possibly the best part. The parsley is merely there for decoration, so by all means, leave it out or replace it with other herbs or thinly sliced vegetables of your choosing (search for “garden focaccia” for a bit of inspo – although you’ll have to take care not to overbrown the crust and veggies to keep the colours popping).
If you’re feeling like focaccia but aren’t planning a larger gathering, this recipe halves very nicely, too.
750g flour
1 Tablespoon (17g) salt
1 teaspoon (3g) dry yeast
900ml warm water
4 Tablespoons olive oil, plus extra
one big bunch of flat-leafed parsley, leaves picked
flaky sea salt, for sprinkling
In a bowl, combine the flour, salt, and yeast. Pour in the warm water and gently mix with a spoon until the flour is incorporated and you’re left with a wobbly and sticky dough that resembles something like a cross between pudding and porridge in texture. in That’s your first step done, and you didn’t even have to roll up your sleeves! Drizzle the olive oil into another large bowl and give it a good swirl around the sides – this will help it slide out easily later. Plop the dough into that container and scoop a little of the oil over the top of it. Cover it well with plastic wrap and transfer to the fridge, where you should let it rise for at least 8 hours, overnight, or up to 2 days.
Once you’re nearly ready to bake, line a high-sided baking tray (approximately 35×40 cm in size – you’ve got a bit of room to play there) with baking paper. Take the dough out of the fridge. Tilting the bowl over the baking tray, try to get some of that oil onto that baking paper first before gently scooping the dough onto that oil puddle – that way, you’ll ensure that nothing sticks while also making certain that the focaccia is oiled – and crunchy – on all sides. Using your hands, gently nudge the dough to spread it out to fit the baking pan. Now it’s time to let it rise at room temperature. I like to keep it covered here, too – a great way to prevent your tea towel from drooping into the focaccia is to top the baking tray with the oven wire rack and then drape one or two moistened tea towels over the top. Place the baking tray in a warm place and let the dough rise until doubled – this can take anything from 20 minutes to an hour depending on the time of year it is.
Preheat the oven to 230°C. As the oven is heating up you can get going with decorating the dough with the parsley. Gently arrange the parsley leaves on top of the dough, making sure they are lying flat and sticking to it. Drizzle with a little of the extra olive oil and sprinkle with the flaky sea salt. Bake for about 25 minutes or until golden – the focaccia will have come away from the sides and should have a nice crust on the bottom. If you’re feeling vain, keep an eye on the parsley after the 15-minute mark to make sure the focaccia and the parsley don’t get too dark. If you’re worried, you can gently cover the top with some aluminium foil. Once it’s done, remove from the oven and transfer to a wire rack to cool.
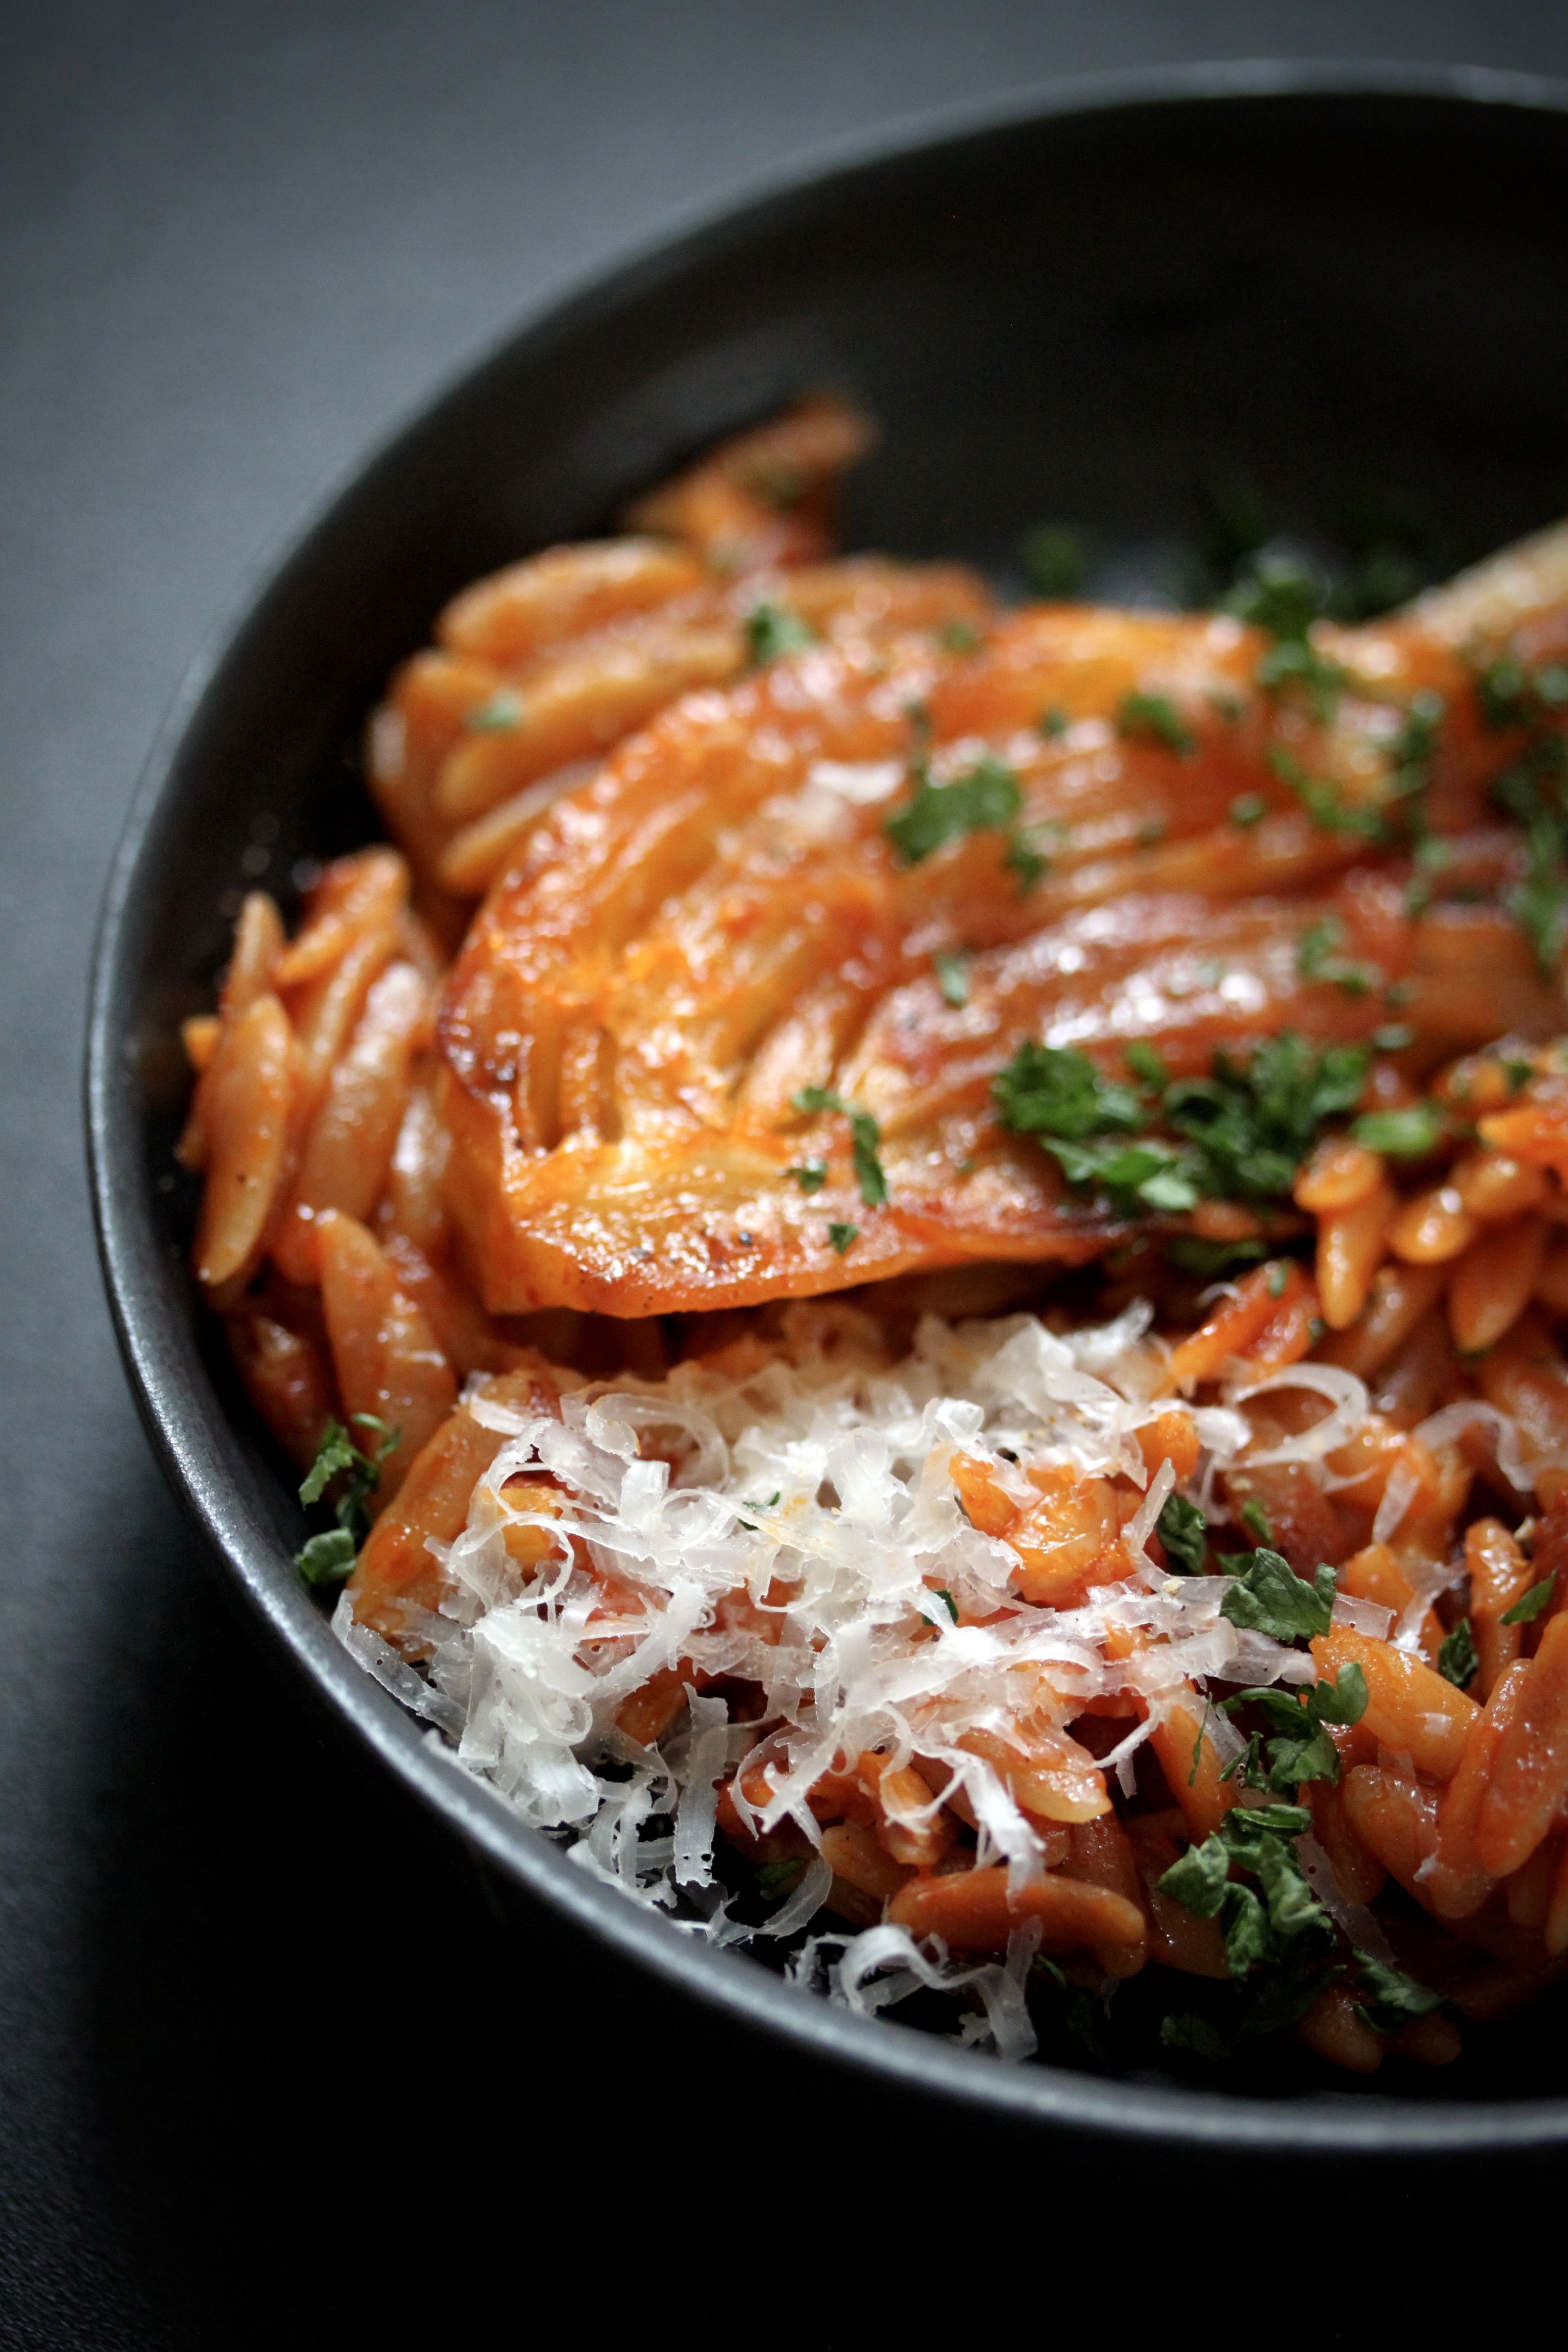
This is a wonderful recipe for when you a.) are feeling like pasta but want to make it fancy, b.) are feeling a nostalgic twinge for some umami-packed paella, and / or c.) got a little too enthusiastic at the supermarket and bought too much fennel but cannot muster the enthusiasm to make fennel salad. Again.
Caramelised Fennel with Tomato and Saffron Orzo
Inspired by the wonderful OTK recipe that can be found here.
Serves 4 (with some salad on the side)
For this, you will need a big frying pan and a baking tin. You can absolutely forgo the baking tin and do everything in the frying pan, but you won’t quite get the same caramelized and concentrated effect the oven and the baking tin will give you. You can also replace the fennel with any other veggie – halved caramelized onions or a few wedges of roasted pumpkin would be delish.
The fennel
2 large bulbs of fennel, washed and trimmed, each cut into 6-8 wedges (depending on size) with the core still intact
2 Tbsp olive oil + 1 Tbsp butter, cubed
½ tsp salt
ground pepper
100ml water
1 ½ tsp raw sugar
The orzo
200g orzo (rice-shaped pasta)
1 Tbsp olive oil
4 garlic cloves, chopped
2 Tbsp tomato paste
500ml stock (I like beef, but vegetable is wonderful, too)
100ml white wine (can be replaced with water, if preferred)
1 tsp salt
ground pepper
The saffron water
1 envelope ground saffron
2 Tbsp hot water
2 Tbsp parsley, chopped
grated parmesan cheese, for serving (optional)
Preheat your oven to 240°C fan. Combine the fennel and the oil in your baking tin, giving it a good toss. Spread the fennel out evenly and dot over the butter (you can of course, leave this step out, but to me, fennel and butter are SoULmAtEs, so move forward at your own peril) and sprinkle over the salt and some pepper. Gently pour around the 100ml of water and roast in the oven for 15 minutes. Briefly remove the baking tin from the oven, give your fennel slices another toss, and sprinkle over the sugar. Roast for another 15 minutes – if it needs a little longer, give it a little longer. Undercooking the fennel is the worst thing you can do here, you hear me? Once the fennel is soft and nicely caramelised, remove it from the oven and set aside.
In the meantime, toast the orzo in your large frying pan over medium-high heat for about 7-8 minutes, stirring occasionally, until the pasta has darkened a little in colour. The “grains” won’t all be the same level of toastedness, but that is absolutely fine. Pour into a bowl and set aside.
Once the fennel is ready and waiting for you on the sidelines, you can pop your frying pan back on the stove and add the olive oil and garlic. Fry for a few minutes or until starting to go golden around the edges. Add the tomato paste and smoosh It into the garlic, stirring constantly for another minute to get some caramelisation going on that, too. Add the stock, white wine, salt and pepper, and give everything a good stir. Sprinkle in your toasted orzo and arrange the fennel slices over the top. Cover with a lid and bring to the boil. Reduce the heat and let it simmer for about 10-15 minutes or until all the liquid has been absorbed and the orzo is done.
In the meantime, combine the saffron and the hot water in a small bowl. When the orzo is ready to serve, drizzle over the saffron water and sprinkle over the parsley. Serve with parmesan on the side.
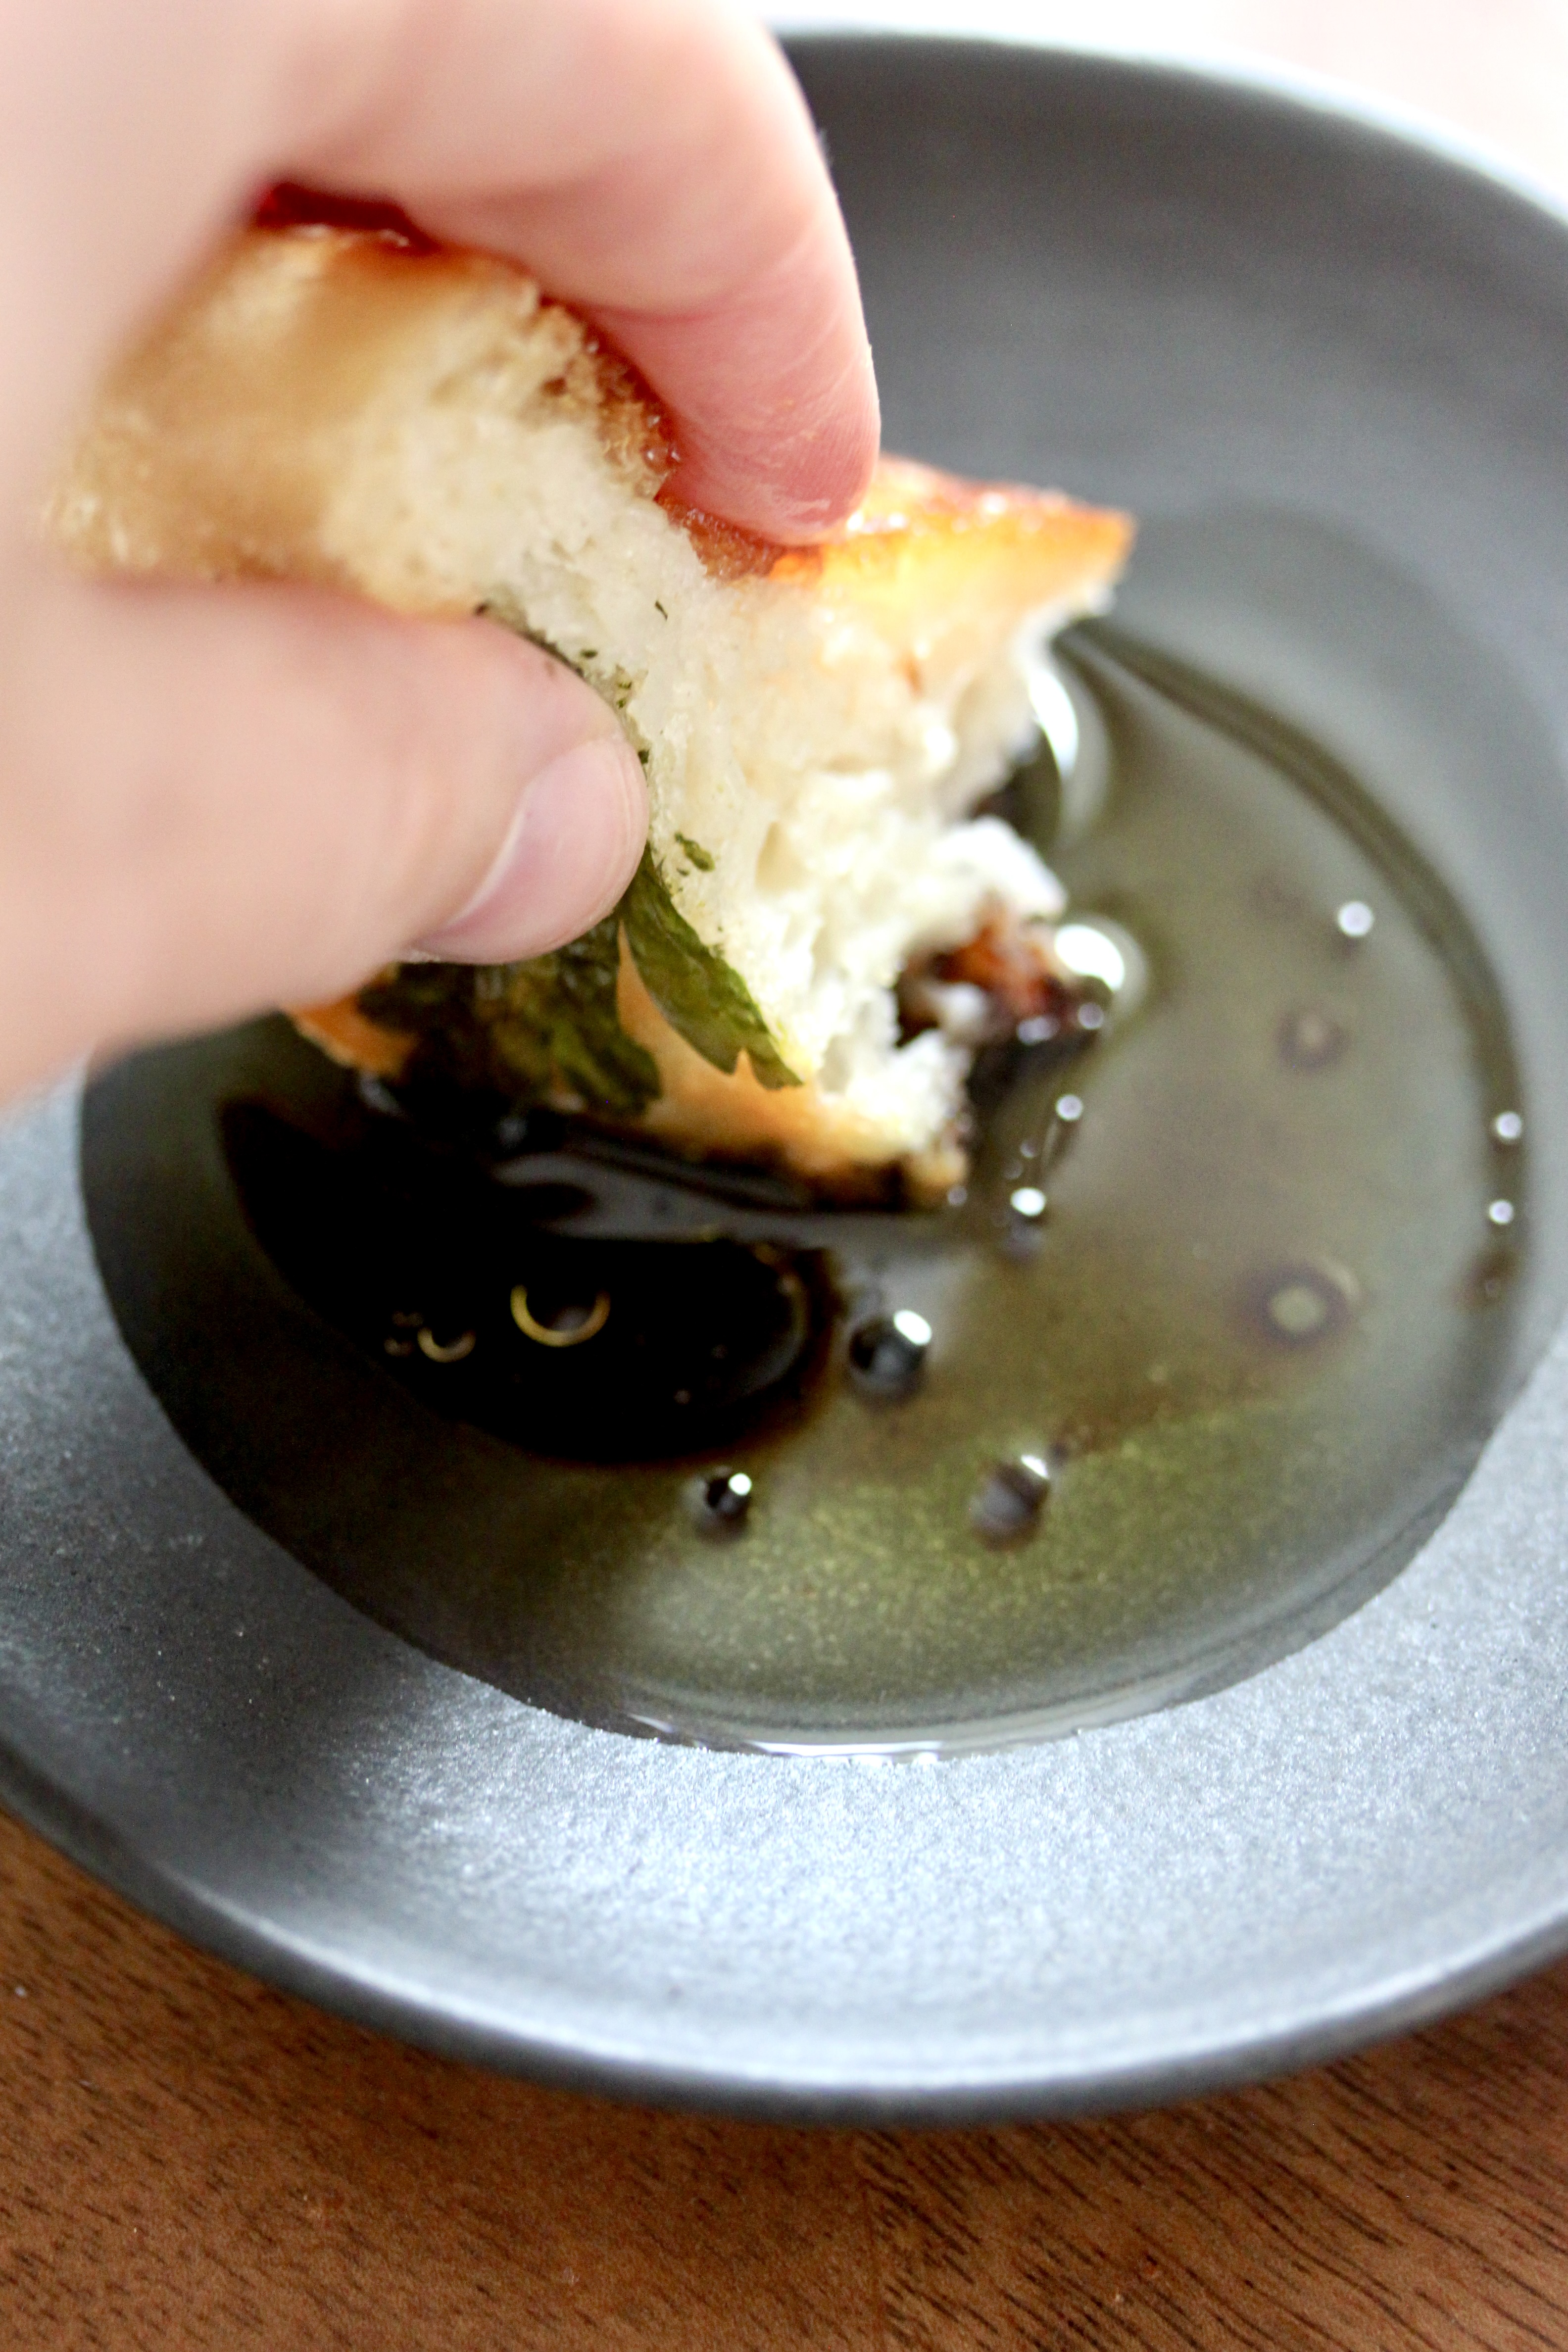
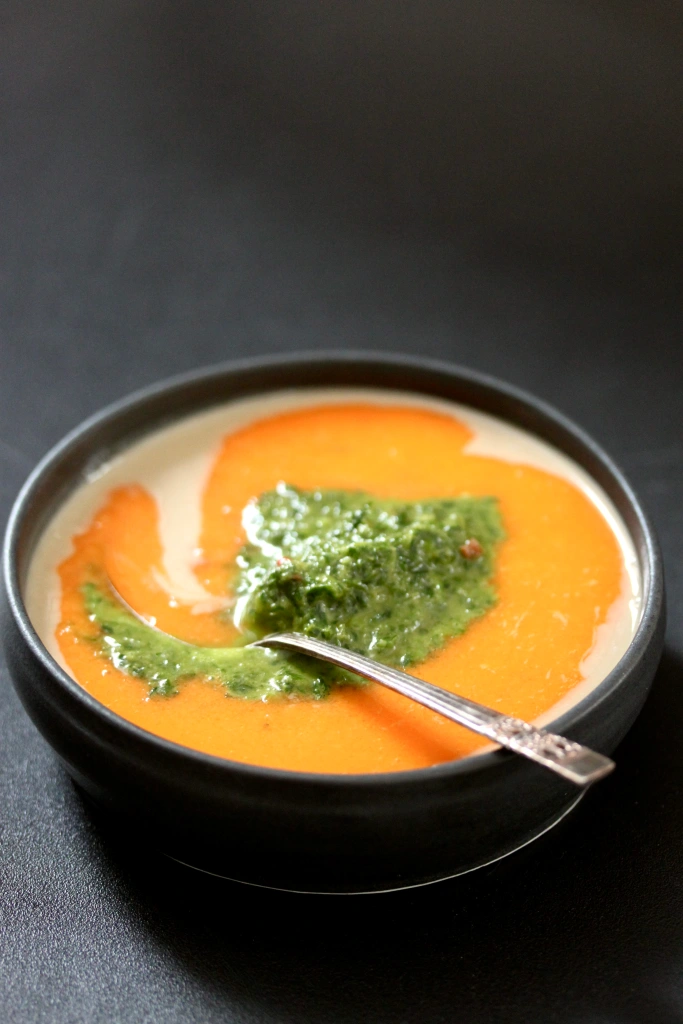
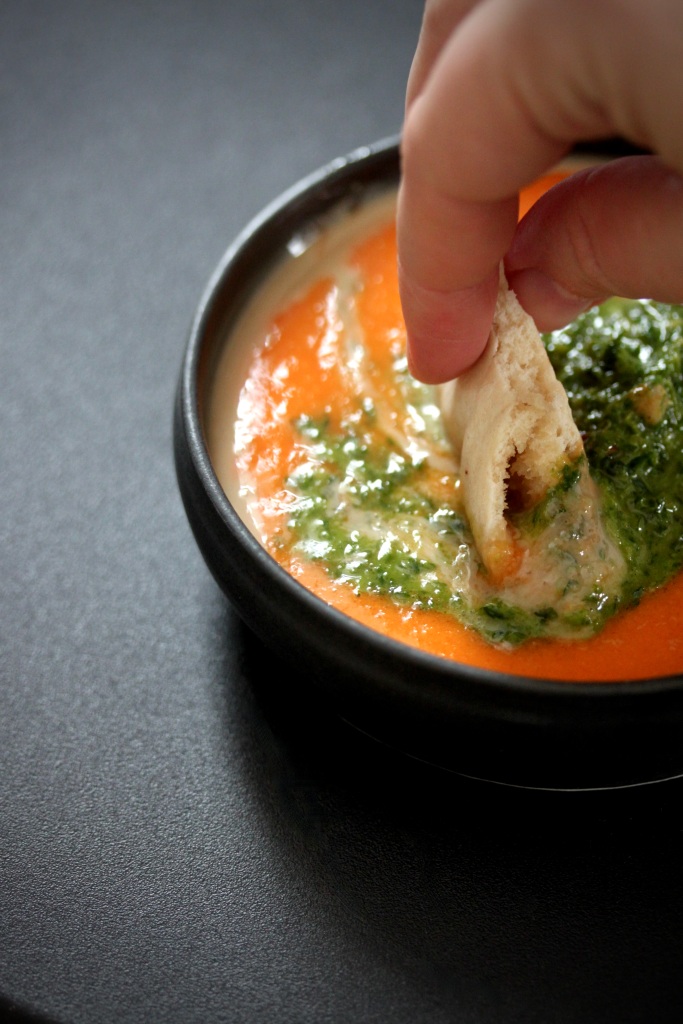
Just look at it. Doesn’t it fill you with intrigue? Doesn’t it make you want to grab the nearest piece of bread and drag it right through the middle of that bowl to see what colours you’ll get, like some gleefully giddy child left unattended with its watercolour set? We had this on our recent trip to Israel in Tel Aviv and fucking hell, did it blow our little minds, As our friend stated, “If I could only eat one thing for the rest of my life, it would be this.” That combination of nutty tahini, the sweet and sour tomato vinaigrette, and the salty, herby, and spicy zhoug is utter perfection. Go do yourself and your friends a favour and make this next time they come around.
This will make more than enough for 6 people, possibly even 12, but it really depends on how gluttonous you’re feeling. The dip is best served in a shallow bowl of some sort, in order to optimise the scoopage of all three flavours.
Tahini, about 4-6 Tbsp – depending on the size and depth of your bowl
Tomato vinaigrette
1 tomato, rightly chopped
100-120ml olive oil
2 Tbsp apple cider vinegar
½ tsp salt
¼ tsp sugar (if it’s a winter tomato, or, indeed, a Swiss supermarket tomato)
Zhoug
1 bunch coriander, roughly chopped
1 bunch parsley, roughly chopped
½ chilli or preferably 1/2 jalapeno, finely chopped (Jalapenos add a really nice vegetal flavour akin to a green capsicum)
1-2 garlic cloves, halved
¼ teaspoon salt
1-2 Tbsp water
2-3 Tbsp olive oil
Pita or crusty bread, to serve
First, start off with the tomato vinaigrette. Combine ingredients in a tall container and blend until smooth with a hand-held blender. Give it a taste and adjust seasoning if necessary. Will keep for up to a week in an airtight jar in the fridge.
Rinse the blending container and the hand-held blender and add all the ingredients for the zhoug into the container. Blend it until it looks a little like pesto. Consistency-wise you may want it to be a little looser than pesto to enable optimal scoopability. Give it a taste – It should be salty and spicy. If you want to amp up the spice, you can add more now (I’m sure you haven’t chucked that other half of the chilli / jalapeno just yet). Will keep in an airtight container in the fridge for a few days, although the coriander starts going a bit icky relatively soon.
Finally, assembly time. Fill a shallow bowl with the tahini and gently pour approximately the same amount of the tomato vinaigrette on top. Finish off with a nice big dollop of zhoug and you’re done. Serve with pita or bread.
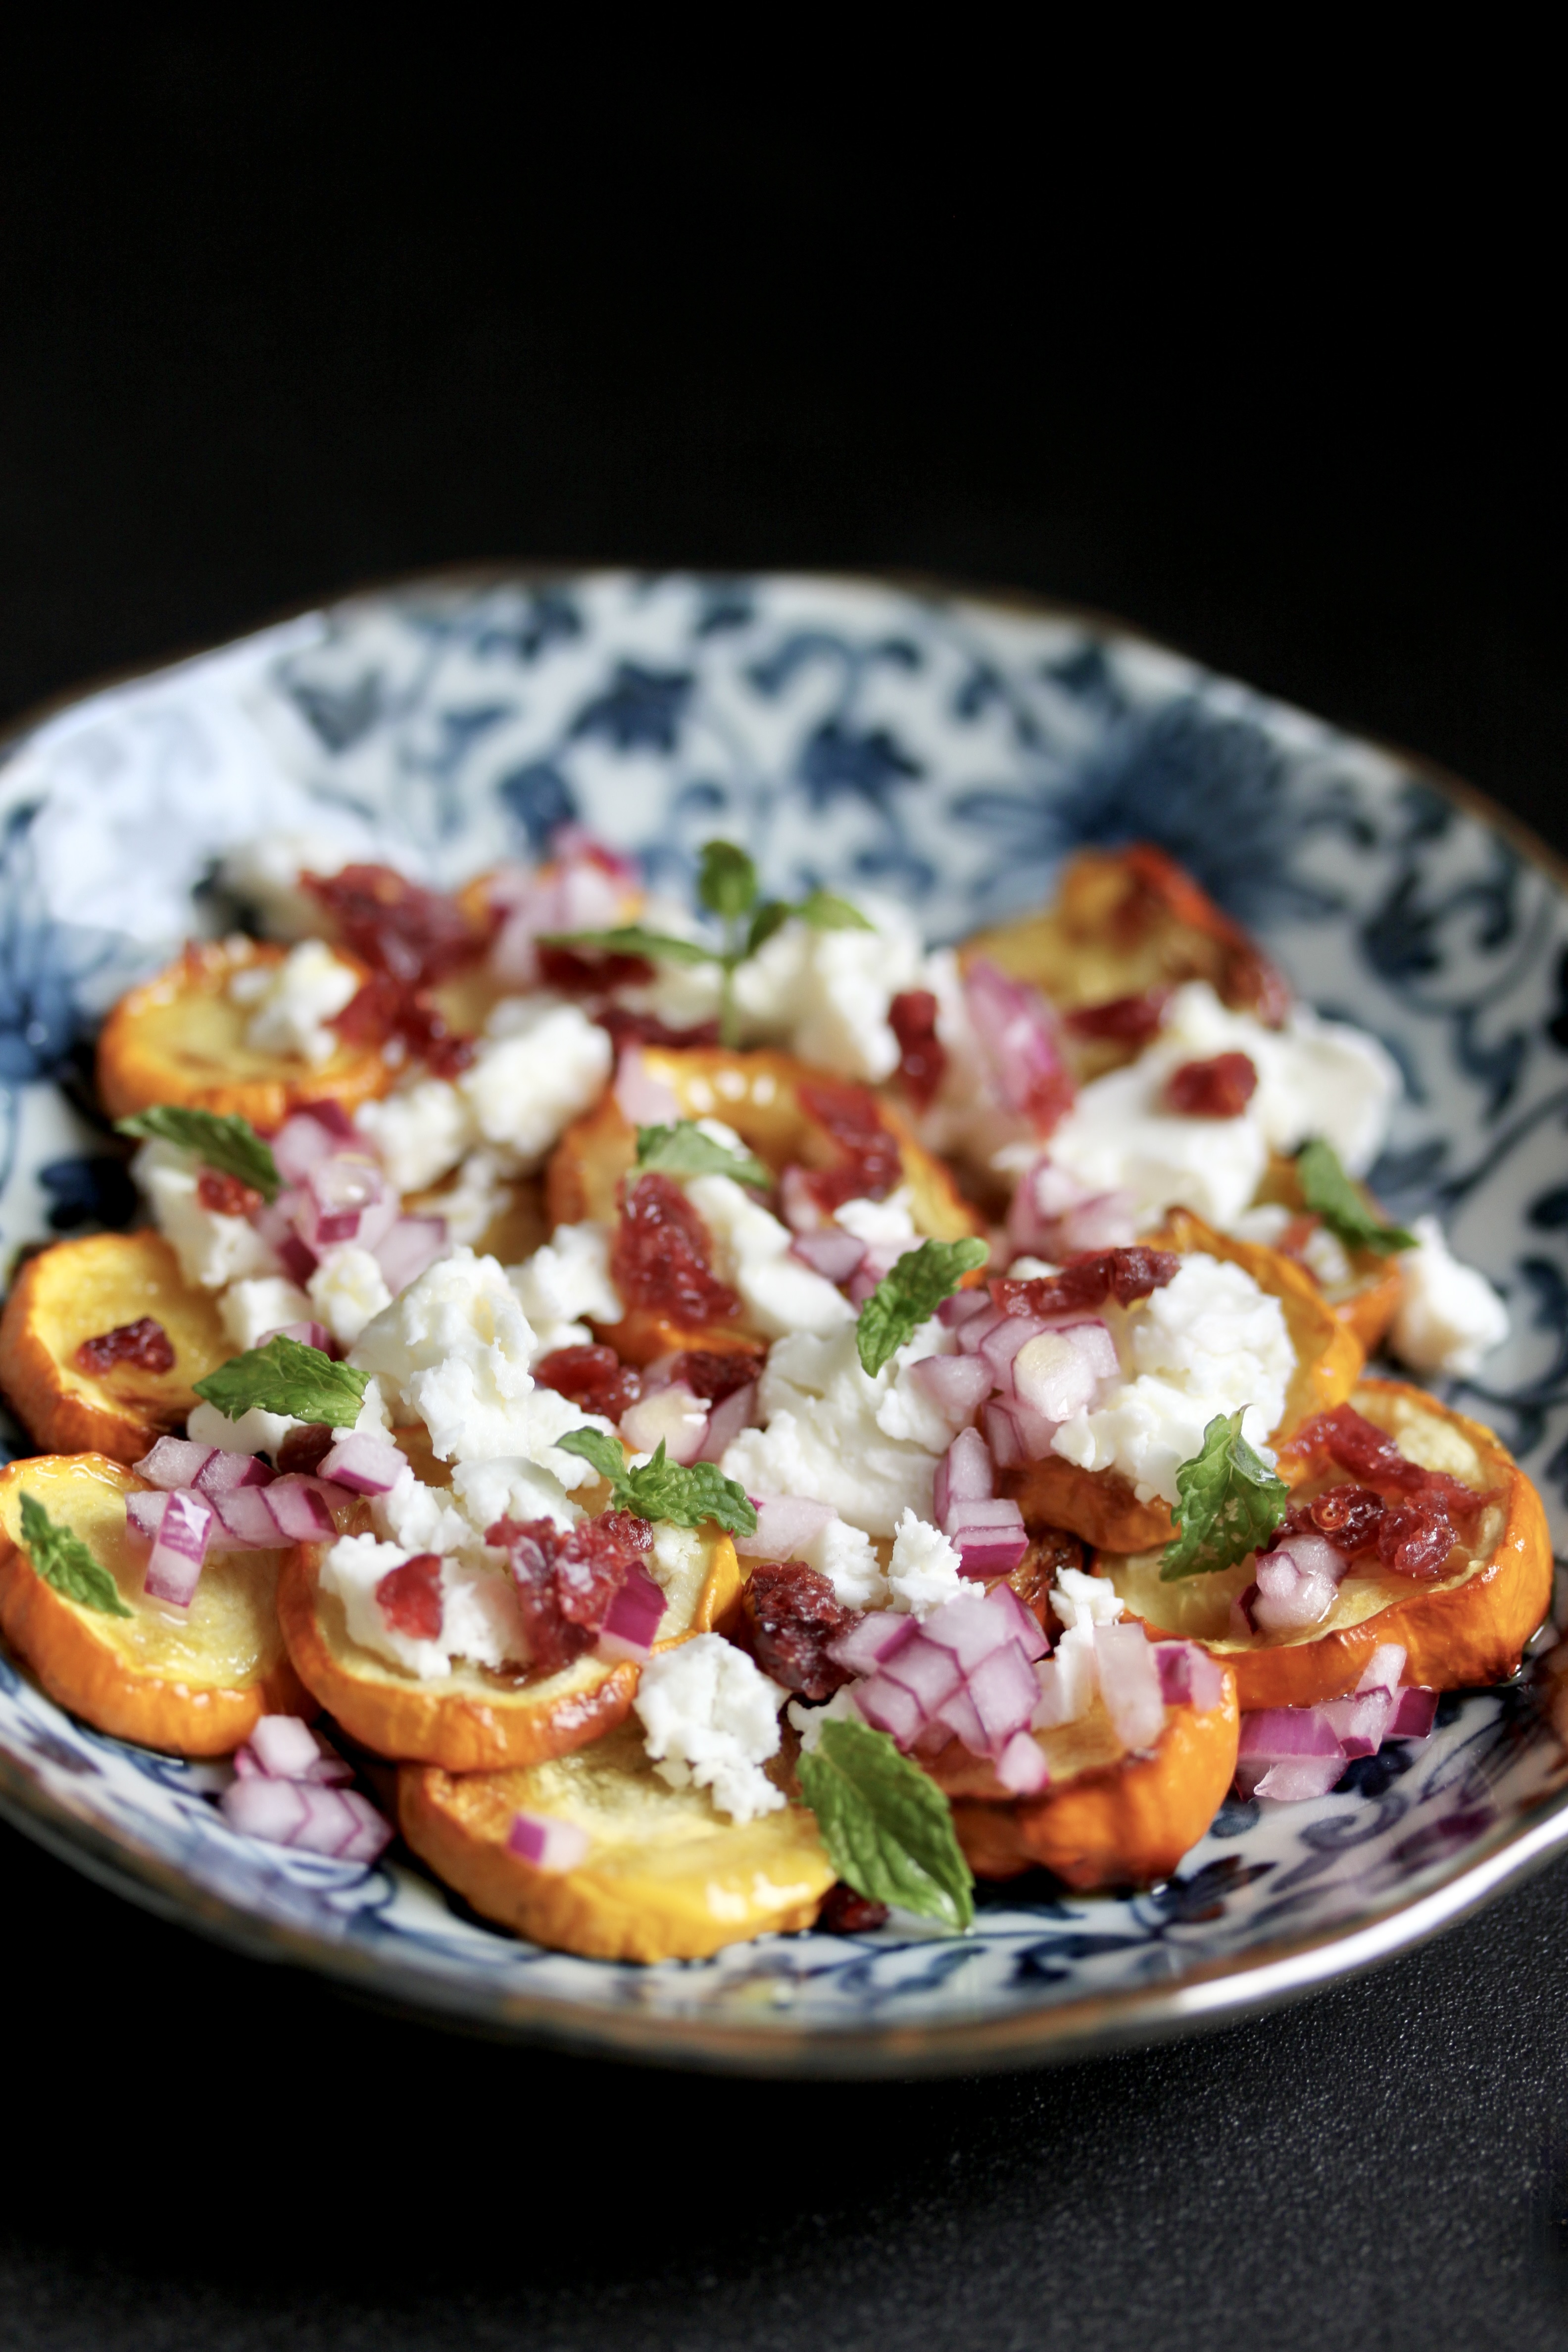
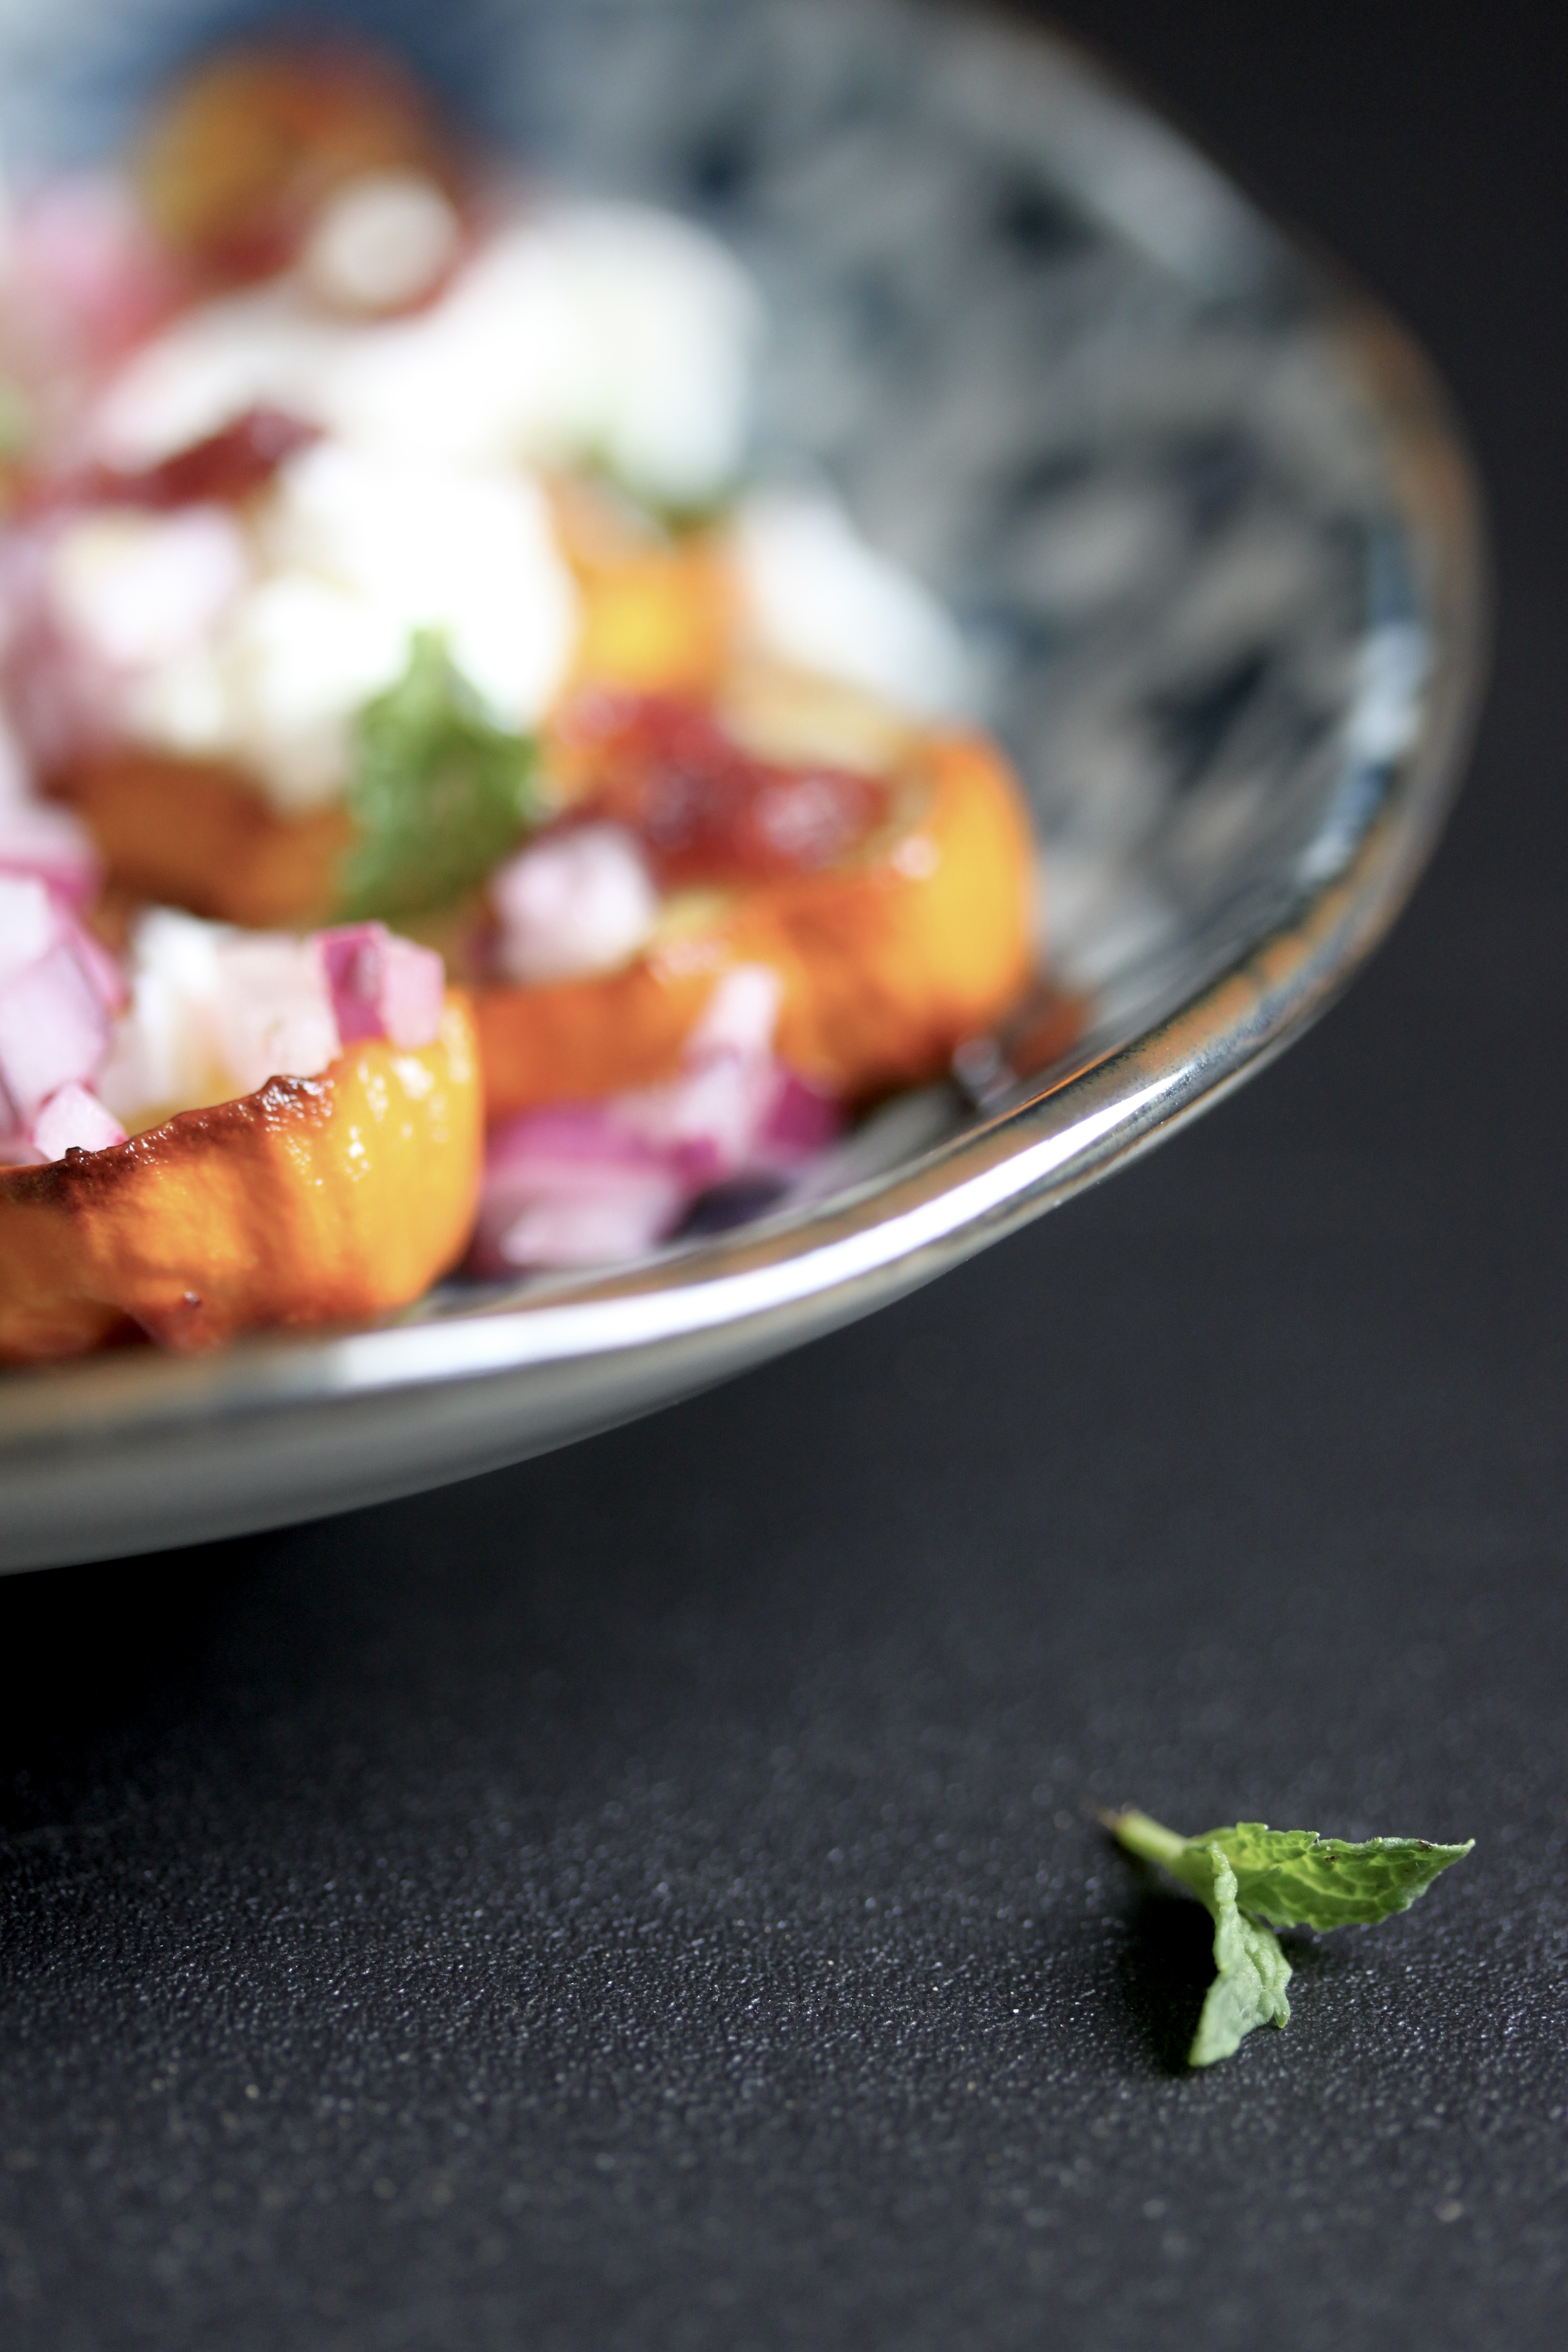
If you like zucchini, are in possession of too much zucchini, don’t know what to cook tonight, or all of the above, go make this. I’ve made it six times in the past month and there’s no stopping me from making it until zucchini season is over. The garlic oil and the ensuing oven sesh condenses the zucchini’s flavours, adding a little caramelised sweetness that contrasts beautifully with the sour saltiness of the lemon juice and feta. This is not so much a recipe but rather more of a suggestion of what ingredients you can throw together. So, feel free to add in more feta and herbs, and maybe even a sprinkling of capers – it all works splendidly.
Roasted Zucchini Salad with Mint, Feta, and Onion
Serves 2 as a main with bread, 4 as a side
About 600g green or yellow zucchini, sliced into 1cm rounds
3 Tbsp olive oil
2-3 garlic cloves, crushed
Salt
One red onion or two shallots, finely diced
One lemon, juiced, plus extra if needed
200g feta, crumbled
One small handful of dried cranberries, chopped
Half a bunch of mint, leaves picked and torn
Olive oil
Salt and pepper (optional)
Preheat the oven to 180°C. Add the olive oil, garlic, and salt to a big bowl, give it a quick stir, then add in the zucchini. Make sure everything is nicely coated, then spread out onto a baking sheet-covered baking tray. Make sure the zucchini coins are laid out in a single layer – if things are a little too tight, I suggest you spread everything out onto two pans. If not, it will all take longer to roast, plus the covered zucchini will end up steaming and not caramelizing. Roast in the oven for about 30 minutes or until the zucchini has shrunk a little and has become golden in parts. Remove from the oven and let cool while you prepare the remaining ingredients
Combine the red onion with the lemon juice in a bowl and let it sit until ready to use. This will take a bit of the bite away from the onion, while also simultaneously adding a bit of zing to it. Win win.
Once you’re ready, bring out a big plate or platter and spread out the zucchini slices. They can overlap, but don’t stack them up too high – you want each coin to be covered in the toppings.
Spoon over the onion, crumble over the feta, and sprinkle over the cranberries and mint. Drizzle everything with some olive oil and possibly a little more lemon if needed. I rarely need to season this, as there is already enough saltiness coming from the seasoned zucchini and the feta but have a little taste and see how you feel yourself.
Eat on its own, with some crusty bread and butter, or as a side to whatever else you’ve got planned tonight.
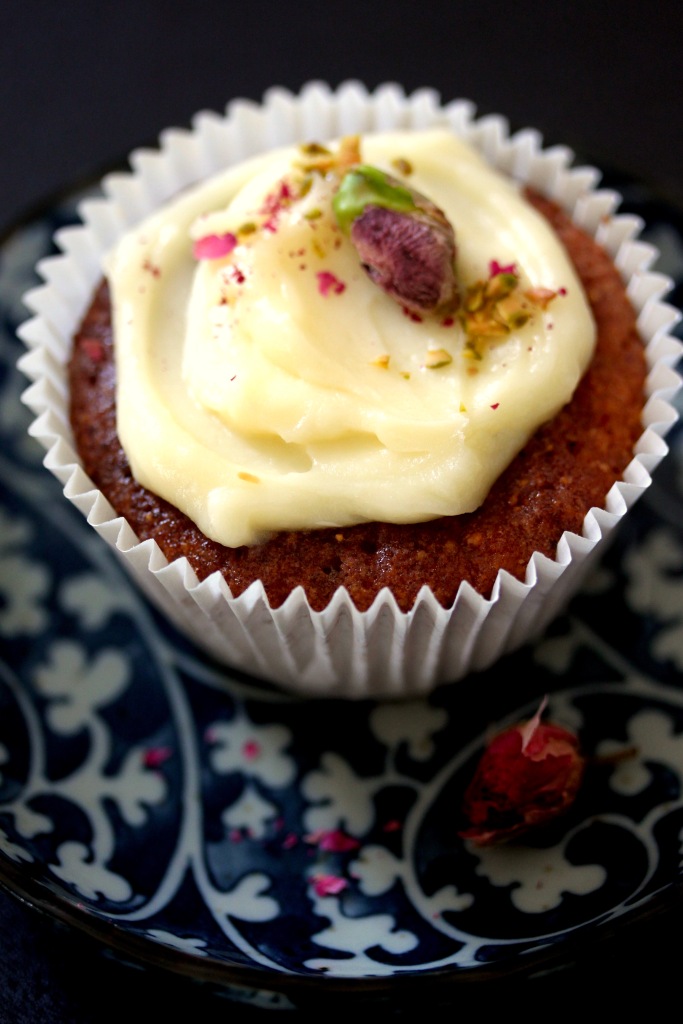
Here she is. After many, many years of being loved, lost, forgotten, and then finally found again, I present to thee, the pistachio cake. As a very much non sweet tooth person, this is one of my top three favourite cakes, ever. They are fragrant with almonds, pistachios, and marzipan with just the slightest hint of cardamom. They are perfection.
A quick note before you start baking – the marzipan isn’t very intense. It’s mainly there for texture and to be a supporting role to the pistachio flavour. I used to add a few drops of almond flavour, but I don’t think it really needs it. You can also add green food colouring to really bring home that pistachio component, but again, that’s completely optional.
Pistachio cakes with marzipan and a hint of cardamom
Originally found in a (in the meantime lost) Delicious Magazine add-on
Makes 12
80g skinned ground almonds (if you’re feeling fancy, you can replace this with equal amounts ground pistachios)
20g salted pistachios, finely ground in a food processor
30g extra salted pistachios, roughly chopped
100g unsalted butter, softened
80g white sugar
80g marzipan, chopped or torn into small pieces
2 eggs
½ tsp vanilla essence
30g semolina flour (Semolina flour is a lot finer than semolina, but if you can’t find it, semolina will do. Polenta also makes an excellent substitute if you want to make this gluten free. Just remember, the texture will be a little coarser than what you’d get with semolina flour.)
1/4 tsp ground cardamom, from about 5 cardamom pods
Icing
50g butter, softened
100g cream cheese
50g icing sugar – you might need less, or more, depending on how sweet you want it
a few drops of rosewater
½ tsp vanilla essence
Toppings (optional)
1 dried rose bud, crumbled
12 extra whole salted pistachios
1 Tbsp finely chopped salted pistachios
Preheat the oven to 170°C. Line a 12 hole muffin pan with muffin cases.
In a large bowl, smush together the softened butter and the sugar until combined (you obviously skip this step and start beating the two with a hand-held mixer, however, I’ve found that this will prevent the sugar from flying out of the bowl when you turn on the mixer). Grab your mixer and beat the butter sugar mixture until well-combined and fluffy. Add the pieces of torn marzipan and beat for another minute. Don’t worry about there being lumps – there are few things better than the surprise of a nugget of molten marzipan when biting into one of these. Add the eggs, one at a time, beating until well combined.
Add the ground pistachios, the ground almonds, the extra chopped pistachios, the vanilla essence, the semolina flour and the ground cardamom and beat thoroughly.
Fill the muffin cases about halfway, starting with about 1 Tbsp batter per case and dividing the rest. Transfer the muffin tin into the middle of the oven and bake for 20 minutes. The cakes are done once they’ve taken on a golden hue and don’t sink in when gently poked with a finger. Remove from the oven and cool.
For the icing, mix together the butter and cream cheese until well combine, than gradually stir in the icing sugar, one spoonful at a time, until you have a lump-free icing of your desired consistency. Stir in the vanilla and rose water.
To assemble, top each cake with as little or as much icing as you’re in the mood for, dotting with the whole pistachio and a sprinkling of the chopped pistachio and a pinch of crumbled dried rose petals.
This has been our favourite soup for the past year and has been on medium to high rotation on our dinner table. It is tangy and luscious and utterly packed with umami.It. Is. Absolutely. Incredible. It may not be authentic or traditional, but in a world of continuous adaptation and improvisation, what really is. It’s what we like and what makes us happy that counts, and in this current situation of impending doom, that is truly what we need right now.
I’ve adapted the original Bon Appétit recipe to better suit the contents of my fridge and possibly yours, too. All toppings are optional, but I’d suggest you definitely add something green and something protein-y to make this more of a meal.
3 spring onions, finely sliced – reserve about ¼ for garnish, preferably the green bits
1-2 Tbsp oil of your choice – I like to use the oil from the chilli garlic crisp if I have it on hand
2 slightly heaped Tbsp tomato paste
1 slightly heaped Tbsp light miso paste
1 litre vegetable stock, plus 250-500ml water to thin out at the end
8 dried (whole) shiitake mushrooms
2-3 Tbsp soy sauce or to taste
50g butter, cut into rough pieces – the butter is essential, so don’t skimp on it
250g dried ramen or other long noodles (I’ve even used fettuccini here – I don’t know about you but I am too lazy to head into town just to get the right type of noodle)
Add the ginger and ¾ of the spring onions and the oil to a large pot and fry over high heat for a few minutes, stirring often, until they begin to take on a bit of colour. Add the tomato paste and stir for another minute. It will begin to stick to the bottom of the pan and darken slightly. Add the miso and give it another stir before adding the litre of veggie stock and the whole shiitake mushrooms. Cover and bring to a boil, letting it simmer for about 15-20 minutes, or until the mushrooms have softened enough to be easily pierced with a sharp knife. Remove from the heat and give it a good blend with a handheld blender. It is at this point where you might want to add a bit of extra water – I like it to be the consistency of thin cream, but you might feel a little different. Just keep adding 100ml at a time until it reaches your desired consistency. Add the soy sauce to taste, and finally, with the blender on, add the butter bit by bit until it is completely emulsified. Give it another taste to check for seasoning, find someone in your vicinity to lock eyes with and whisper “Oh my god”, followed by a passionate “Mmmmmhmmmmh!!”, and keep it warm, covered, while you prepare the remaining ingredients.
Cook the eggs to your liking. Peel and halve. Cook the noodles according to the packet instructions. Add the kale to a pot with a little salted water and cover. Let it steam for a few minutes until just soft. Add the tofu to the pot and set to the side, covered – this will ensure it will be nice and warm when you serve it.
To serve, ladle the soup into bowls and divide the noodles, eggs, kale and tofu among them. Top with the spring onion and a sprinkling of sesame and serve with the chilli and garlic crisp on the side.
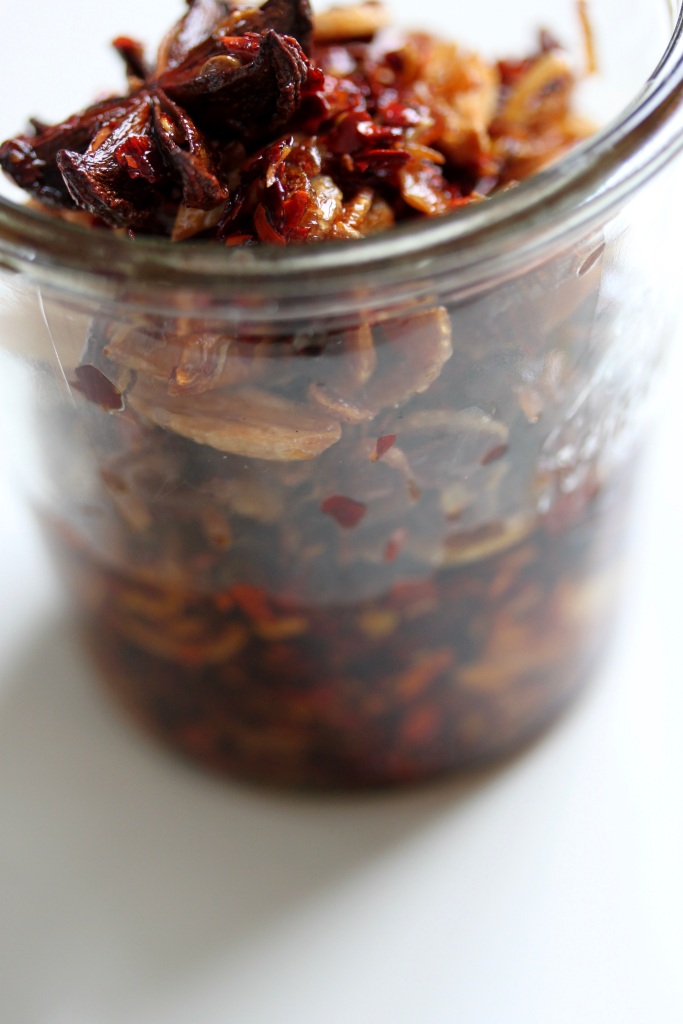
I’ve made this a million times and each time it’s a little different, depending on how garlic heavy I’m feeling that day (usually very). It doesn’t tend to last very long at ours, as one of us can usually be found picking out a crisp slice of garlic to gluttonously chomp on on our way past. Yes, we are monsters. I like to make this to accompany a bowl of ramen, but really, this will work with anything. The original recipe calls for soy sauce instead of vegemite, however, I’ve found that the water in the soy sauce will make the garlic lose its crispness a lot faster. If you hate vegemite, by all means replace it by 1-2 Tbsp of soy sauce. The goal is for it to have a slightly funky salty bite, along with the heat and the crispy textures.
Combine the oil, cinnamon, star anise, garlic and shallot in a small pan over low to medium heat and let it bubble gently. You don’t want it to cook too quickly, otherwise the garlic will start browning at the edges while the centre is still soft, and that’s not what we want – we want evenly crisped golden garlic, so keep your eye on it.
In a bowl, combine the chilli flakes, the vegemite and the honey. It will be a little clumpy, but that’s okay.
Once the garlic just begins to take on a golden hue – this can take any time between 10-20 minutes, add the ginger. Continue frying on a low heat until everything is a nice golden hue but isn’t starting to brown – the garlic will get bitter if it does. Remove from the heat and carefully pour the hot oil over the chilli, making sure to keep back the garlic and shallot in the saucepan – not combining everything at once gives the garlic and shallot the time crisp up. Give the chilli flake and oil mixture a good stir and let it rest for about 10 minutes. Once it has cooled down, stir in the now very crispy garlic and shallot. Transfer to a glass jar and use at your own discretion.
This will stay crisp for about a week, but will still be good a few weeks after that, albeit not as crispy.
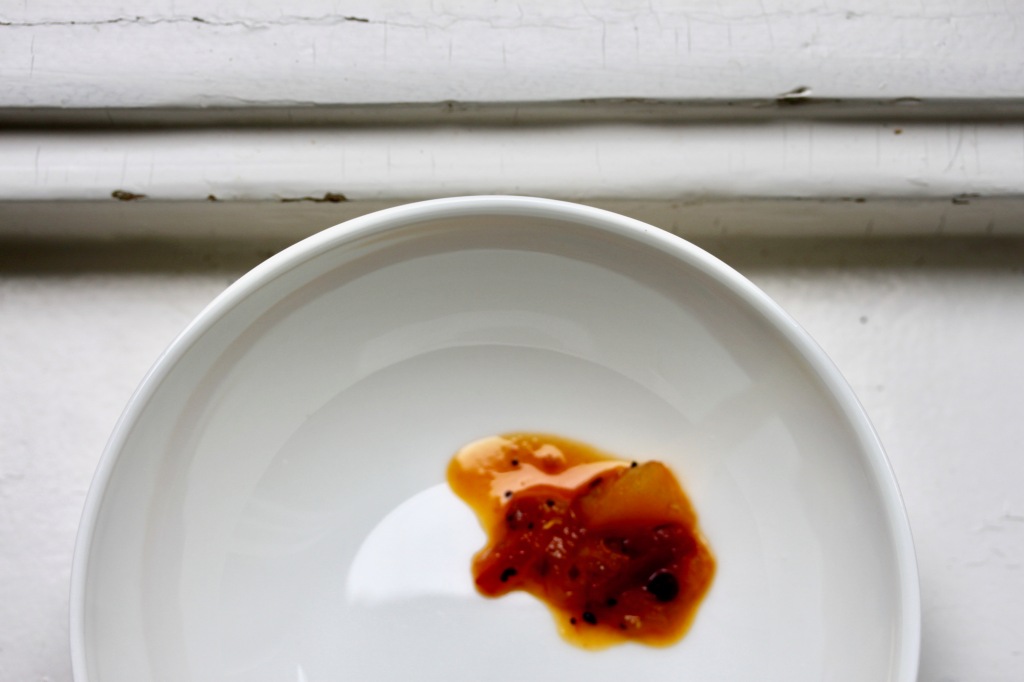
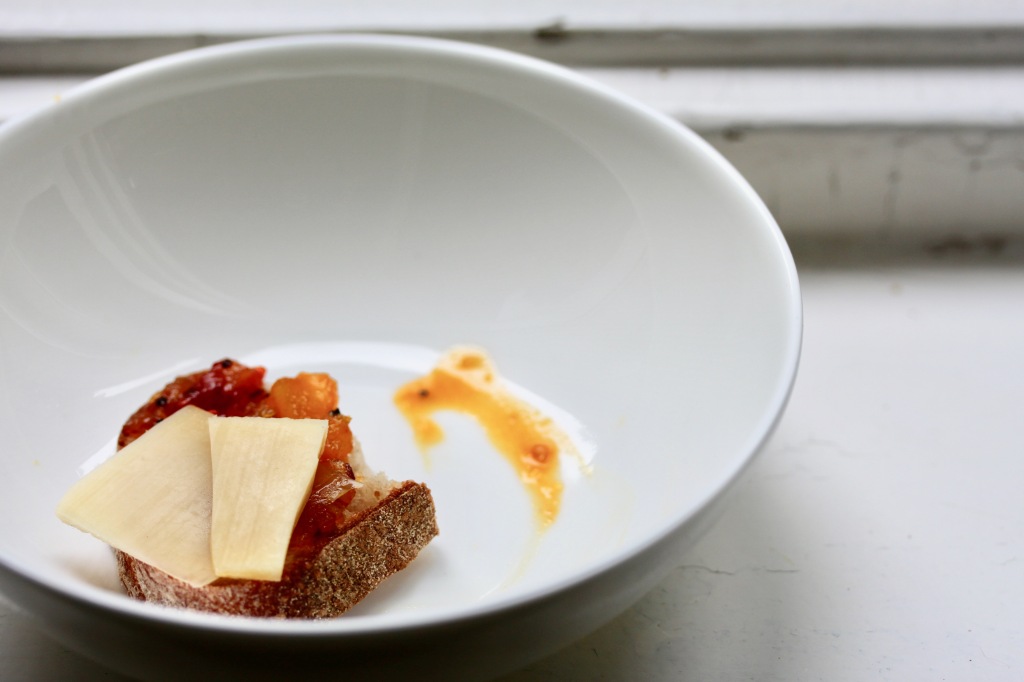
If you’re a person that likes cheese, then this is the recipe for you. This is possibly my most favourite accompaniment to cheese, next to bread and wine of course. I hope this may become yours, too.
Apple and Tomato Chutney
Makes one large jar
1 Tbsp sunflower oil
½ tsp mustard seeds
½ tsp cumin seeds
½ tsp black peppercorns
½ tsp nigella seeds
2 cloves
1 x 5cm cinnamon stick
½ tsp ground turmeric
½ red chilli, sliced into thin rings (optional)
2cm ginger, grated
1 onion, finely chopped
2 tomatoes, chopped
2 apples, chopped into 1cm cubes
100ml apple cider vinegar
150g white sugar
½ tsp salt
Combine the oil, mustard seeds, cumin seeds, peppercorns, nigella seeds, cloves and cinnamon stick to a small saucepan over a low heat. Once the mustard seeds start popping, add the turmeric, ginger, chilli, and onion, and stir for a few minutes. add the rest of the ingredients and bring to the boil. Cover with a lid and reduce the heat and let it bubble for 20-30 minutes until the apples are soft when pierced with a knife. Depending on the apple, the chunks will keep their shape pretty well, so at this point I like to give everything a rough mash with a potato masher. If the mixture is still a bit too runny, remove the lid and let it reduce a little, making sure to stir it regularly to prevent it from burning. What you want is a thick-ash, jam-like consistency. Transfer to one or two sterilised jars, screw on the lids and let it cool. Once opened, keep it in the fridge. If unopened, it’ll easily keep for a few months.
You are now the owner of the best cheese chutney in the world. You’re absolutely welcome.