Cherry Tomato Bruschetta
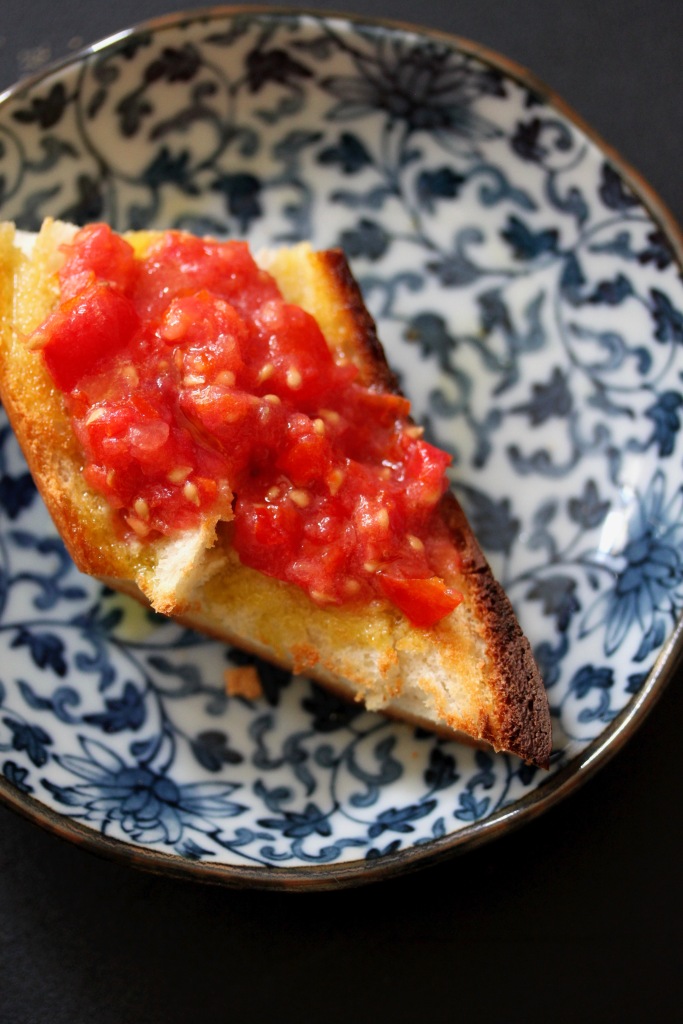
Remember bruschetta? The summery entrée that nobody seems to be doing anymore because most of us can’t be fucked dicing that many – mostly very mediocre – tomatoes. And then when you do make it, and you’re actually kind of proud of yourself, because it is delicious, half of the tomato falls off as you try to take a bite. Also, unless you’re one of those ridiculous people who spends their summers swamped in sweet and fragrant tomatoes (please be my friend), you know good tomatoes are a rare commodity to come by. Well, I’ve put an end to this nonsense. While I’m not here to tell you how to put tomato on toasted bread, I’d like to give you a few pointers in how to get a perfectly crunchy-yet-juicy, non-fall-apart-y bites of bruschetta. All you need is a food processor and a bunch of cherry tomatoes (and garlic and olive oil and a baguette of course). Cherry tomatoes are an obvious (and tasty) all-year-round available alternative to the Mediterranean tomato dream most of us can only fantasise about. The processor takes out the chopping, but also increases the likelihood of tomato on bread permanence. Basically you’re making a chunky-ish tomato soup, then scooping that onto toasty, garlicky olive oily bread.
A word on the blending situation – if you have a food processor, that’s ideal. Somehow the slightly longer blade chops the tomatoes more evenly without immediately turning them into juice, which you often can’t avoid with the shorter blade of the handheld blender. If a hand held blender is all you have though, you can still use that. But just make sure you keep the tomato blitzing to a minimum.

Cherry tomato bruschetta
makes one baguette’s worth of bruschetta
60-70ml extra virgin olive oil
1 fat garlic clove, roughly chopped
pinch of salt
500g cherry tomatoes, washed and halved
½ tsp salt
1 baguette, either sliced into rounds or halved lengthways and cut into 5-8cm squares (especially handy if they mightn’t be eaten immediately)
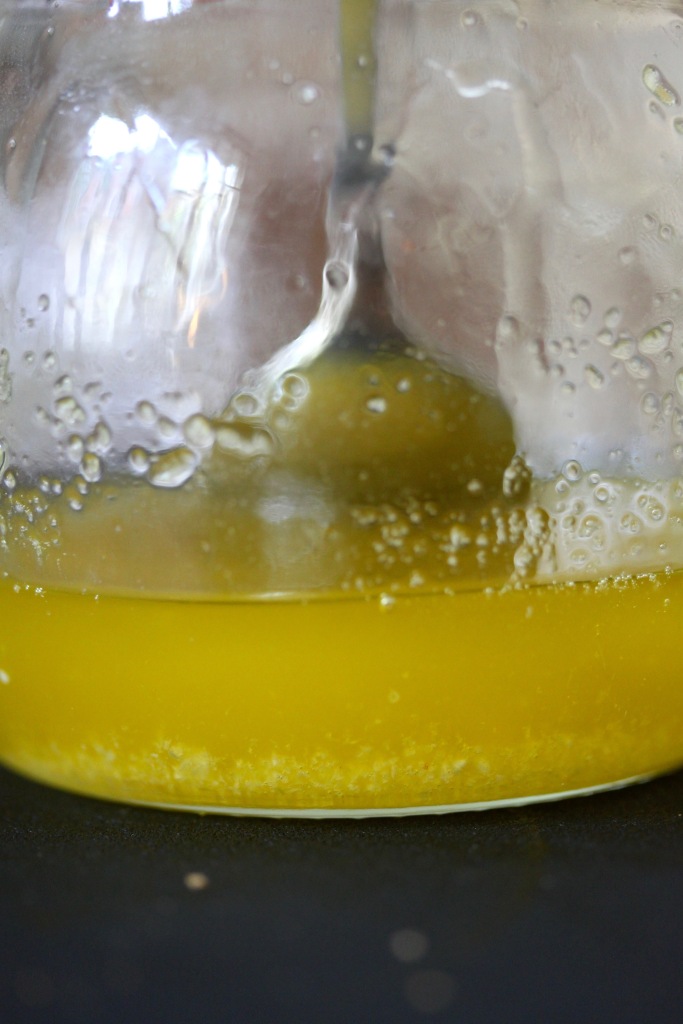
Combine the olive oil and the garlic clove in your food processor. Pulse a few times until the garlic has dissolved. Transfer to a jar – this can be kept in the fridge for a couple of days, just be aware of its potency! Alternatively, if you can’t stand the flavour of raw garlic, warm the blended garlic oil in a pan until it begins to sizzle. Remove from the heat and let it cool.
Don’t worry about rinsing the blender – add the cherry tomatoes and salt right in and pulse a few times until they’re chopped into an even salsa (but not fully pureed).
Assembly time!
Drizzle the baguette with the oil an toast in the oven at 200°C for a few minutes or until golden at the edges. Alternatively, if you’re like me and can’t be bothered turning on your oven, toast your baguette slices in the toaster, two to four at a time, then schmear with the garlic oil using a brush or a teaspoon. Get a spoon and scoop some of the cherry tomato mixture out of the blender and right onto the bread. You might want to drain some of the juices on the side of the bowl as you scoop, but also bear in mind that the juices are really tasty – you might want to keep it on hand and drizzle a little extra over your bread as you go.