burnt toast

Tag: chilli

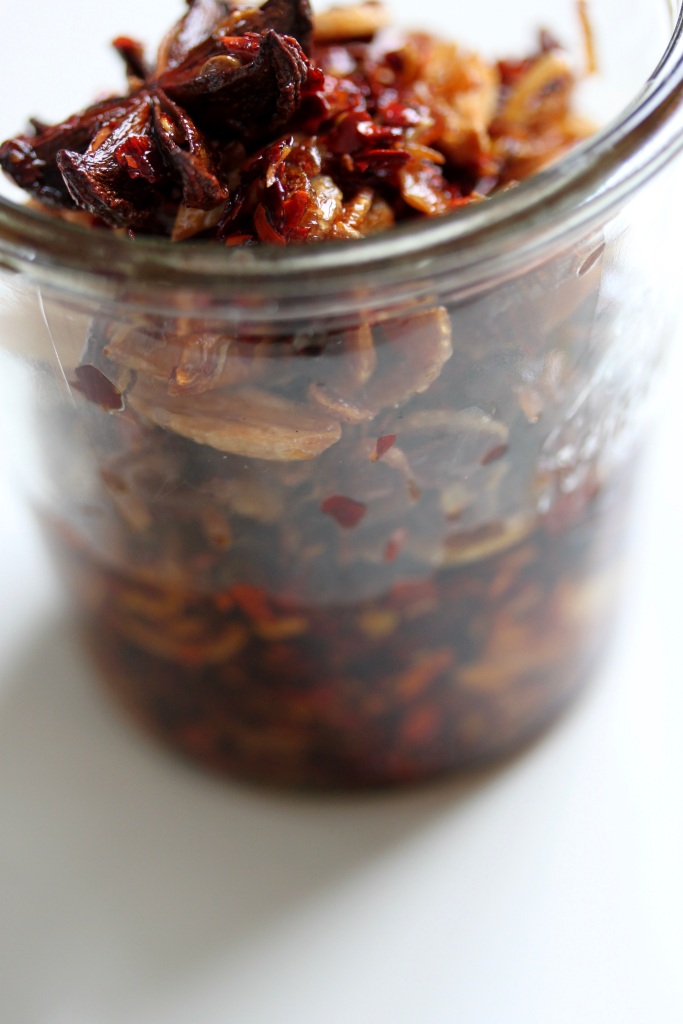
Chilli and Garlic Crisp

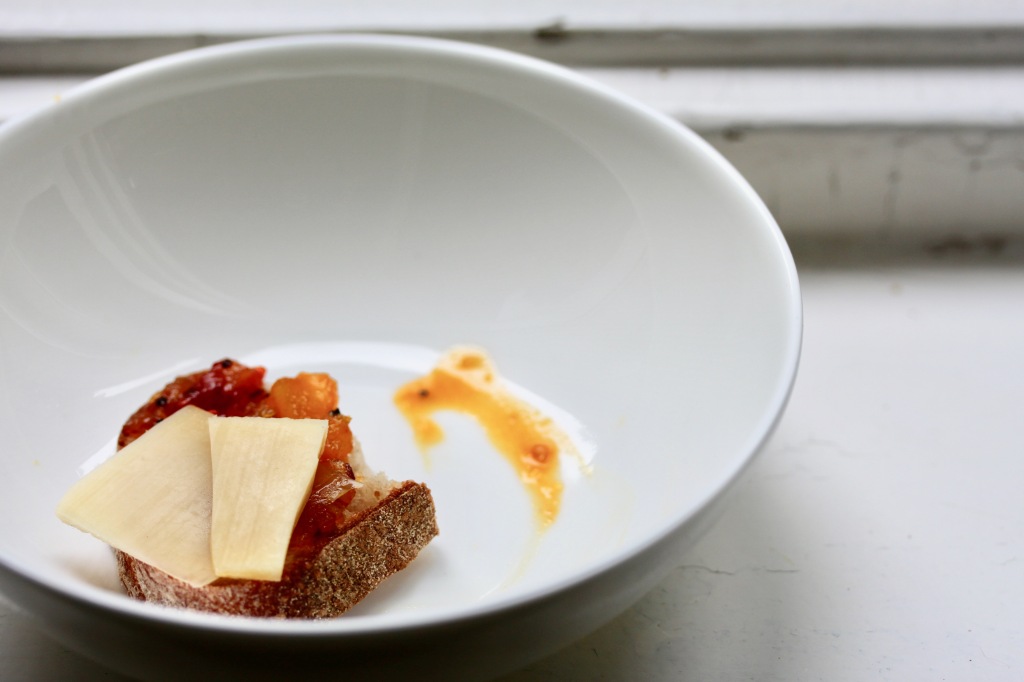
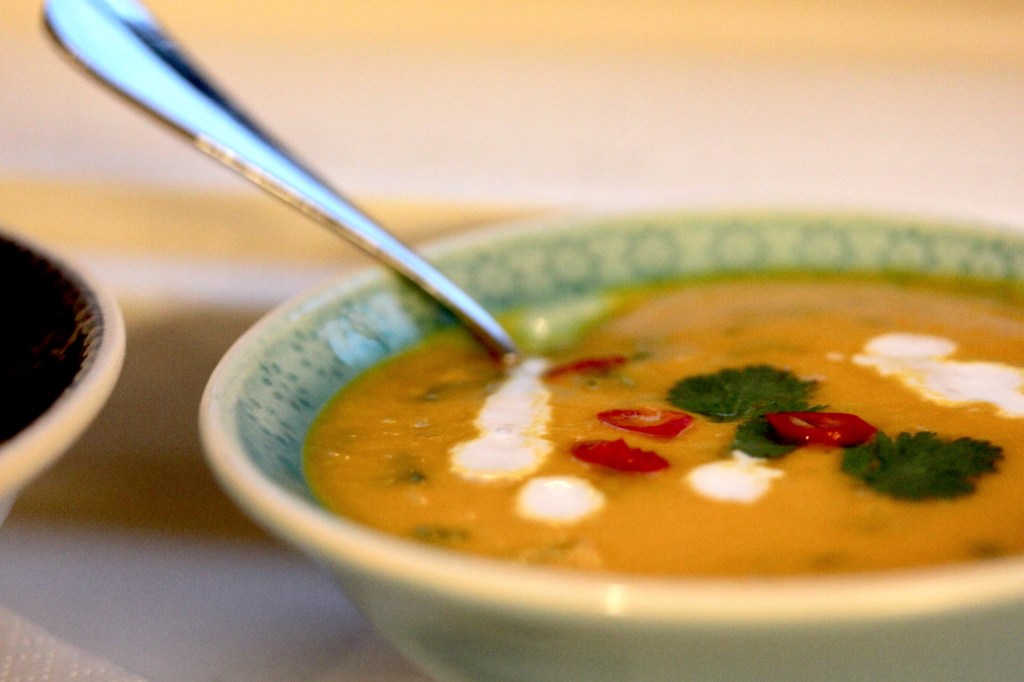
I’ve made this a million times and each time it’s a little different, depending on how garlic heavy I’m feeling that day (usually very). It doesn’t tend to last very long at ours, as one of us can usually be found picking out a crisp slice of garlic to gluttonously chomp on on our way past. Yes, we are monsters. I like to make this to accompany a bowl of ramen, but really, this will work with anything. The original recipe calls for soy sauce instead of vegemite, however, I’ve found that the water in the soy sauce will make the garlic lose its crispness a lot faster. If you hate vegemite, by all means replace it by 1-2 Tbsp of soy sauce. The goal is for it to have a slightly funky salty bite, along with the heat and the crispy textures.

Recipe slightly adapted from here.

Chilli and garlic crisp

Makes one jar

100ml sunflower oil

1 cinnamon stick

2 star anise

1 head of garlic, cloves peeled and sliced thinly

1-2 shallot, peeled and halved, sliced thinly

5cm ginger, peeled, cut into tiny cubes

2 slightly heaped Tbsp chilli flakes

1 tsp vegemite or marmite

½ tsp honey

Combine the oil, cinnamon, star anise, garlic and shallot in a small pan over low to medium heat and let it bubble gently. You don’t want it to cook too quickly, otherwise the garlic will start browning at the edges while the centre is still soft, and that’s not what we want – we want evenly crisped golden garlic, so keep your eye on it.  

In a bowl, combine the chilli flakes, the vegemite and the honey. It will be a little clumpy, but that’s okay.

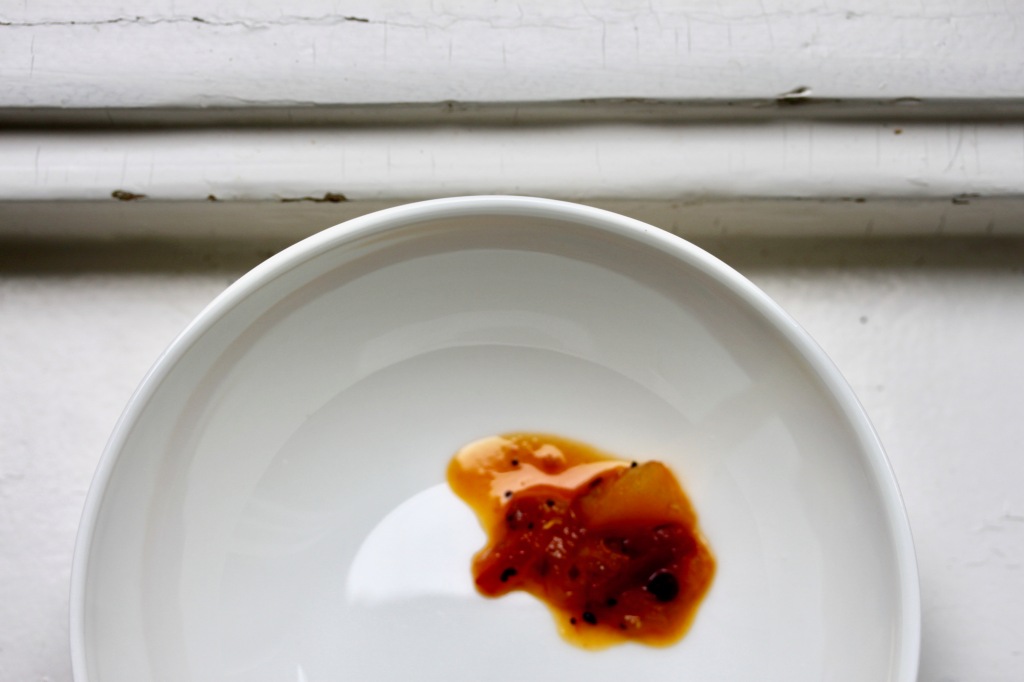
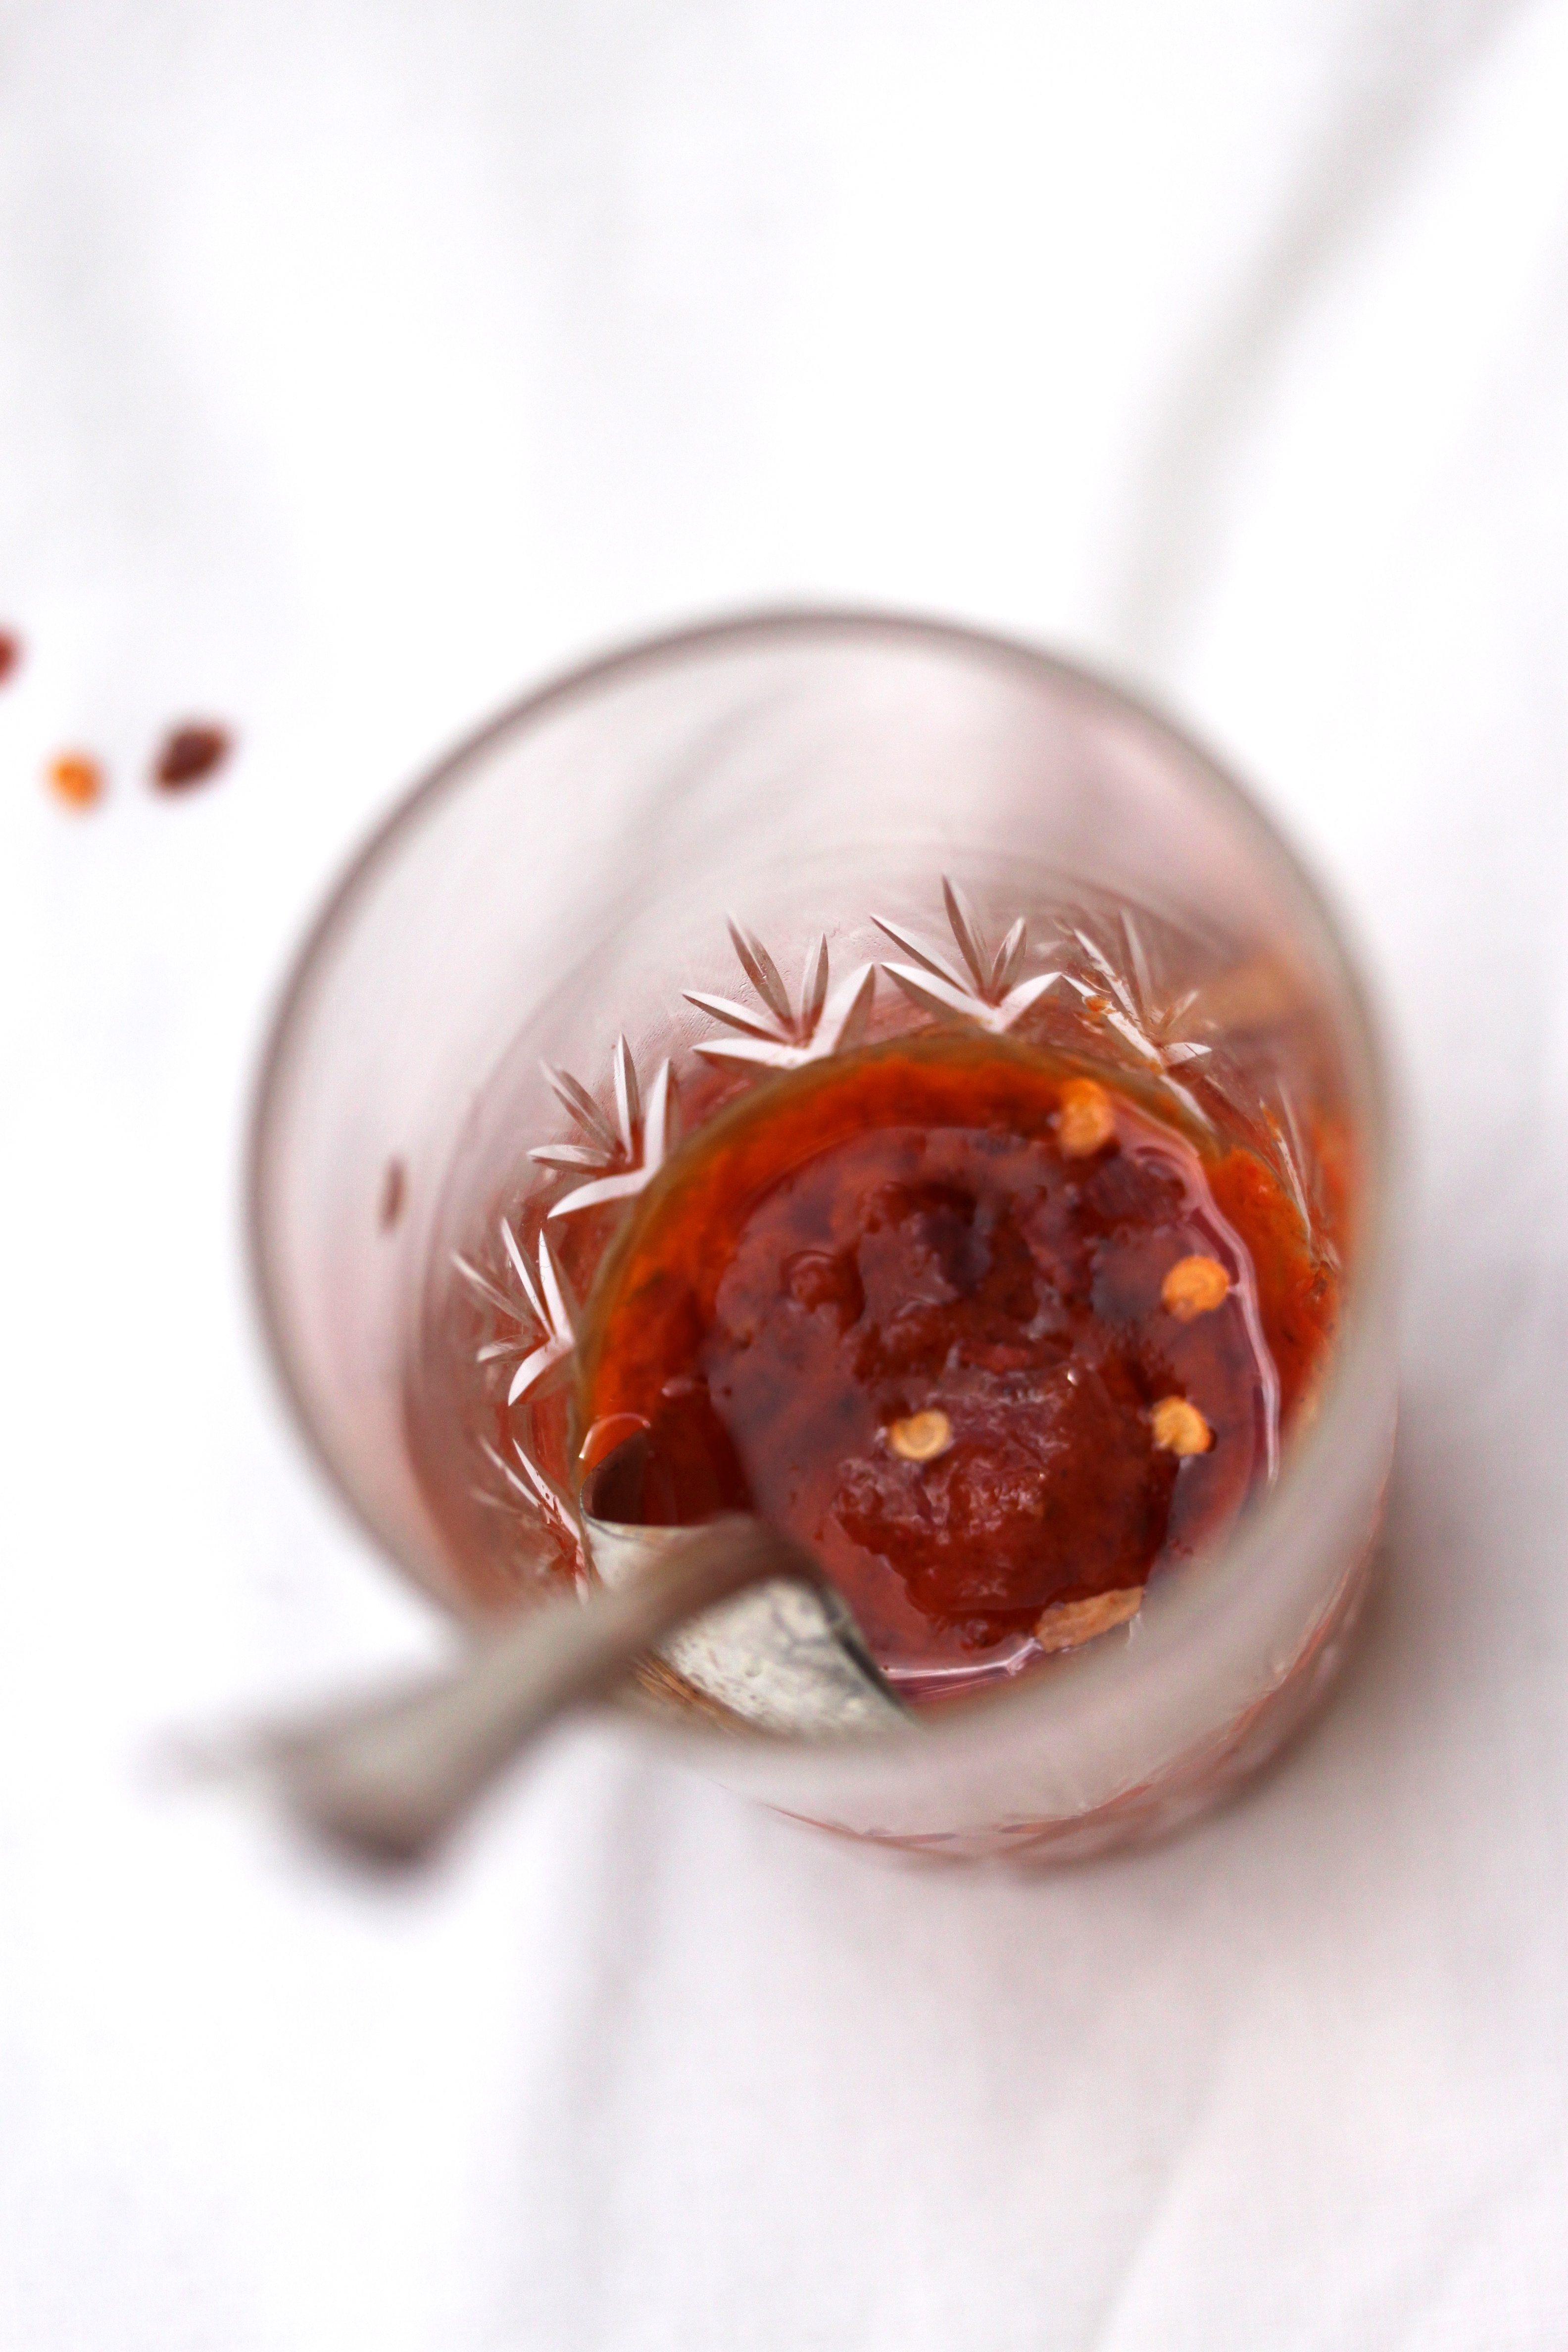
Once the garlic just begins to take on a golden hue – this can take any time between 10-20 minutes, add the ginger. Continue frying on a low heat until everything is a nice golden hue but isn’t starting to brown – the garlic will get bitter if it does. Remove from the heat and carefully pour the hot oil over the chilli, making sure to keep back the garlic and shallot in the saucepan – not combining everything at once gives the garlic and shallot the time crisp up. Give the chilli flake and oil mixture a good stir and let it rest for about 10 minutes. Once it has cooled down, stir in the now very crispy garlic and shallot. Transfer to a glass jar and use at your own discretion.

This will stay crisp for about a week, but will still be good a few weeks after that, albeit not as crispy.

Advertisement

Apple and Tomato Chutney

If you’re a person that likes cheese, then this is the recipe for you. This is possibly my most favourite accompaniment to cheese, next to bread and wine of course. I hope this may become yours, too.

Apple and Tomato Chutney

Makes one large jar

1 Tbsp sunflower oil

½ tsp mustard seeds

½ tsp cumin seeds

½ tsp black peppercorns 

½ tsp nigella seeds

2 cloves

1 x 5cm cinnamon stick

½ tsp ground turmeric

½ red chilli, sliced into thin rings (optional)

2cm ginger, grated

1 onion, finely chopped

2 tomatoes, chopped

2 apples, chopped into 1cm cubes

100ml apple cider vinegar

150g white sugar

½ tsp salt

Combine the oil, mustard seeds, cumin seeds, peppercorns, nigella seeds, cloves and cinnamon stick to a small saucepan over a low heat. Once the mustard seeds start popping, add the turmeric, ginger, chilli, and onion, and stir for a few minutes. add the rest of the ingredients and bring to the boil. Cover with a lid and reduce the heat and let it bubble for 20-30 minutes until the apples are soft when pierced with a knife. Depending on the apple, the chunks will keep their shape pretty well, so at this point I like to give everything a rough mash with a potato masher. If the mixture is still a bit too runny, remove the lid and let it reduce a little, making sure to stir it regularly to prevent it from burning. What you want is a thick-ash, jam-like consistency. Transfer to one or two sterilised jars, screw on the lids and let it cool. Once opened, keep it in the fridge. If unopened, it’ll easily keep for a few months.

You are now the owner of the best cheese chutney in the world. You’re absolutely welcome.

Pumpkin Soup – two (of one million and a half) ways

It is pumpkin season and it is time to cook those suckers up before you realise you’ve had enough pumpkin to last you another decade. There are many, many ways of making a successful pumpkin soup, and these versions I’ve offered here are just two of them. The first is inspired by the flavours of the eternal crowd pleaser known as butter chicken, or murgh makhani. However, since it contains neither chicken nor butter, and for lack of a better name, I’ll call it my Indian-inspired pumpkin soup for now. Close on the heels of the first, the second soup is a nod to one of my other all-time favourite flavour combinations, the zingy hot and sour tom kha soup, which, if not for tradition’s sake, will be known as the Thai-inspired pumpkin soup in this series. Enjoy.

Pumpkin Soup – two ways

Serves 4

Pumpkin base

A splash of neutral-tasting oil

1 onion, chopped

2 cloves of garlic, roughly chopped

8cm of ginger, finely grated

½ – 1 small chilli, thinly sliced 

1.5 kg pumpkin

1 litre of veggie / chicken / beef stock

Indian

2 tsp garam masala

1 tsp ground cinnamon

1 tsp cumin

8 cardamom pods, seeds removed and ground

2 Tbsp tomato paste

200ml thick cream (plus extra, if needed)

soy sauce / salt

To serve

200g Greek yoghurt

50g roasted cashews, chopped

sweet paprika, to sprinkle

Thai

3 lemongrass stalks, bruised

8 kaffir lime leaves

200ml coconut milk (plus extra, if needed)

1-2 fresh limes, juice, to taste

1 bunch coriander, chopped

Fish sauce / soy sauce / salt

To serve

A few extra tablespoons of coconut milk

A few extra coriander leaves

A few extra slices of chilli

To start off, add the oil and the onion to a big pot and fry on medium heat until translucent. Add the garlic, ginger and chilli and stir for a minute.

Indian

Add all the spices and the tomato paste, and stir for another minute. Add the pumpkin and the stock, and bring to a boil. Simmer until the pumpkin is soft. 

Remove from the heat, adding the cream, and puree with a hand-held blender. Season to taste with the salty substance of your choice.

To serve, ladle into bowls, swirl with some Greek yoghurt and scatter with some cashews and a few pinches of paprika.

Thai

Add the lemongrass and kaffir lime leaves, along with the pumpkin and stock and bring to a boil. Simmer until the pumpkin is soft. 

Remove from the heat, adding the coconut milk and coriander , and puree with a hand-held blender. Season to taste with the salty substance of your choice.

To serve, ladle into bowls, swirl with some coconut milk and scatter with some coriander leaves and chilli rings.

Serve either soup with bread or rice or whatever you’d like to have it with.

The Honeybee

the honeybee

I’ve always had a so-so relationship with honey. Oh no, I don’t mind the fact that it’s bee spew. Humans eat far worse things I’d think. It’s more that I felt that it wasn’t being worshipped enough. If we’re going to be so mean and ruin all that hard work by nicking it and stirring it into our tea, there should be a certain level of appreciation had. It’s pretty amazing stuff. Next to being wonderfully flavoursome, it can aid people in getting rid of allergies, while its antibacterial properties can help combat infections and heal wounds and burns. It’s part magic alright?

So what is it I make when I decide to incorporate some magical goodness into my day, you will ask. Oh you know me too well. A cocktail of course. A delicious little combo of honey, lime juice, elderflower cordial, and vanilla vodka, with a sliver of fresh chilli to represent the sting of the bee. Pretty nifty eh?


The Honeybee

Serves 1


30ml fresh lime juice

30ml honey (if it’s too solid, give it a few seconds in the microwave)

15ml elderflower cordial

60ml vanilla vodka

Ice

1 slice of chilli (optional for those who are weak in the chilli – ingesting department)


Combine the lime juice, honey, cordial and vodka in a jar with a few cubes of ice. Give it a mighty good shake, then pour into a pretty glass over some fresh ice or just by itself. Float the chilli on top. Yum.

Addictive

harissa

I don’t know about you, but at one point or another in life, I have found myself strangely enamored with a specific type of food, from not being able to live without it to not ever wanting to be in its presence again, preparing my addictive personality for my next edible victim. One such addiction was home brand spearmint chewing gum, which you could buy in 100g bags from the local Migros in Bern. Too easy. Next up were the sugar free elderflower ricola lollies. I still can’t look them in the face. Too much sugar free guilt there. Then came the harissa craze. Harissa on salad, in soups, on pizza, and most importantly on things that didn’t yet taste of harissa. After moving to Australia I went on a fruit yoghurt trip, the after effects of which have surprisingly not deemed me lactose intolerant. My voyage of fanatic enthusiasm ended with nougat, and I am happy to say that today I am addiction free.

If you don’t count chocolate.

In the meantime, my taste for harissa has come back, and I suggest you get your paws onto a jar of it as soon as you can. However, I can’t guarantee that you’ll like it, as we all know flavor and quality varies from place to place.

You know where this is leading to don’t you.

I’m being serious. This home made version is the best I have ever tasted, so it seems a waste to just keep it to myself. Lets share.

harissa 2

Harissa

This makes quite a bit, so I suggest you fill it into little jars to take with you to barbeques and picnics or other harissa lacking situations. Also, it will keep for about 5 days in the fridge, a little longer if you cover the surface with some olive oil.

1 bulb of garlic

1 large red capsicum

5 large red chillies, plus extra chilli flakes, to taste

3 tsp cumin seeds

3 tsp caraway seeds

100ml tomato passata

1 Tbsp tomato paste

1 tsp salt, to taste

1 tsp sugar

50ml olive oil, plus more for covering

Preheat your oven to 200°C. Cut the garlic bulb in half and wrap each half in tin foil. Place on a baking tray together with the chillies. And the quartered and deseed capsicum.  Throw the tray into the oven and roast until the chillies and the capsicum start going black in places, after about 20 minutes. The chillies will probably be done before the capsicum, so remove them from the oven while the rest keeps doing its thing. You can check if the garlic is done by poking it to see if it’s soft. Everything done? Great. Get it out of the oven.

You know how most recipes go “place in a bowl and cover with cling wrap for a few minutes to enable peeling the capsicum”? Rubbish in my opinion. Just let it cool. Once the capsicum and chillies are cool enough, peel off their skin. Halve the chillies and scrape out the seeds and flesh. Unwrap the garlic and squeeze the soft cloves into the bowl as well.

Toast the cumin and caraway seeds in a fry pan until they smell nice, then transfer to a mortar and grind them to a powder.

Transfer the ground spices, the passata, the tomato paste, salt, sugar and oil into your bowl and give the lot a nice whizz with your hand held blender. Give it a taste and adjust the saltiness / sweetness / spiciness. Once it’s smooth and tastes the way you like it, transfer it into a large jar and cover with oil.

Can I have some more of that?

Alright sweethearts, it’s curry time. But before I go off on a tangent about coconut milk and why I left the religion of vegetarianism, I would like to let you in on a little secret. I love curries. No, seriously. So much as that I would choose my last supper to be curry. Preferably thali – style, with about 20 different types. Yum. But while we’re all alive with plenty of years ahead of us, let’s continue with coconut milk. I have had my fair share of bland-tasting white goopy glue labelled “Organic Super Creamy Tasty Coconut Cream”. Bull. A few years of taste-testing have lead me to the hydrated coconut milk powder from Ayam. A definite winner. You can get it pretty much everywhere in the world now. Just in case you were wondering. Up to you what you want to use, just be careful. You’re halfway to an amazing curry, so don’t wreck it.

Now, to the veggie bit. I’ve been a meat-avoider for about 17 years of my life now. The reason for this being my parents, and my child-self feeling sorry for the going-to-be slaughtered animals. I guess things have changed. A bite of chicken kebab here, a spoonful of beef lasagne there. It actually started to taste good! Mind, I’m still at the beginning stage of things. The more processed, the more the likelihood that I like it. I know, I’m ashamed about that. One day, in the distant future, you’ll see me eating a rare steak. Promise. But until then, I’ll stick to dry chicken and burgers. And much much better things of course. Like this curry.

Red Thai Chicken Curry

Serves about 4

2/3 of the red curry paste I was talking about in the previous post

500 ml chicken stock, plus more

1 box coconut milk powder (3 packets)

1 ½ red capsicums, sliced thinly

1 large carrot, cut into matchsticks

1 large handful of green beans, topped and tailed, sliced at an angle into 3
(this is so they cook at the same rate as the rest of the vegetables)

½ lime, juice, plus wedges to serve

the reserved coriander leaves

Cooked jasmine or basmati rice

5 chicken thighs, cut into 3 cm pieces, seasoned lightly

The rest of the curry paste

1 Tbsp honey

Get a nice big saucepan and start frying off the curry paste. Once it looses that raw “bite” and starts smelling quite delicious, add the chicken stock , which you have previously mixed with the coconut milk powder. This just makes it easier to dissolve. Bring to the boil. Once all the coconutty lumps have gone, take it off the flame.

Time to make start cooking the rice. I’m quite confident you know how to do this.

While the rice is bubbling away, add your chicken pieces to a frypan with a glug of oil and fry till all sides are sealed, but not cooked through. Add the paste and the honey and stir till well coated. Continue cooking, stirring occasionally, until done.

Just before serving, Reheat the curry sauce, and add the sliced vegetables. Boil for a few minutes until cooked to your liking (still lightly crunchy, in my case). Add some seasoning and the lime juice.

Get 4 big soup bowls, fill with the amazing-smelling curry, top with a little mound of rice, the tender, spice-crusted chicken and a handful of fresh coriander leaves. Serve with lime wedges.

Told you so.

Pasting it up

I have a soft spot for hand held blenders. Wack them in a pot of cooked vegetables, tadaa, you’ve got silky smooth soup. Give some chickpeas and some tahini a whirl and you get a delicious dip. Same with curry pastes. You may have discovered by know that I’m a bit of a snob when it comes to ready made things. And I may sound like a broken record, but people, making your own curry paste takes literally as long as it does to open a jar of ready made stuff, and it will seriously taste ten times better. “Yeah but the ingredients list is sooo long!” So what. After having bought all your ingredients, you’ll have everything on hand for the next curry night. Kaffir lime leaves and lemongrass sticks are quite happy to hang in the freezer. Cook this and you will see the world with different eyes. You can join my snob club if you want. We can even be friends.

Red Thai Curry Paste

½ onion, roughly chopped

½ red capsicum, roughly chopped

3 garlic cloves, halved

4 cm knob of ginger, grated

1 bunch fresh coriander, stems and roots, roughly chopped, leaves reserved

1-3 chillies, depending on heat, chopped

3 kaffir lime leaves, shredded

1 lemongrass stalk, thinly sliced

1 heaped Tbsp peanut butter

1 tsp ground cumin

1 tsp ground coriander

2 tsp sweet paprika

½ tsp salt, to taste

2 Tbsp vegetable oil

So basically, throw the lot into a jug-like device and give it a good workout with the blender, trying to get it as smooth as possible. Yep, that was it.

I’ll tell you what fun things I make with it next time.

%d bloggers like this: