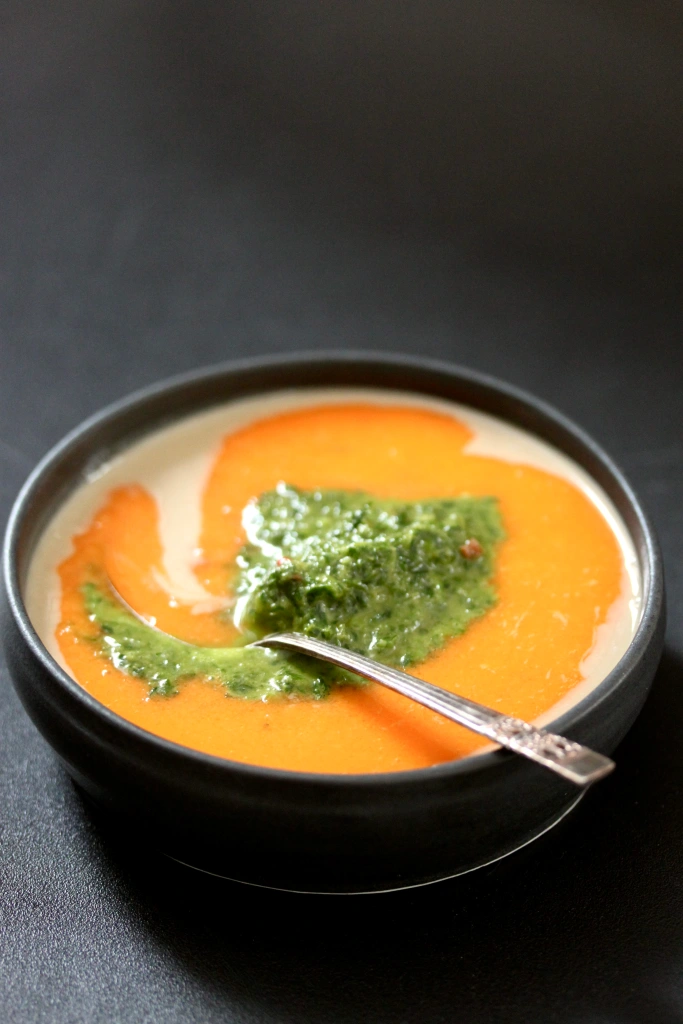
Tahini, Tomato Vinaigrette & Zhoug Dip
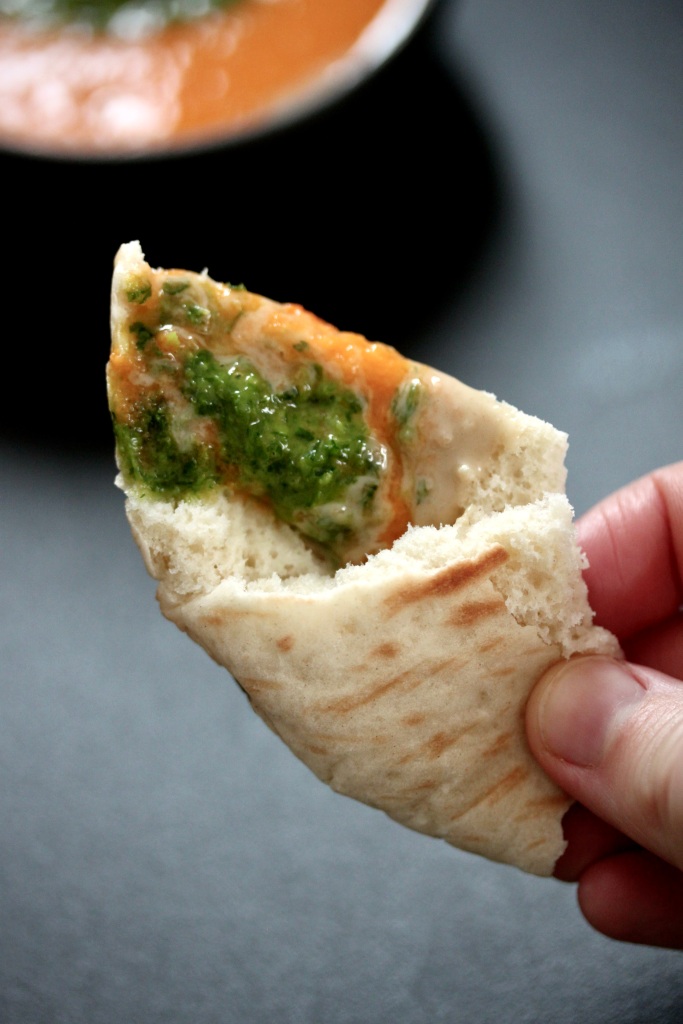
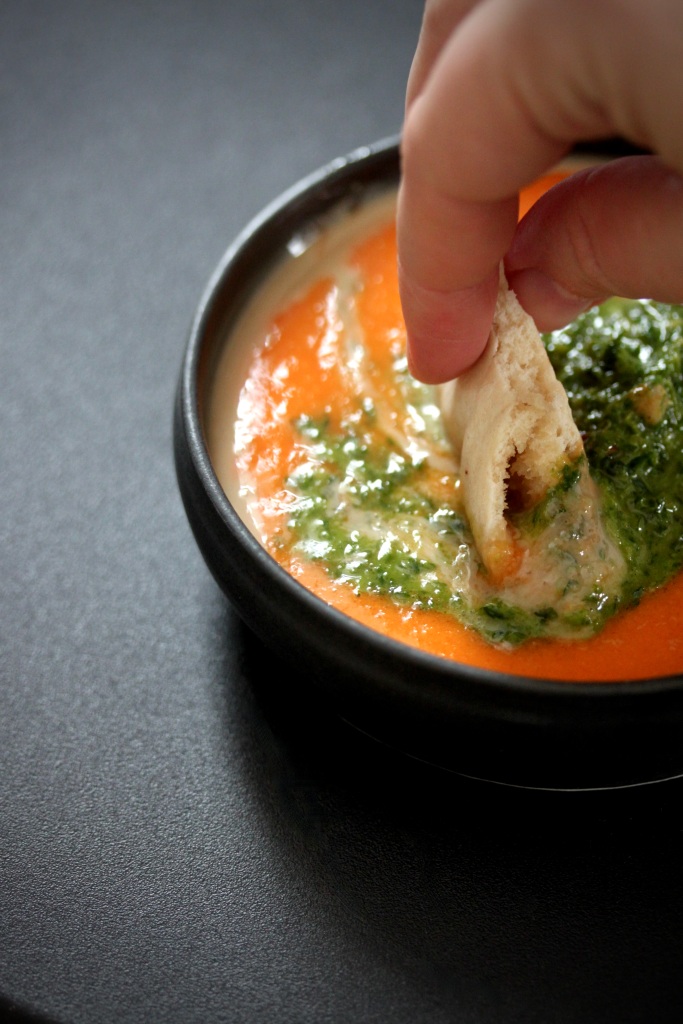
Just look at it. Doesn’t it fill you with intrigue? Doesn’t it make you want to grab the nearest piece of bread and drag it right through the middle of that bowl to see what colours you’ll get, like some gleefully giddy child left unattended with its watercolour set? We had this on our recent trip to Israel in Tel Aviv and fucking hell, did it blow our little minds, As our friend stated, “If I could only eat one thing for the rest of my life, it would be this.” That combination of nutty tahini, the sweet and sour tomato vinaigrette, and the salty, herby, and spicy zhoug is utter perfection. Go do yourself and your friends a favour and make this next time they come around.
Tahini, Tomato Vinaigrette & Zhoug Dip
Inspired by the wonderful Bucke Café
This will make more than enough for 6 people, possibly even 12, but it really depends on how gluttonous you’re feeling. The dip is best served in a shallow bowl of some sort, in order to optimise the scoopage of all three flavours.
Tahini, about 4-6 Tbsp – depending on the size and depth of your bowl
Tomato vinaigrette
1 tomato, rightly chopped
100-120ml olive oil
2 Tbsp apple cider vinegar
½ tsp salt
¼ tsp sugar (if it’s a winter tomato, or, indeed, a Swiss supermarket tomato)
Zhoug
1 bunch coriander, roughly chopped
1 bunch parsley, roughly chopped
½ chilli or preferably 1/2 jalapeno, finely chopped (Jalapenos add a really nice vegetal flavour akin to a green capsicum)
1-2 garlic cloves, halved
¼ teaspoon salt
1-2 Tbsp water
2-3 Tbsp olive oil
Pita or crusty bread, to serve
First, start off with the tomato vinaigrette. Combine ingredients in a tall container and blend until smooth with a hand-held blender. Give it a taste and adjust seasoning if necessary. Will keep for up to a week in an airtight jar in the fridge.
Rinse the blending container and the hand-held blender and add all the ingredients for the zhoug into the container. Blend it until it looks a little like pesto. Consistency-wise you may want it to be a little looser than pesto to enable optimal scoopability. Give it a taste – It should be salty and spicy. If you want to amp up the spice, you can add more now (I’m sure you haven’t chucked that other half of the chilli / jalapeno just yet). Will keep in an airtight container in the fridge for a few days, although the coriander starts going a bit icky relatively soon.
Finally, assembly time. Fill a shallow bowl with the tahini and gently pour approximately the same amount of the tomato vinaigrette on top. Finish off with a nice big dollop of zhoug and you’re done. Serve with pita or bread.