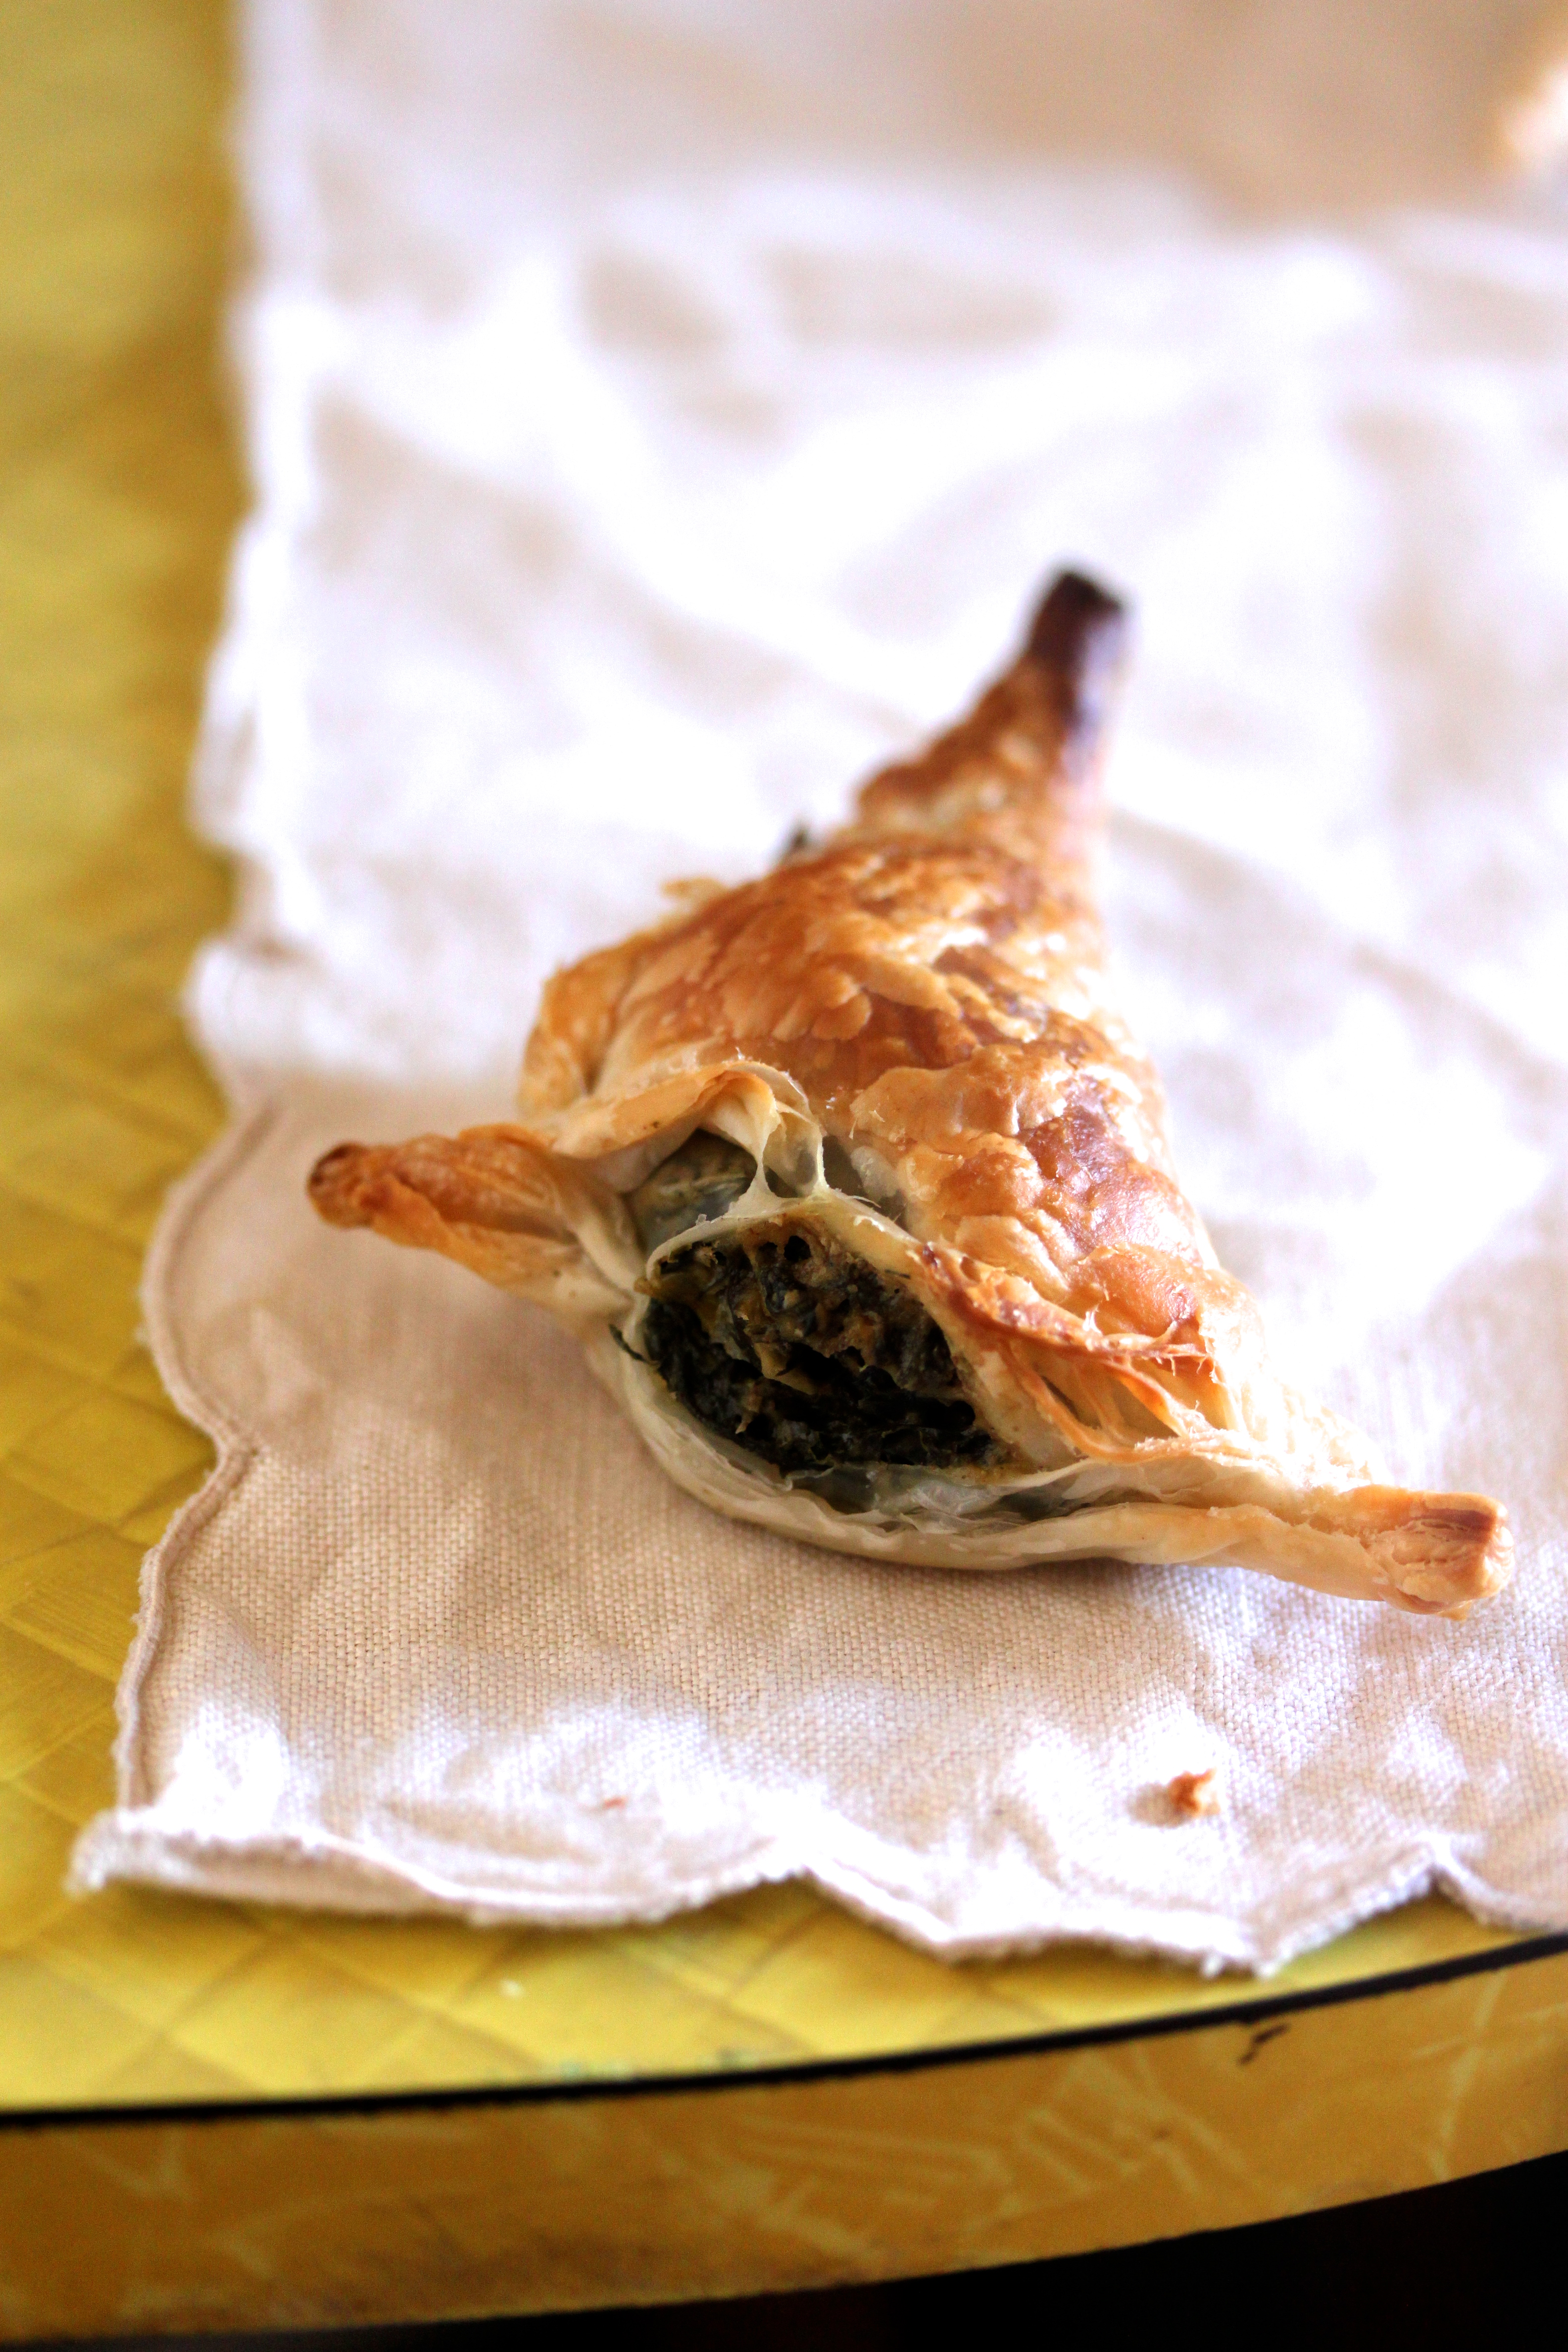
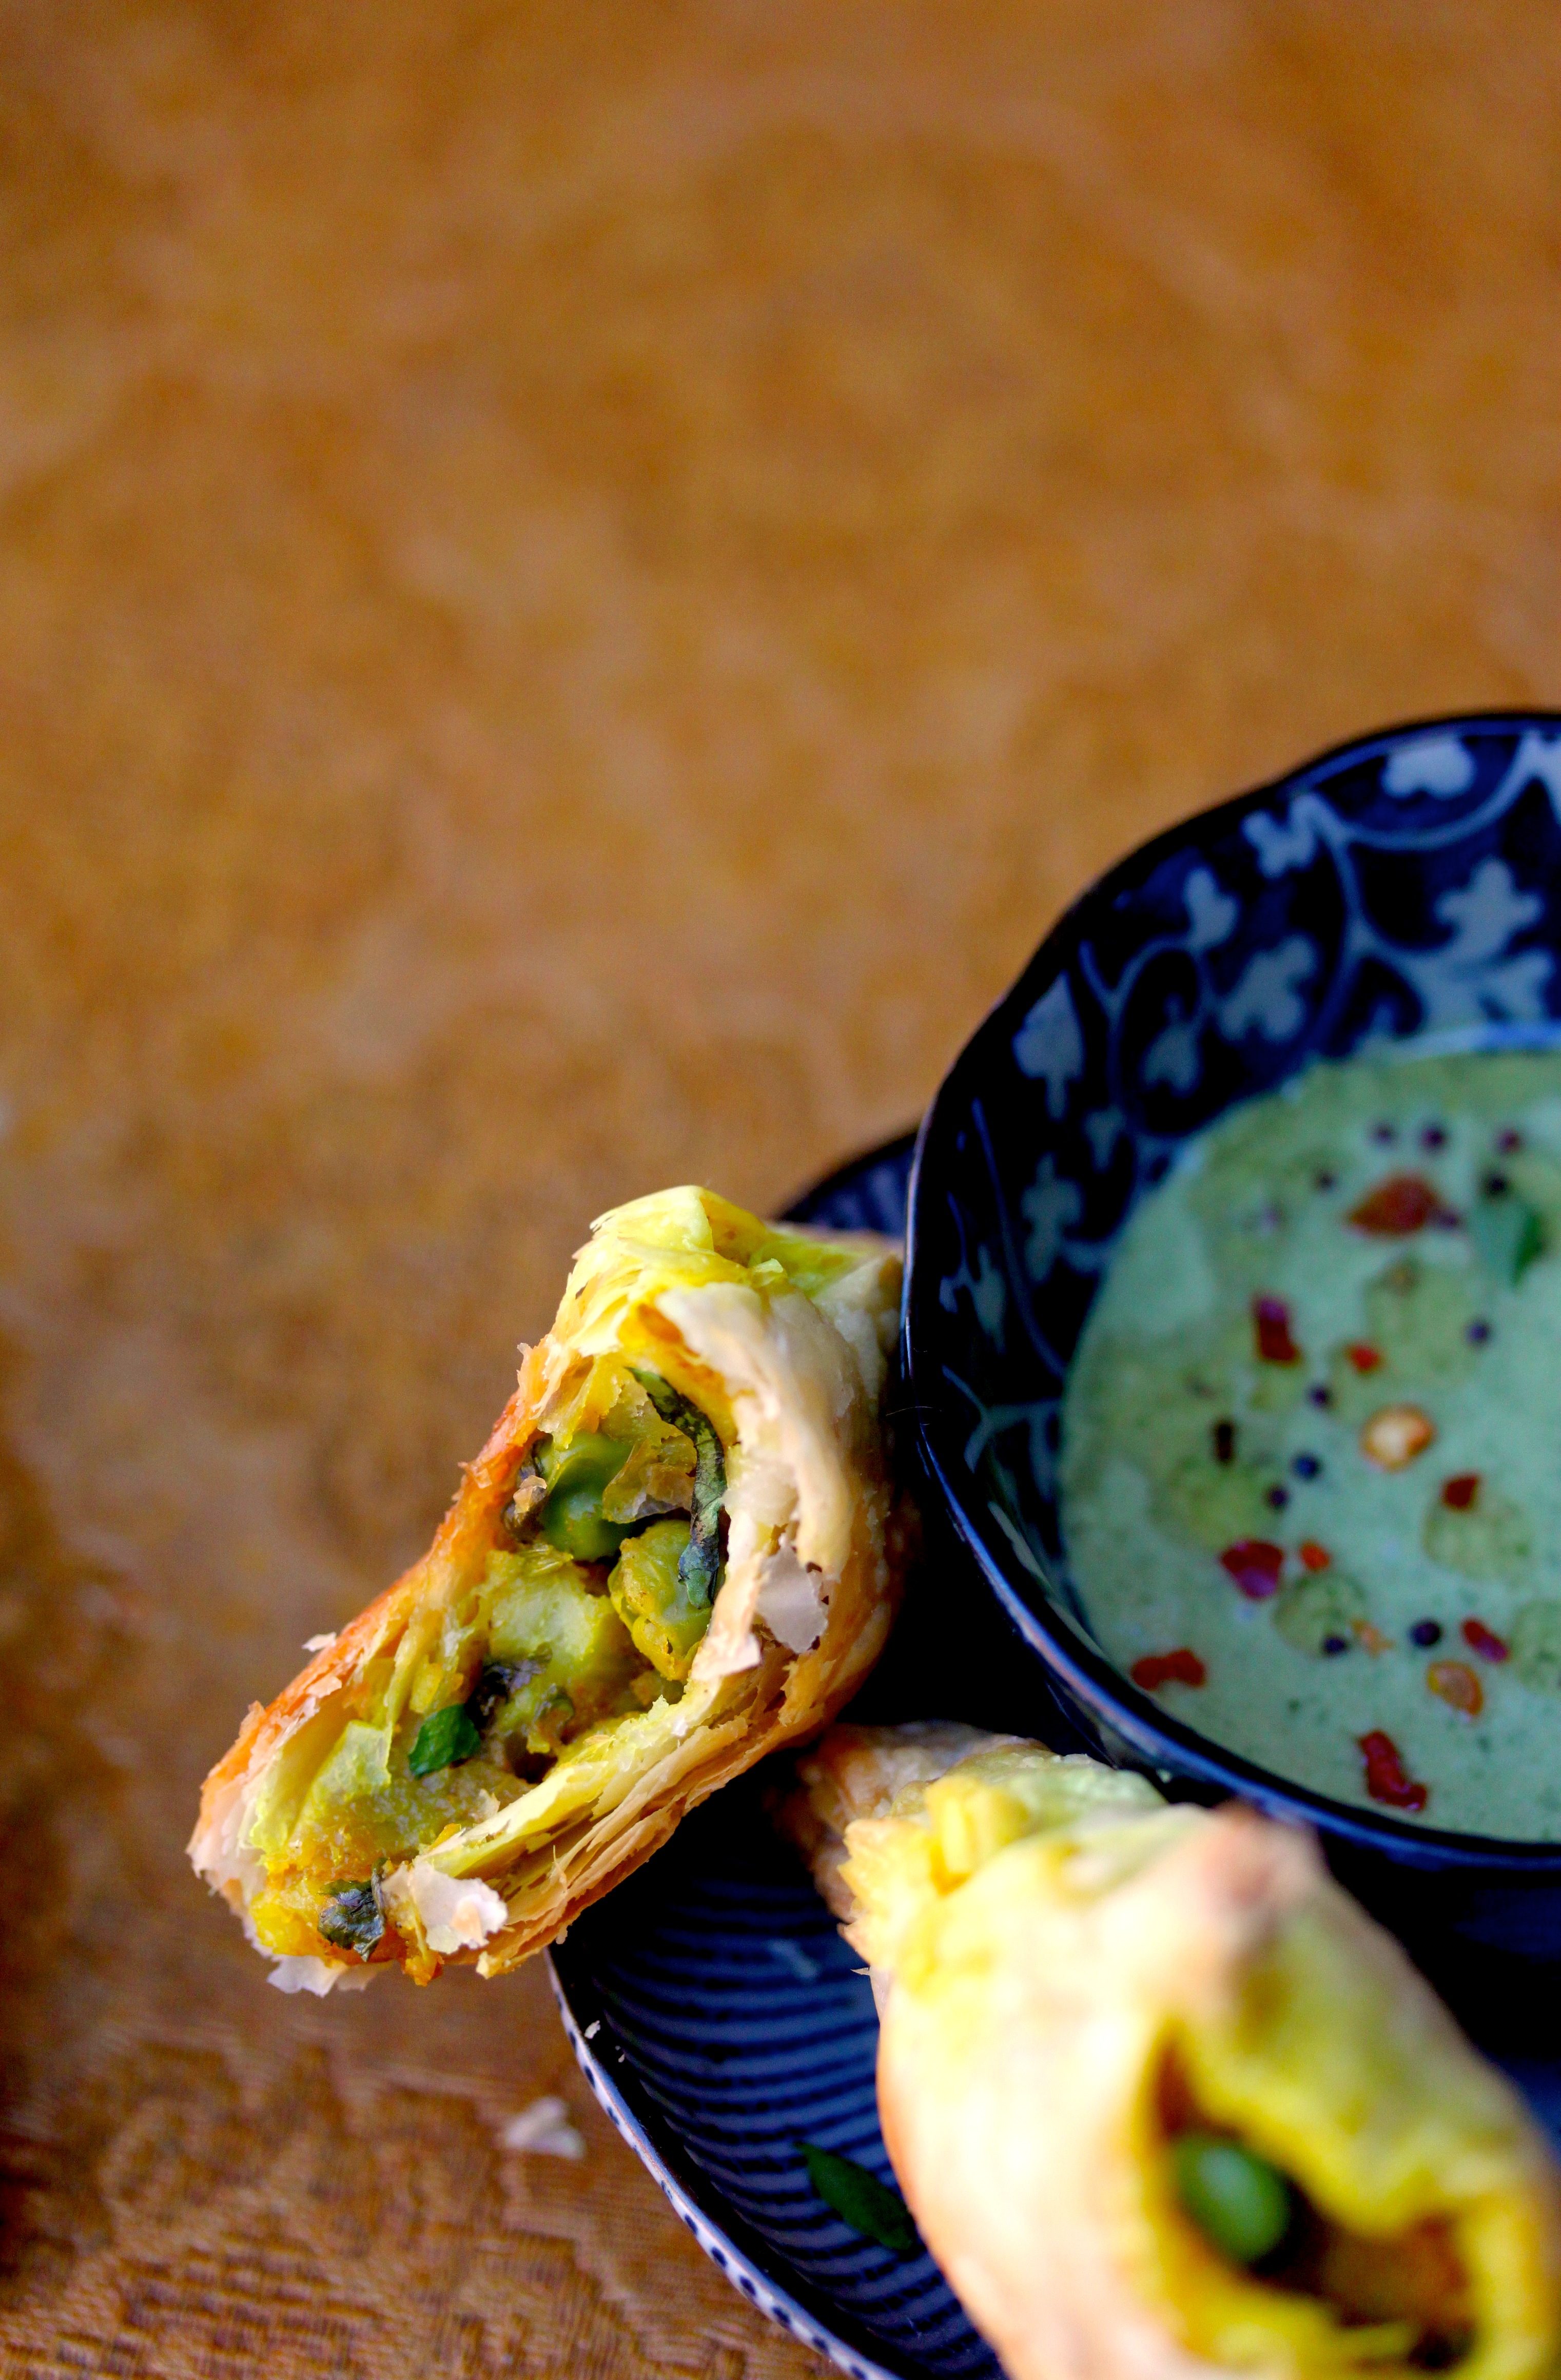
Potato and Pea Samosas
 Yeah. Samosas. Right up there on my list of favourite snack food. But then again, anything coming from the beautiful country of India gets top marks in my book. In my oh-so-short life I have been there three times already, and you can take my word I’ll be going back there again.
Top three random memories of India:
Playing hide and seek as a nine year old in the hotel’s 5-day old algae-tinged pool. Endless hours of fun. Other experiences included pools almost opaque with chlorine your eyes stung just by looking at it. These did not include hide and seek, or me, for that matter.
The after effects of my first sips of my mum’s gin and tonic making a 12-year old me walk dizzily into a rubbish bin next to our tiny hotel room situated right on the beach in Goa. Don’t laugh. That’s just mean.
A cook in the green hills of Kumili showing my 16-year old self how he made his beetroot malai kofta. They were insane guys. Served in a coconut cashew sauce spiced with star anise. You know you’re jealous.
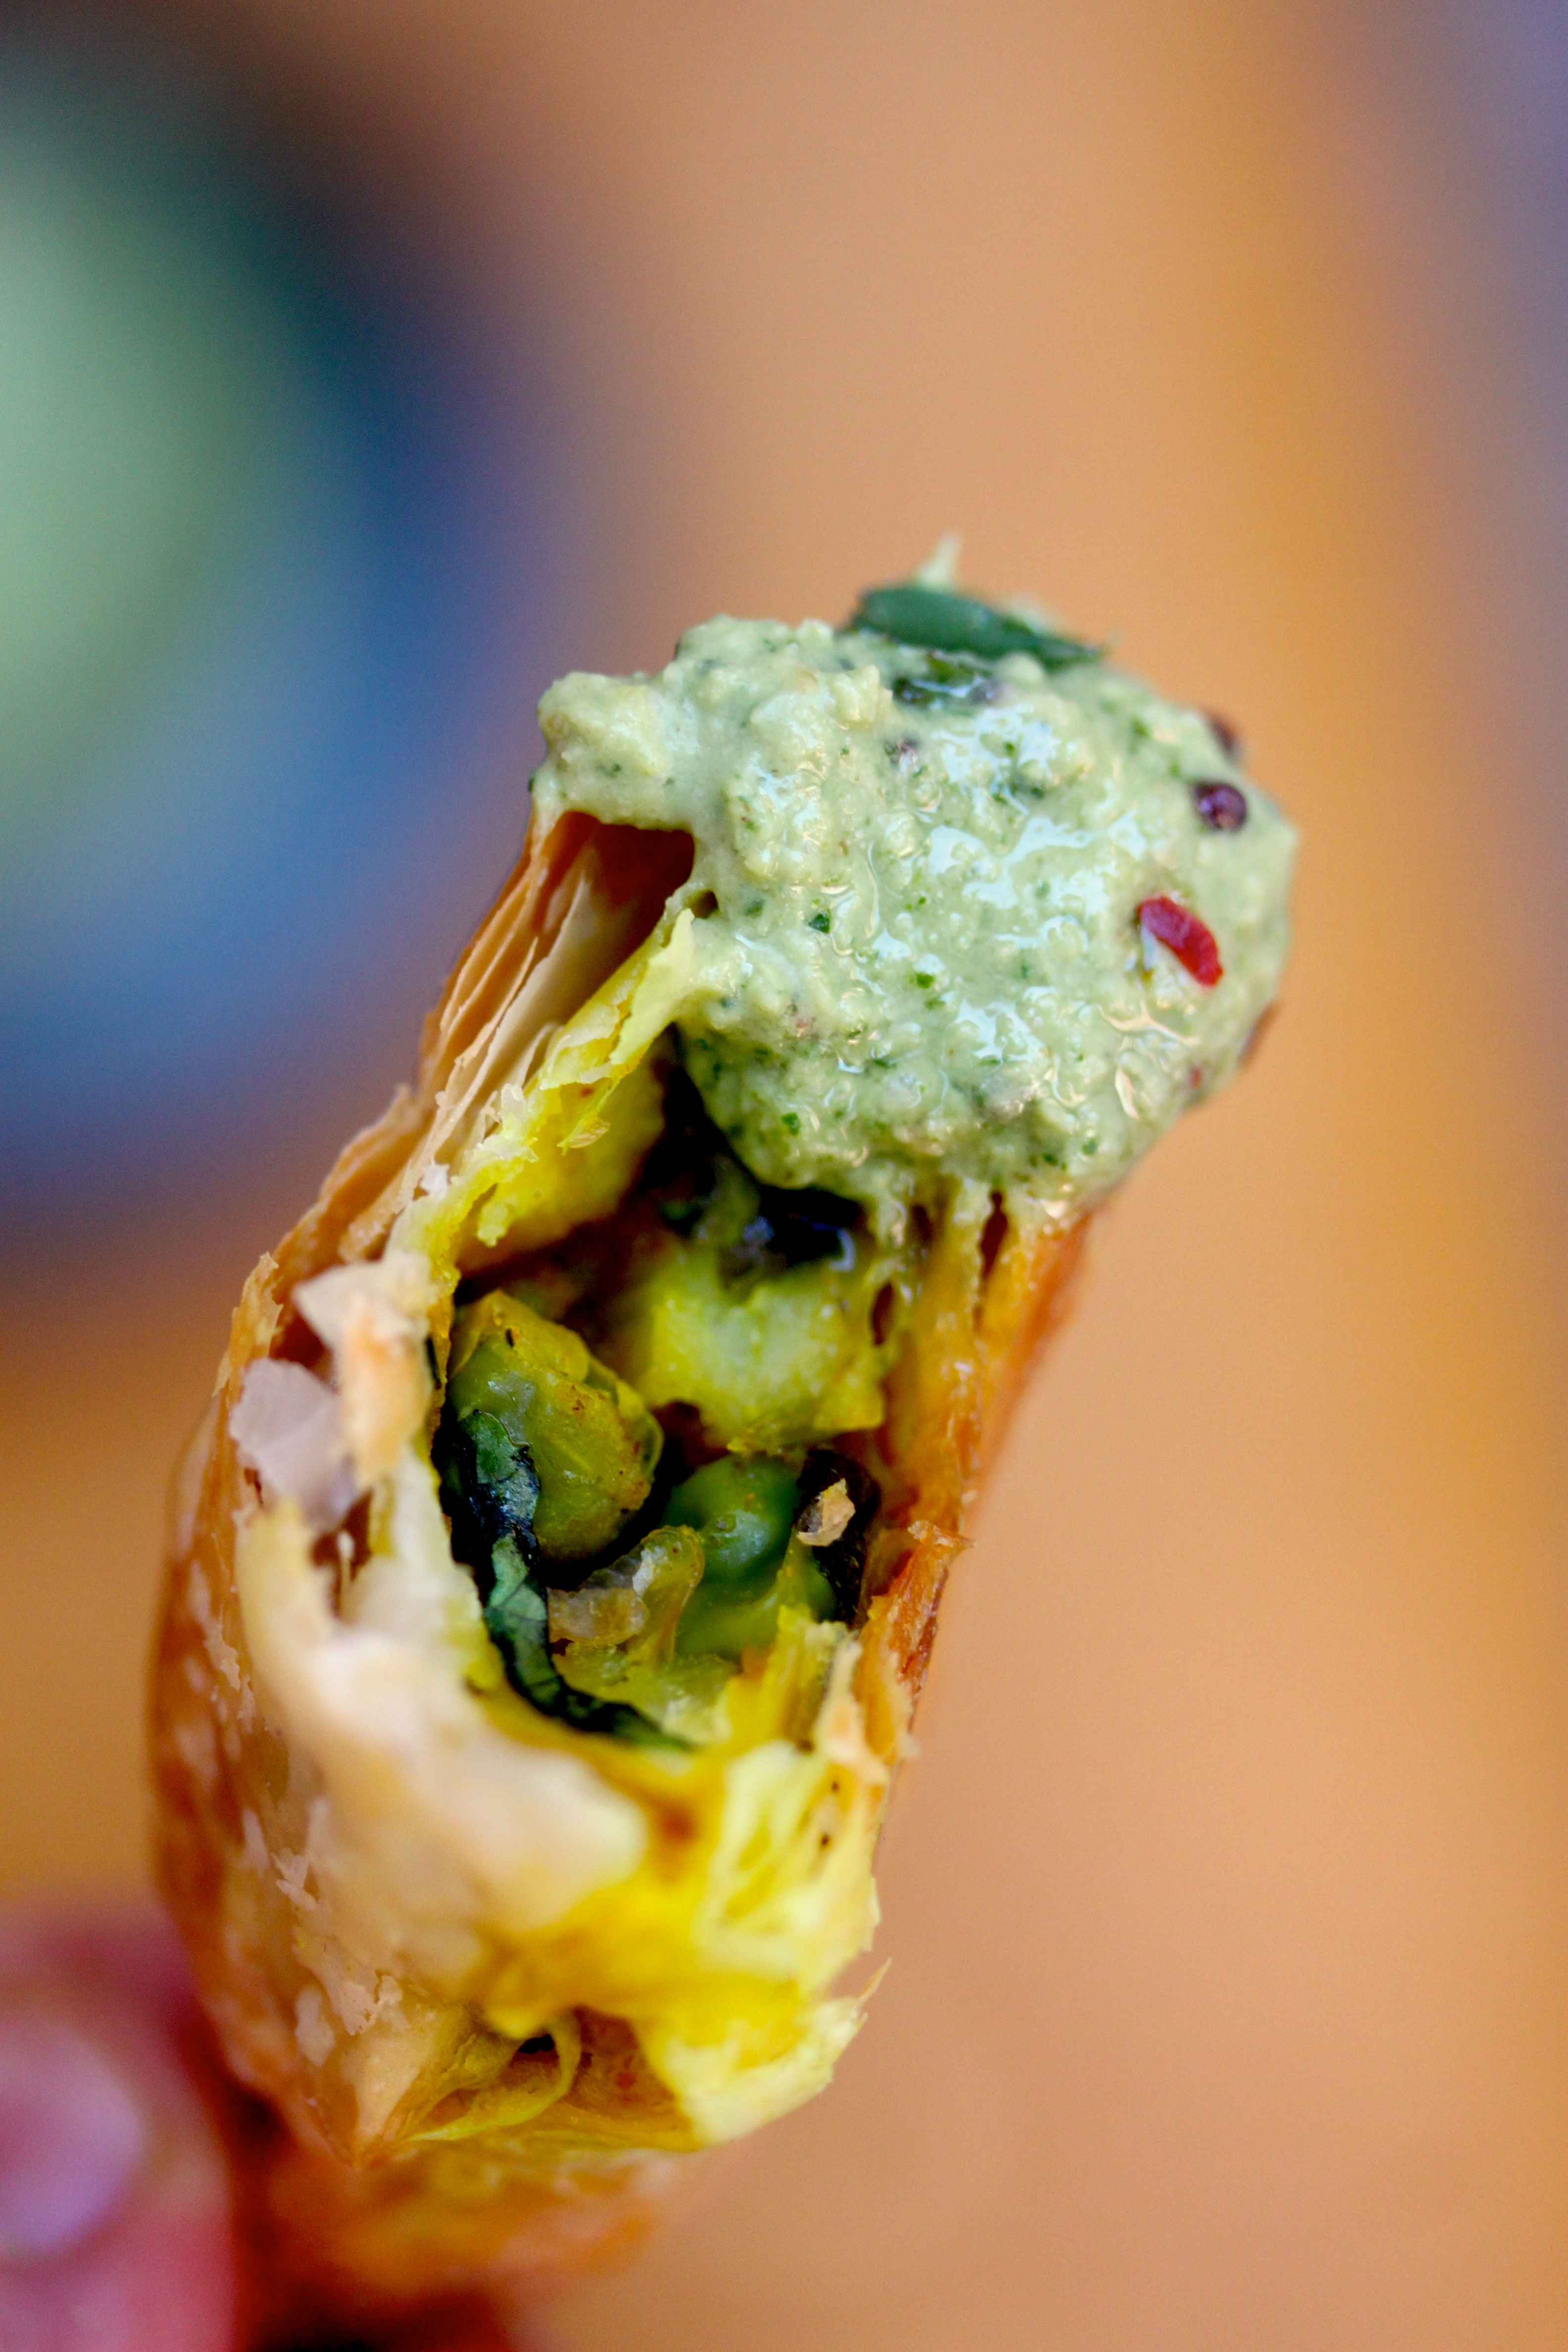
I don’t think I have to tell you how much I love these little guys. I mean, deliciousness wrapped in pastry? Right? Give ‘em a go please. Right now.
Potato and Pea Samosas
4 medium (floury) potatoes, peeled and chopped into 1cm cubes
2 Tbsp each of vegetable oil and butter
2 medium onions, finely chopped
2 fat garlic cloves, crushed
1 knob of ginger, grated, giving you about 1 Tbsp of grated ginger
1 tsp ground turmeric
1 ½ tsp ground cumin
1 ½ tsp ground coriander
¼ tsp chili flakes
¼ tsp cinnamon
1 Tbsp lemon juice
splash of soy sauce
salt
1/2 cup (65g) frozen peas
½ bunch coriander, leaves roughly chopped
4 sheets frozen puff pastry, thawed
Place your cubed potatoes into a pot and cover with water from a recently boiled kettle. Boil until soft, but still holding their shape. Drain.
In the meantime, melt the oil and butter in a wide fry pan. Add your onions and gently cook over low heat until soft and translucent. Add the garlic and ginger, and turn up the heat a little. Stir until everything takes on a little colour. Add the turmeric, cumin, ground coriander, chili, cinnamon and lemon juice, give it a stir, then add the potatoes. Let them hang out together for about 10 minutes. Season with a little soy sauce and salt. Remember, the potatoes will soak up quite a bit of flavor i.e. salt, so you may need to adjust your seasoning later again. Once the potatoes have gone a little mushy, remove from the heat. Stir in the peas and coriander, and let cool to room temperature.
Preheat oven to 220°C. To make the triangles, cut each sheet into 9 squares. Place a scant tablespoon of filling on each and fold over a corner. Pinch the edges together – if you can get a fancy twist going all the better – and lay them on a baking sheet. Bake for 10-15 minutes or until golden.
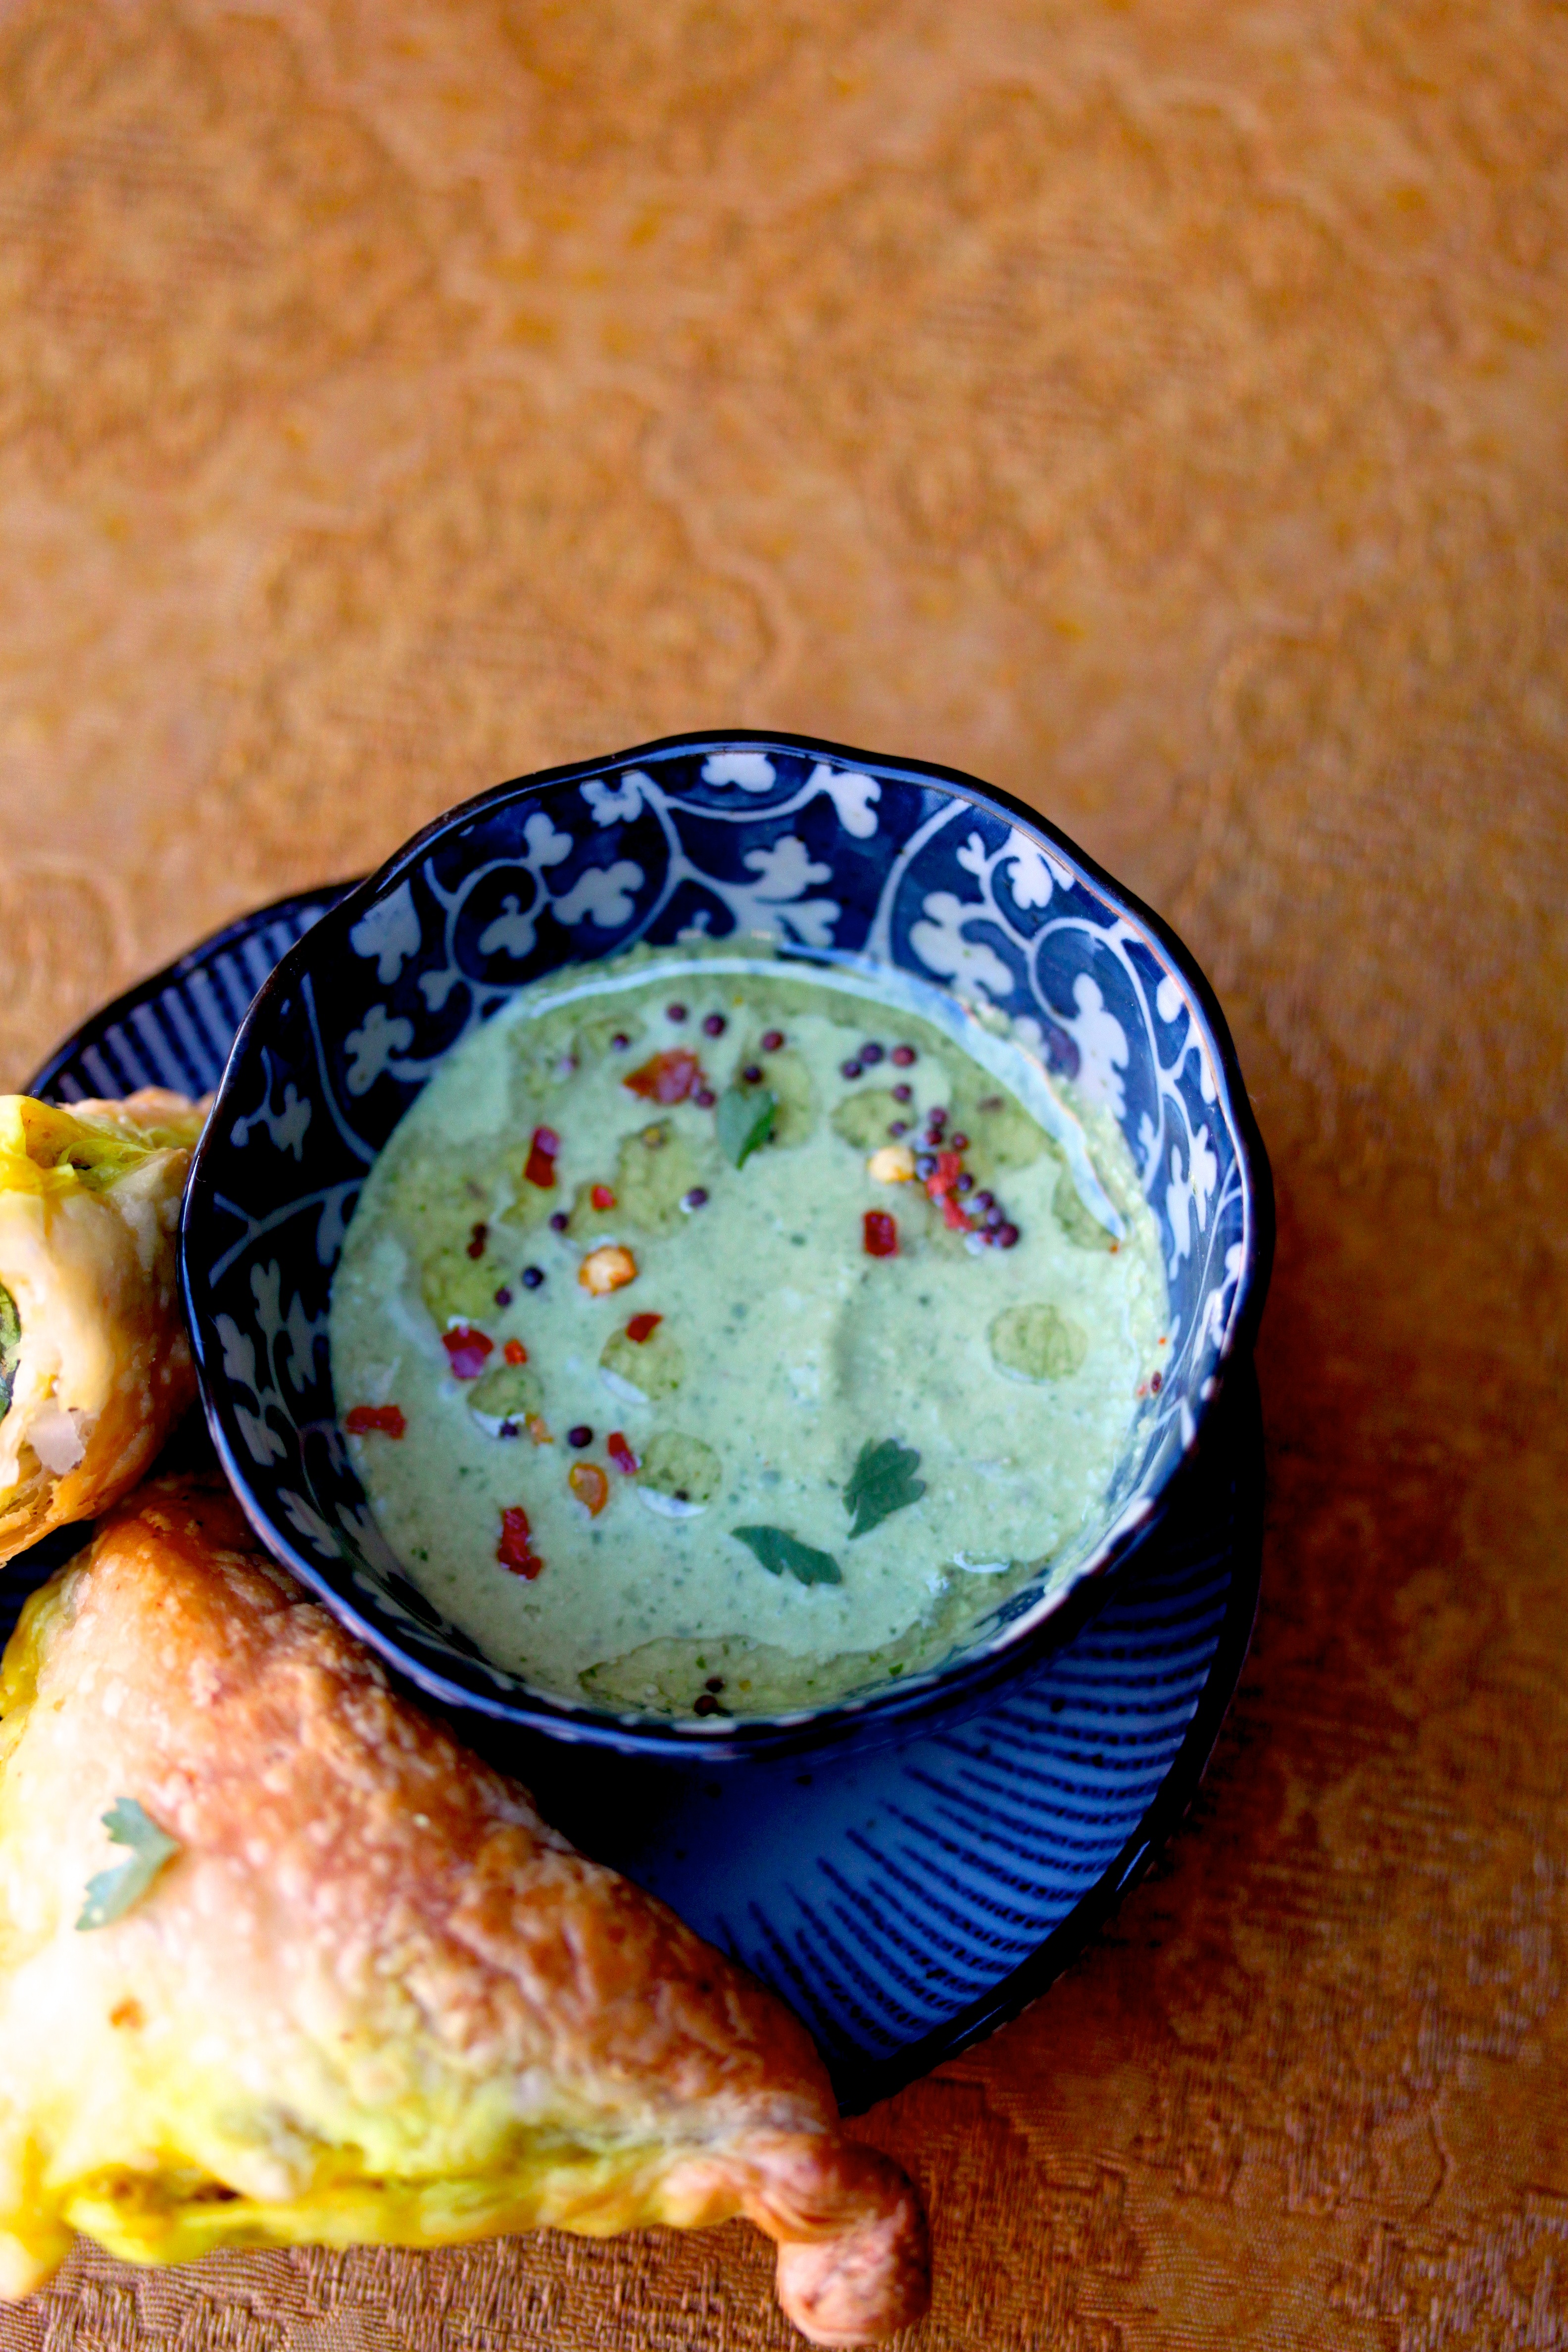
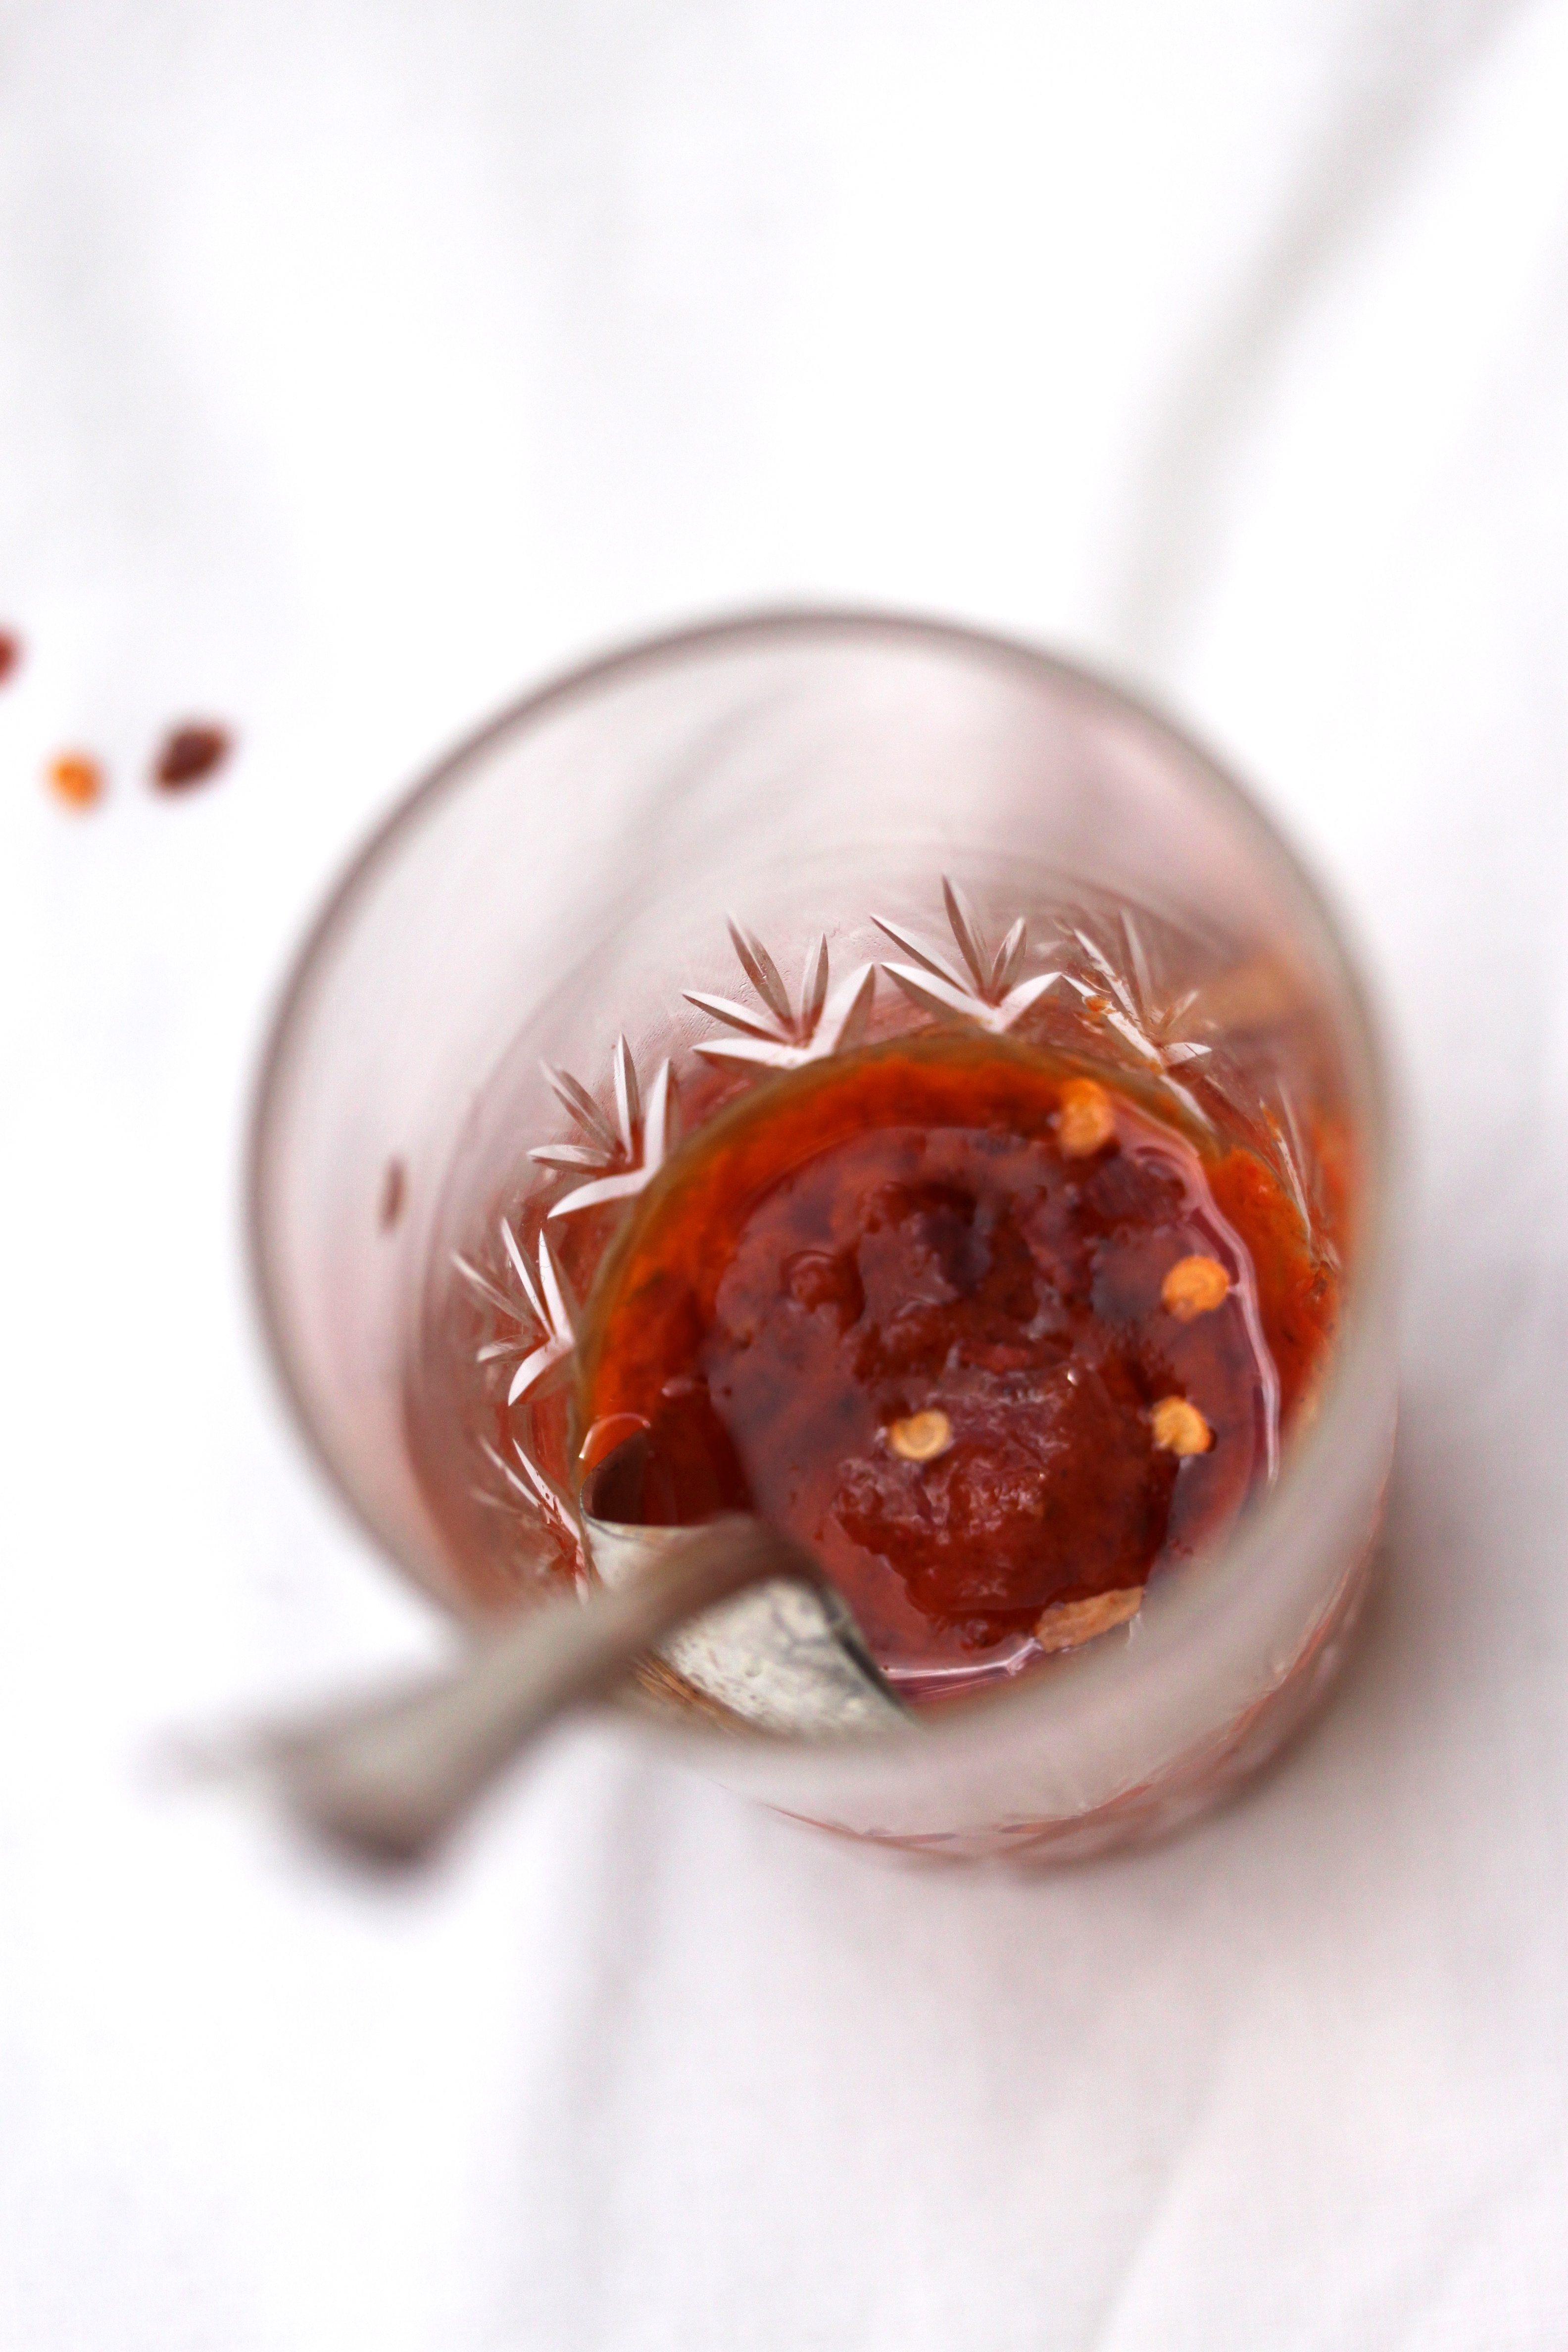
Serve hot with coriander and coconut chutney.